Building a DIY workbench allows you to create a customized workspace that caters to your specific needs and projects. Whether you’re a seasoned DIY enthusiast or just starting out, building your own workbench is a cost-effective option that provides flexibility and functionality.
In this comprehensive guide, we will take you through a step-by-step process for building your own DIY workbench. From selecting the right materials to customization ideas, we’ve got you covered. Get ready to roll up your sleeves and create a workbench that will enhance your DIY experience.
Key Takeaways:
- Building a DIY workbench allows for customization to suit your specific needs and projects.
- It is a cost-effective alternative to buying a pre-built workbench.
- Key materials include 2x4s, plywood sheets, wood screws, and essential tools like a cordless drill and saw.
- Follow a step-by-step guide to construct your DIY workbench, including creating frames, attaching legs, and adding a work surface.
- Customization options include adding a vise, wall-mounted shelving, a flip top, casters for mobility, and a pegboard for tool organization.
Benefits of Building a DIY Workbench
Building a DIY workbench offers several benefits. Not only is it a cost-effective option compared to buying a ready-made workbench, but it also allows you to customize every aspect of your workspace to meet your specific needs.
When you build your own workbench, you have the freedom to choose the size, storage options, and overall design that works best for you. Whether you need extra drawers, shelves, or specialized compartments for your tools, you can incorporate these features into your DIY workbench.
Another advantage of building a DIY workbench is the opportunity to develop new DIY skills and gain hands-on experience with your tools. As you work on the construction process, you’ll enhance your knowledge of woodworking techniques and become more familiar with various tools and their applications.
By building a workbench from scratch, you’ll experience a sense of accomplishment and pride knowing that you’ve created a functional workspace tailored to your specific requirements. Plus, as you continue to refine and improve your workbench over time, you’ll develop a deeper connection with your workspace and enhance your overall productivity.
Key Benefits of Building a DIY Workbench:
- Cost-effectiveness compared to buying a ready-made workbench
- Customization options for size, storage, and design
- Opportunity to develop new DIY skills
- Hands-on experience with tools
- Sense of accomplishment and personalization
- Improved productivity in a tailored workspace
“Building your own workbench not only saves you money but also empowers you to create a workspace that perfectly suits your needs.”
| Advantages of Building a DIY Workbench |
|---|
| 1. Cost-effective |
| 2. Customizable to your needs |
| 3. Opportunity to develop DIY skills |
| 4. Hands-on experience with tools |
| 5. Personal sense of accomplishment |
| 6. Increased productivity in a customized workspace |
Materials Needed for Building a DIY Workbench
To build a DIY workbench, you will need several materials. These include:
- 2x4s: These sturdy and versatile pieces of lumber will form the foundation of your workbench.
- Plywood sheets: Choose high-quality plywood sheets to create the work surface and optional storage shelf.
- Wood screws: Use wood screws to securely attach the different components of the workbench.
- Cordless drill: A cordless drill will make it easier to drive screws into the wood and assemble the workbench.
- Saw: Whether it’s a circular saw, miter saw, or jigsaw, you’ll need a saw to cut the lumber and plywood to the required measurements.
- Level: A level will help you ensure that your workbench is perfectly horizontal and stable.
- Tape measure: Accurate measurements are crucial for building a well-constructed workbench. Use a tape measure to ensure precision.
- Safety glasses: Protect your eyes from flying debris or wood chips by wearing safety glasses throughout the construction process.
- Wood glue: Apply wood glue when joining pieces of wood together for added strength and stability.
The type of lumber you choose, such as pine or hardwood, will depend on your preferences and desired durability.
With these materials and tools, you’ll have everything you need to start building your own DIY workbench.
Step-by-Step Guide to Building a DIY Workbench
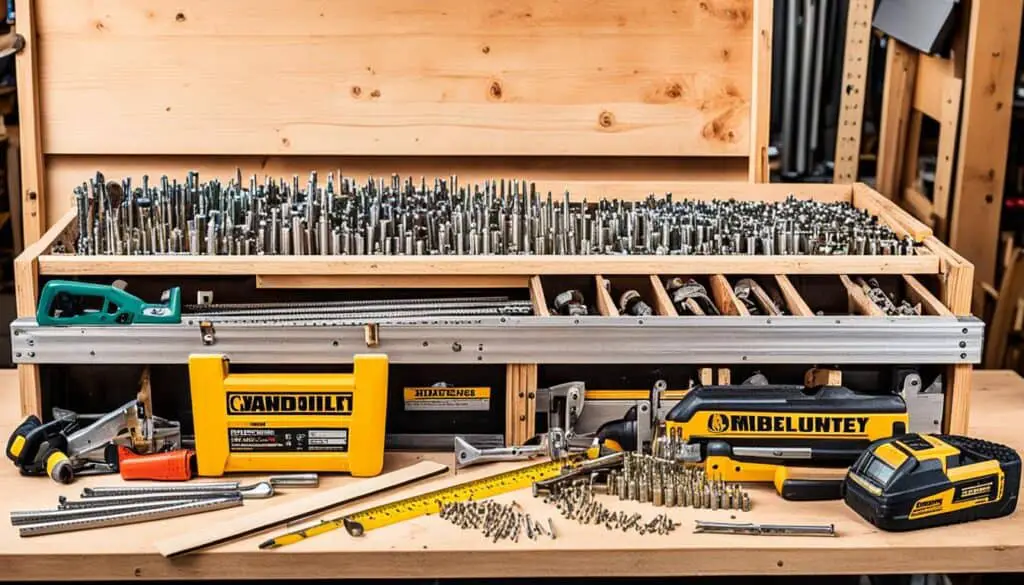
If you’re ready to embark on your DIY workbench project, follow these step-by-step instructions to build a basic workbench. By the end of this guide, you’ll have a sturdy and functional workbench tailored to your needs.
Gather Your Materials
Before you begin, make sure you have all the necessary materials and tools. Here’s a handy checklist:
- 2x4s for the frame
- Plywood sheets for the work surface and optional shelf
- Wood screws for securing the components
- A cordless drill for drilling pilot holes
- A saw for cutting the lumber
- A level for ensuring a straight and even workbench
- A tape measure for precise measurements
- Safety glasses for eye protection
- Wood glue for added stability
Once you have everything you need, you’re ready to get started!
Building the Frame
Begin by creating rectangular frames using the 2x4s. Cut the lumber to the desired lengths and attach them together using wood screws. These frames will form the top and bottom of your workbench.
Adding Legs and Cross Braces
Attach legs to the corners of the bottom frame using wood screws. Make sure they are securely fastened for stability. To provide additional support, add cross braces between the legs. This will prevent wobbling and ensure a strong workbench.
Creating the Work Surface and Shelf
Once the frame is complete, it’s time to add the work surface and optional shelf. Secure the plywood sheets to the top frame using wood screws. Make sure they are level and flush with the edges of the frame. If you decide to include a shelf, attach it to the bottom frame using wood screws.
Congratulations! You’ve successfully built your DIY workbench. Now it’s time to put it to use and start tackling those projects with ease and efficiency.
| Materials | Tools |
|---|---|
| 2x4s | Cordless drill |
| Plywood sheets | Saw |
| Wood screws | Level |
| Safety glasses | Tape measure |
| Wood glue |
Customization Ideas for Your DIY Workbench
Once you have built your basic DIY workbench, you have the opportunity to customize it to meet your specific needs and preferences. Personalizing your workbench allows you to optimize its functionality and make your workspace more efficient. Here are some customization ideas to consider:
- Add a Vise: Installing a vise on your workbench provides a secure grip for holding materials in place. Whether you’re woodworking, metalworking, or working on any DIY project, a vise is a valuable tool that enhances precision and stability.
- Wall-Mounted Shelving: Incorporating wall-mounted shelving above your workbench maximizes vertical space and provides additional storage for tools, equipment, and supplies. You can easily access and organize your frequently used items, keeping them within arm’s reach.
- Flip Top: If you need extra workspace without sacrificing the existing surface area of your workbench, consider adding a flip top. A flip top creates a dual-function workspace and allows you to switch between different work surfaces, such as a flat table or an assembly area.
- Casters for Mobility: Adding casters to your workbench enables you to move it around your garage or workspace with ease. This mobility feature allows you to reposition your workbench to accommodate different projects or optimize space utilization.
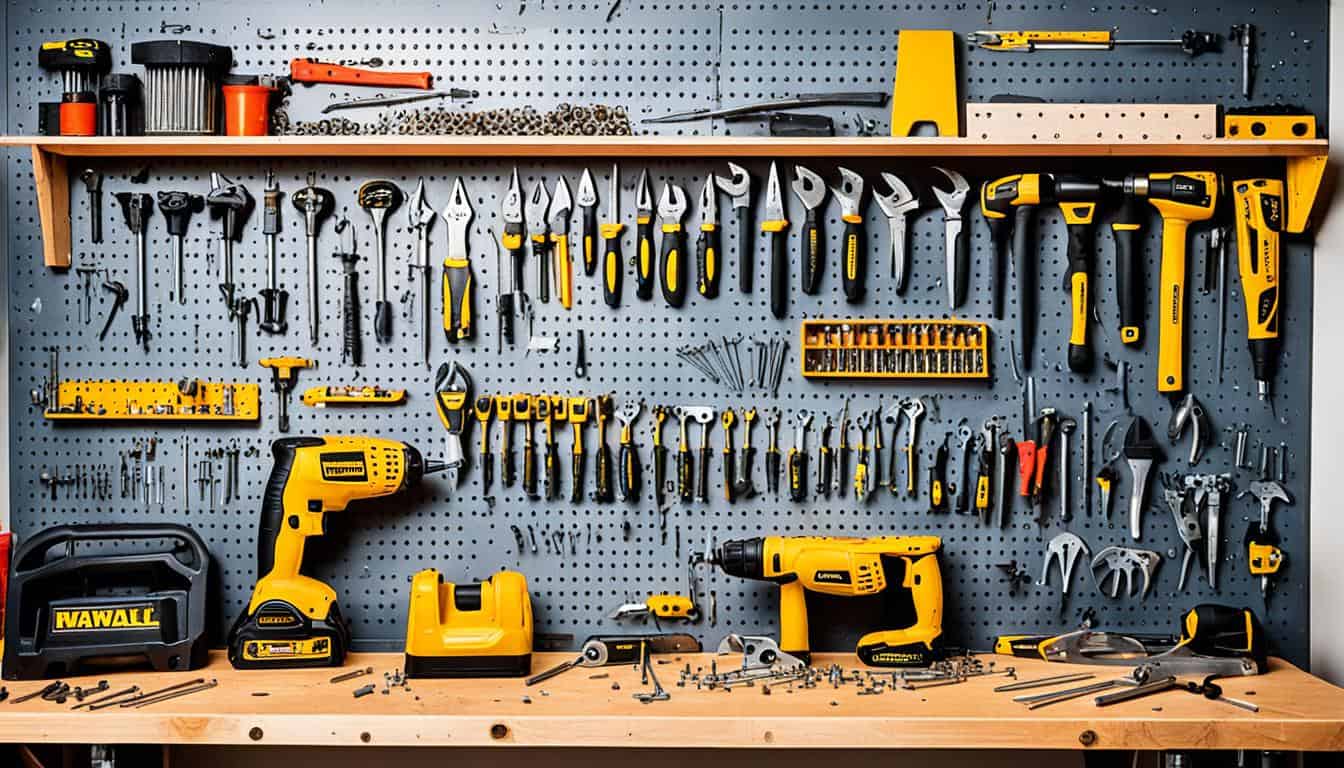
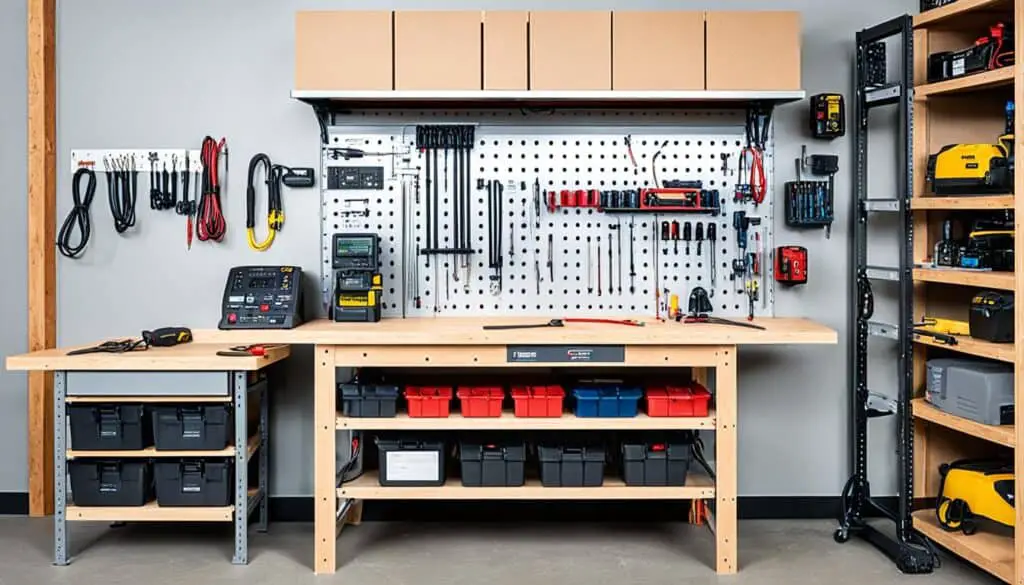
- Pegboard Organization: Incorporating a pegboard into your workbench design provides a customizable and easily accessible tool storage solution. By hanging hooks, bins, and tool holders on the pegboard, you can efficiently organize your tools and supplies, keeping everything within reach and enhancing productivity.
Consider these customization ideas to tailor your DIY workbench to meet your specific needs and create a workspace that enhances your efficiency and productivity. Experiment with different combinations of customization options to create a workbench that perfectly suits your workflow.
Quote:
“Customizing your workbench allows you to create a workspace that aligns with your unique requirements and enhances your professional or DIY projects. Think about the features and functionalities that will make your workbench more efficient and enjoyable to work with.”
| Customization Idea | Description |
|---|---|
| Add a Vise | Install a vise for secure material grip and enhanced stability. |
| Wall-Mounted Shelving | Utilize wall space above the workbench for additional storage. |
| Flip Top | Create a dual-function workspace with a flip top for versatility. |
| Casters for Mobility | Make your workbench portable by adding casters for easy movement. |
| Pegboard Organization | Optimize tool storage and organization with a pegboard system. |
Is Building a DIY Workbench Cheaper?
When it comes to workbenches, you might be wondering whether it is more cost-effective to build your own or buy a ready-made one. Let’s take a closer look at the cost comparison of building versus buying a workbench.
Building a DIY workbench typically offers cost savings compared to purchasing a pre-built workbench. The materials needed for building a workbench, such as lumber and screws, are relatively inexpensive. Even if you need to invest in some tools, the overall cost of building a workbench is usually lower than buying one from a store.
By building your own workbench, you have the advantage of being able to customize it to your exact specifications without the markup that often comes with pre-made furniture. Plus, you can choose materials that fit your budget and still create a sturdy and functional workbench.
Considering the cost of materials, tools, and potential customization, building a DIY workbench can be a more affordable option in the long run. It allows you to allocate your resources wisely and invest in quality materials that will last.
| Building a DIY Workbench | Buying a Pre-built Workbench | |
|---|---|---|
| Material Cost | Relatively inexpensive | Includes markup and shipping costs |
| Customization | Full control over design and features | Limited options |
| Quality | Can choose durable materials | Varies depending on brand and price range |
| Longevity | Built to your specifications for durability | May need to replace or upgrade over time |
As you can see from the cost comparison table above, building a DIY workbench not only offers potential cost savings but also allows you to have full control over the design, quality, and longevity of your workbench.
So, if you’re looking to save money without compromising on functionality and customization, building your own DIY workbench is the way to go. It’s a rewarding project that not only saves you money but also gives you a sense of pride and craftsmanship.
Now that you understand the cost benefits of building a DIY workbench, let’s explore some tips for choosing the right materials in the next section.
Tips for Choosing Materials for Your DIY Workbench
When building a DIY workbench, selecting the right materials is crucial to ensure its durability and functionality. Consider the following tips when choosing lumber for the frame and plywood for the work surface.
Selecting Lumber for the Frame
For the frame of your workbench, standard framing 2x4s made of pine are a popular and affordable option. Pine is readily available, easy to work with, and provides sufficient strength for most DIY projects. It is a versatile and cost-effective choice that can withstand regular use.
Tip: Opt for kiln-dried or pressure-treated pine for added resistance to moisture and decay, especially if your workbench will be exposed to damp or humid conditions.
However, if you anticipate heavy usage or require a workbench with exceptional durability, choose hardwood lumber like oak or maple. Hardwood is more resilient and can withstand greater pressure and wear over time.
Tip: Hardwood lumber offers superior strength and stability, making it an excellent choice for those who work with heavy tools or frequently engage in intense projects.
Choosing Plywood for the Work Surface
The work surface of your DIY workbench should be sturdy and stable, able to handle the weight of various projects and materials. Plywood is a popular choice for workbench surfaces due to its strength, affordability, and ease of installation.
When selecting plywood, opt for sheets that are at least 3/4-inch thick. Thicker plywood will provide greater stability and reduce the risk of sagging or warping over time. Additionally, consider using a higher-grade plywood such as Baltic birch for increased durability.
Tip: To reduce the chance of splintering and improve the work surface’s smoothness, choose plywood with a finish-grade or sanded surface.
Overall, the selection of lumber and plywood for your DIY workbench should prioritize strength, stability, and suitability for your specific projects. By choosing the right materials, you can create a workbench that will serve you well for years to come.
Adding a Vise to Your DIY Workbench
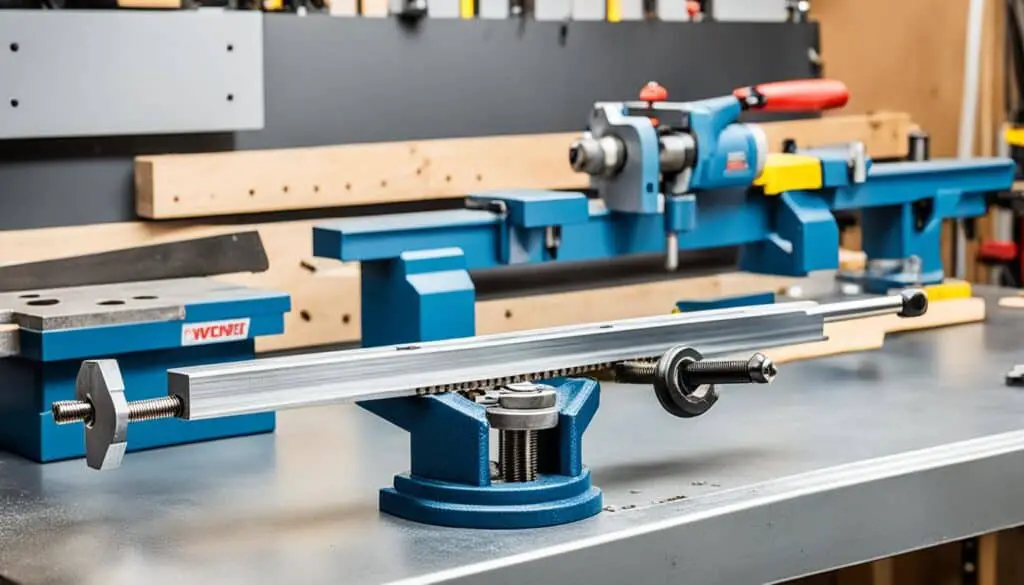
A vise is an essential tool for any DIY workbench, particularly for woodworking projects. It provides a secure grip and holding power, allowing you to work with precision and ease. The process of attaching a vise to your workbench involves a few simple steps, ensuring that it is securely mounted and ready to use.
Here’s a step-by-step guide on how to attach a vise to your DIY workbench:
- Choose the right vise type: There are various types of vises available, such as bench vises, woodworking vises, and engineer vises. Consider your specific needs and the type of projects you’ll be working on to determine the best vise type for your workbench.
- Select a suitable position: Decide where on your workbench you want to mount the vise. Keep in mind that you’ll need ample space around it to maneuver materials and tools.
- Prepare the workbench: Ensure that the area where you plan to attach the vise is clean and free from any debris or obstacles. It’s also a good idea to measure and mark the exact position where the vise will be mounted.
- Attach the mounting plate or clamp: Most vises come with a mounting plate or clamp that needs to be attached to the underside of the workbench. Position the plate or clamp in alignment with the desired location and secure it with the provided screws or bolts.
- Align the vise: Once the mounting plate or clamp is securely in place, align the vise body with the plate or clamp. Ensure that it sits level and parallel to the workbench surface.
- Secure the vise: Using the necessary fasteners, tighten the vise body onto the mounting plate or clamp. Check for stability and make any adjustments if needed.
- Test the vise: To ensure proper functionality, test the vise by clamping various materials of different sizes. Check if the vise holds the materials securely without any wobbling or slippage.
By following these steps, you can successfully attach a vise to your DIY workbench, enhancing its versatility and usability.
Wall-Mounted Shelving for Your Workbench
If you’re looking to maximize storage space in your DIY workbench, consider adding wall-mounted shelving behind it. This will provide you with additional space to keep your tools and supplies organized and easily accessible. One popular option for wall-mounted shelving is to use French cleats, as they allow for easy rearrangement and customization.
To add wall-mounted shelving to your workbench, follow these simple steps:
- Cut shelves to size: Measure and cut shelves from plywood or other suitable materials to fit the space you have available above your workbench.
- Cut French cleats at a 45-degree angle: Use a saw to cut the French cleats at a 45-degree angle. This will allow the shelves to securely attach to the wall and provide stability.
- Attach cleats to the wall and shelves: Use screws or nails to attach the French cleats to the wall, ensuring they are level and properly spaced. Then, attach the corresponding cleats to the back of the shelves.
- Lock the shelves in place: Fit the cleats on the shelves into the cleats on the wall, making sure they align properly. This will securely lock the shelves in place and prevent them from accidentally falling.
By adding wall-mounted shelving to your workbench, you can create a functional and efficient storage solution for your tools and supplies. It will keep your workspace neat and organized, allowing you to focus on your projects with ease.
Adding a Flip Top to Your Workbench
If you need extra workspace without sacrificing your existing workbench, consider adding a flip top. This innovative feature allows you to extend your workbench workspace whenever required. Whether you need to accommodate larger projects or simply want more room to organize your tools and materials, a flip top is an excellent solution.
To add a flip top to your workbench, follow these steps:
- Cut a piece of plywood to the desired size for the flip top. Ensure that it fits comfortably on your workbench without obstructing any other features or storage compartments.
- Attach hinges to both the new plywood top and the existing workbench top. Choose sturdy hinges that can support the weight of the flip top.
- Create support for the flip top using a gate leg that swings out from the side of the workbench. This leg will provide stability and ensure that the flip top remains secure when in use.
- Test the functionality of the flip top by opening and closing it several times. Make any necessary adjustments to ensure smooth operation.
Once the flip top is installed, you can easily switch between different work surfaces. It’s perfect for accommodating projects of various sizes or when you need temporary space for assembly or organization.
Consider the following factors when adding a flip top:
- Ensure that the hinges are securely attached and provide enough support for the weight of the flip top.
- Choose a gate leg that is durable and stable. It should swing out smoothly and lock securely in place when the flip top is open.
- Opt for a plywood top that is sturdy and able to withstand the demands of your projects. Consider using a high-quality plywood or adding additional reinforcement if needed.
Adding a flip top to your workbench is a practical and efficient way to extend your workspace without the need for a larger bench. It allows you to maximize the available space in your workshop and enhance your productivity.
Adding Casters for Mobility
If you frequently move around your garage or worksite, adding casters to your workbench can make it mobile. With the flexibility of a mobile workbench, you can easily transport it to different areas as needed, allowing for greater convenience and efficiency in your projects.
To add casters to your workbench, follow these simple steps:
- Attach 4×4 blocks to the bottom of the legs or shelf of your workbench. Make sure they are securely fastened with screws or bolts to provide a stable base for the casters.
- Choose heavy-duty casters that can support the weight of your workbench and provide smooth movement. Screw the casters into the 4×4 blocks, ensuring they are properly aligned and firmly attached.
- Test the mobility of your workbench by gently pushing it in different directions. Check for any wobbling or instability and make necessary adjustments or repairs to ensure a sturdy and safe mobile workbench.
By adding casters to your workbench, you’ll have the flexibility to move it wherever you need it most. Whether you’re working on a woodworking project in your garage or completing tasks at a construction site, a mobile workbench with casters allows for easy maneuverability and enhances your overall productivity.
Remember to consider the weight capacity of the casters and choose ones that can support the combined weight of your workbench and any materials or tools you’ll be using. Additionally, consider the type of surface you’ll be moving the workbench on to avoid potential damage or difficulties in mobility.
Benefits of Adding Casters to Your Workbench
Adding casters to your workbench provides several advantages:
- Improved Mobility: Easily move your workbench to different locations, saving time and effort.
- Flexibility: Adapt your workbench to the changing needs of your projects by being able to relocate it as required.
- Space Optimization: Utilize your workspace efficiently by easily repositioning your workbench to create a better workflow.
- Versatility: Use your mobile workbench for various tasks, whether in your garage, workshop, or on the job site.
With the simple addition of casters, you can transform your stationary workbench into a versatile and mobile workstation, making it easier to tackle a wide range of projects with convenience and efficiency.
Organizing Tools with a Pegboard
To keep your smaller hand tools and supplies neatly organized on your DIY workbench, consider using a pegboard. The pegboard provides an efficient and accessible storage solution, allowing you to easily locate and retrieve your tools when needed. Additionally, you can add small containers to the pegboard to hold screws, nuts, bolts, and other supplies, keeping them within reach during your projects.
Here’s a step-by-step guide on how to organize your tools using a pegboard:
- Create a frame for the pegboard using wood strips or planks.
- Attach the frame to the worktop of your workbench using wood screws, ensuring it is securely in place.
- Next, attach the pegboard to the frame using screws or hooks designed for pegboards.
- Utilize hooks, pegboard containers, and specialized holders to maximize the organization of your tools and supplies on the pegboard.
The pegboard allows you to hang your tools vertically, making them easily visible and accessible. It also helps to free up valuable workspace on your workbench, ensuring that your tools are within arm’s reach without cluttering the surface.
By implementing a pegboard for tool organization, you can enhance the efficiency and functionality of your DIY workbench, ensuring that you have a well-organized workspace for all your projects.
Conclusion
Building a DIY workbench offers a multitude of benefits. By following the step-by-step guide and considering customization ideas, you can create a workbench that not only suits your specific needs and projects but also saves you money. The DIY approach allows you to customize every aspect of your workbench, including its size, storage options, and design. This ensures that your workbench is perfectly tailored to your work style and requirements.
Not only is building a DIY workbench cost-effective, but it also gives you the opportunity to develop new skills and gain experience with your tools. Throughout the building process, you’ll become more familiar with different woodworking techniques and understand the mechanics of constructing a solid and functional workbench.
Remember to carefully choose the materials for your workbench, considering factors such as durability and cost. Adding a vise, wall-mounted shelving, a flip top, casters, or a pegboard can further enhance the functionality of your workbench and help you stay organized. With a DIY workbench, you’ll have a reliable and personalized workspace that will make your DIY projects more efficient and enjoyable.
FAQ
What are the benefits of building a DIY workbench?
Building a DIY workbench allows you to customize it to suit your specific needs and projects. It is a cost-effective option compared to buying a pre-built workbench. By building your own workbench, you also have the opportunity to develop new DIY skills and gain experience with your tools.
What materials do I need to build a DIY workbench?
To build a DIY workbench, you will need materials such as 2x4s, plywood sheets, wood screws, a cordless drill, a saw, a level, a tape measure, safety glasses, and wood glue. The type of lumber you choose, such as pine or hardwood, will depend on your preferences and desired durability.
Can you provide a step-by-step guide to building a DIY workbench?
Certainly! To build a basic DIY workbench, you can follow these steps: create rectangular frames using 2x4s, attach the frames together to form the top and bottom of the workbench, attach legs to the frames, add additional support with cross braces, and finally, attach plywood sheets to create the work surface and optional storage shelf.
How can I customize my DIY workbench?
Once you have built your basic DIY workbench, you can customize it by adding a vise for holding materials in place, wall-mounted shelving for additional storage, a flip top for added workspace, casters for mobility, or a pegboard for organizing tools and supplies.
Is building a DIY workbench cheaper than buying one?
Yes, building a DIY workbench is generally more cost-effective compared to buying a pre-built workbench. The materials needed for building a workbench, such as lumber and screws, are relatively inexpensive. Even if you need to purchase some tools, the overall cost of building a workbench is usually lower than buying one from a store.
What factors should I consider when choosing materials for my DIY workbench?
When choosing materials for your DIY workbench, consider factors such as durability and cost. Standard framing 2x4s made of pine are a popular and affordable option for the frame of the workbench. If you desire a workbench that can withstand heavy usage, consider using hardwood lumber such as oak or maple. Plywood sheets should be at least 3/4-inch thick for stability.
How can I add a vise to my DIY workbench?
To add a vise to your DIY workbench, choose a vise type that suits your needs and mount it in a suitable position on your workbench. Installation typically involves attaching a mounting plate or clamp and aligning it with the desired location on the workbench.
How can I add wall-mounted shelving to my workbench?
To add wall-mounted shelving to your workbench, use French cleats for easy rearrangement and customization. Cut shelves to size, cut French cleats at a 45-degree angle, attach them to the wall and shelves, and lock the shelves in place by fitting the cleats together.
How can I add a flip top to my workbench?
To add a flip top to your workbench, cut plywood to the desired size, attach hinges to the new and existing top, and create support with a gate leg that swings out from the side of the workbench. This allows you to easily switch between different work surfaces.
How can I add casters for mobility to my workbench?
To add casters to your workbench, attach 4×4 blocks to the bottom of the legs or shelf, then screw heavy-duty casters into the blocks. This allows you to easily move the workbench as needed.
How can I organize tools with a pegboard on my workbench?
To organize tools with a pegboard on your workbench, create a frame for the pegboard, attach it to the worktop using wood screws, and then attach the pegboard to the frame. Utilize hooks and pegboard containers to maximize organization.
What are the key takeaways about building a DIY workbench?
Building a DIY workbench is a cost-effective and customization-friendly option for creating a functional workspace. By following the step-by-step guide and considering customization ideas, you can create a workbench that suits your specific needs and projects.


