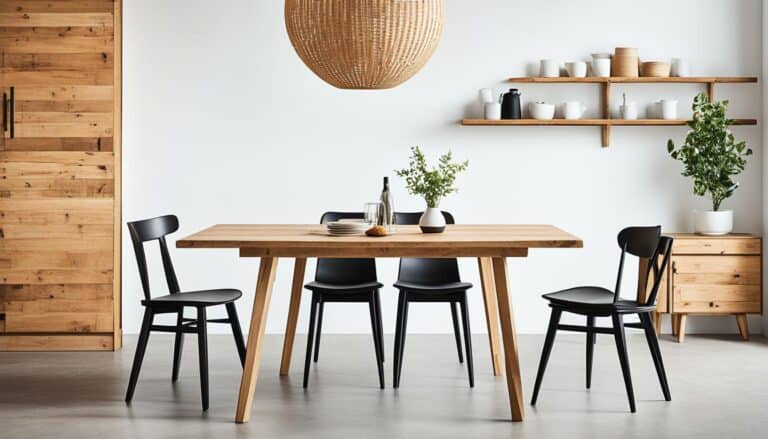
Are you tired of searching for the perfect bed frame that fits your style and budget? Why not take matters into your own hands and build your own DIY queen bed frame? Not only will it allow you to unleash your creativity, but it can also save you money in the process. So, are you ready to embark on this exciting DIY project?
- Building your own DIY queen bed frame gives you the freedom to customize the design and style to match your preferences.
- It is a cost-effective alternative to buying a pre-made bed frame.
- Building a DIY queen bed frame can be a fun and rewarding project that adds a personal touch to your bedroom.
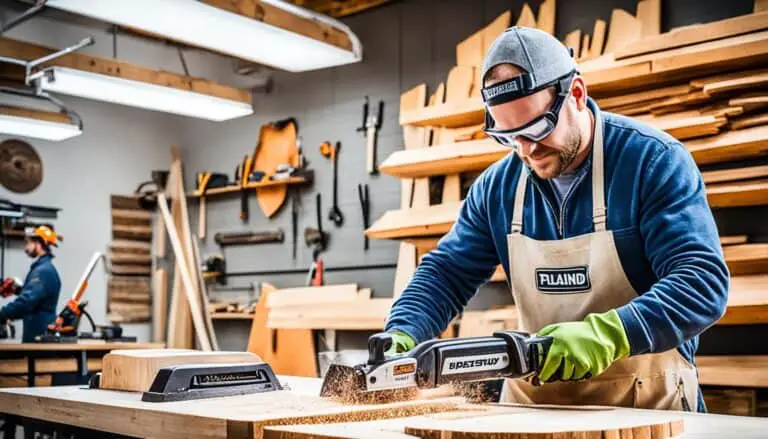
- To build a DIY queen bed frame, you will need essential tools such as a Kreg pocket hole jig, miter saw, drill, impact driver, and finish nailer.
- Follow our step-by-step instructions to cut the wood pieces to the correct measurements and assemble the bed frame.
Benefits of Building Your Own Bed Frame
Building your own bed frame offers several benefits. Firstly, it allows you to customize the design and style to match your preferences. Instead of settling for a generic pre-made bed frame, you can create a unique piece of furniture that reflects your personal taste and complements the overall aesthetic of your bedroom.
Secondly, building your own bed frame can be a cost-effective alternative to purchasing one from a store. By using DIY wooden bed frame plans, you can save money by sourcing materials and constructing the frame yourself. This is especially beneficial if you are working within a specific budget or looking to get the most value for your investment.
Lastly, embarking on a DIY project like building a queen size bed frame can be a fulfilling and enjoyable experience. It allows you to engage in a hands-on activity and unleash your creativity. From conceptualizing the design to executing the construction, the process offers a sense of accomplishment and satisfaction as you witness your vision come to life.
“Building your own bed frame provides the opportunity to showcase your unique style and craftsmanship while saving money in the process.”
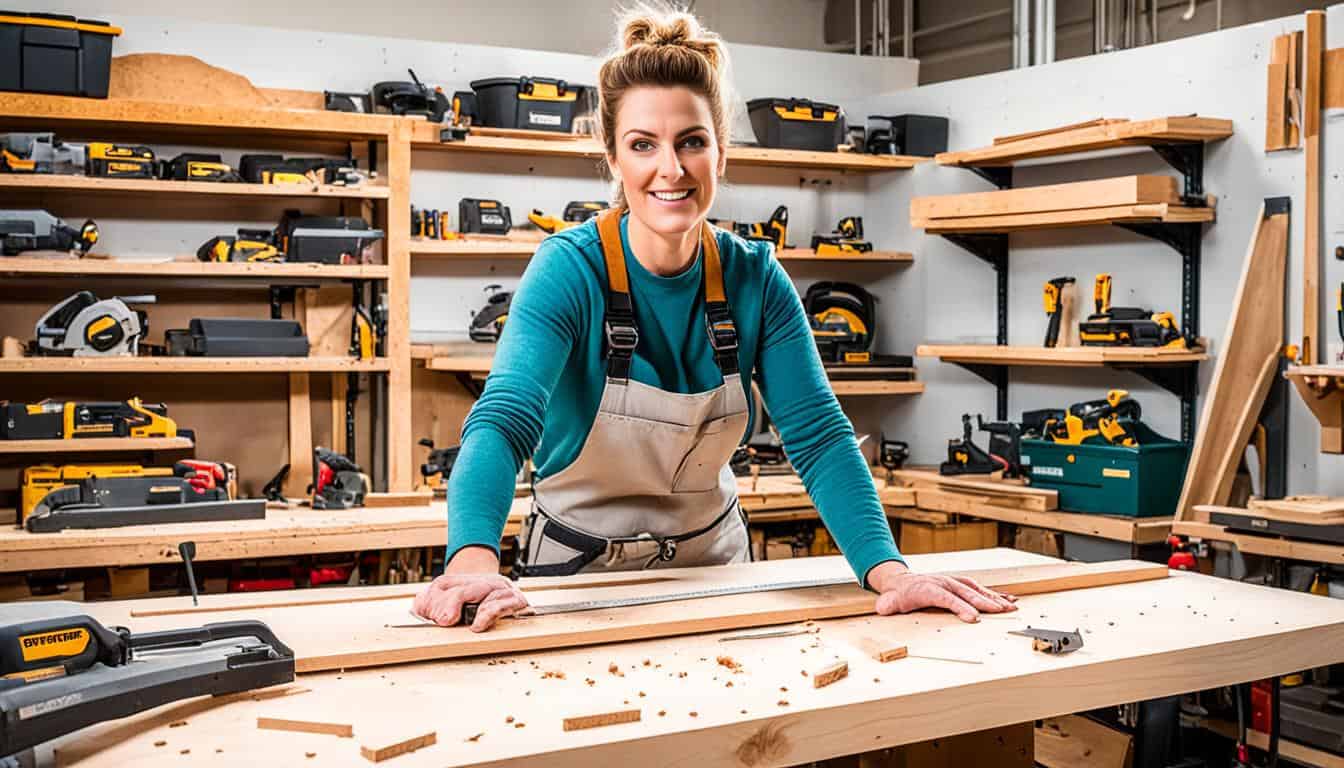
To further illustrate the benefits, consider the case of Jane, a DIY enthusiast who decided to build her own queen bed frame. Jane wanted a sleek and minimalist design, but she couldn’t find a pre-made bed frame that matched her vision. By following easy DIY queen bed frame plans and utilizing her woodworking skills, she was able to create a stunning bed frame that perfectly suited her style. Not only did Jane save money compared to purchasing a similar bed frame, but she also gained a sense of pride and accomplishment in crafting a custom piece of furniture for her bedroom.
If you’re ready to embark on this rewarding DIY project, continue reading to explore the tools and materials needed to build your own queen bed frame.
Tools and Materials Needed
To build a DIY queen bed frame, you will need several tools and materials. Here are the essential items you’ll need:
Tools:
- Kreg pocket hole jig
- Miter saw or circular saw
- Drill
- Impact driver
- Finish nailer
Materials:
- 4×4 boards
- 2×8 boards
- 2×6 boards
- 2×2 boards
- 2×4 boards
- Screws
- Glue
- Sandpaper
- Paint or stain for finishing
Having these tools and materials readily available will ensure a smooth and successful construction of your DIY queen bed frame. Now, you’re all set to move on to the next steps!
Cutting and Assembly Instructions
Follow our step-by-step bed frame instructions to easily build your own DIY queen bed frame. The assembly process involves building the headboard, footboard, rails, and center support. By using bed rail brackets and joist hangers, you can simplify the assembly process and ensure a sturdy bed frame.
Cutting the Wood Pieces
Before you start assembling the bed frame, it’s important to cut the wood pieces to the correct measurements. Refer to the provided build plans for the specific measurements based on the bed size you want to build. Using a miter saw or circular saw, carefully cut the 4×4, 2×8, 2×6, 2×2, and 2×4 boards according to the instructions.
Building the Headboard
Begin the assembly process by building the headboard. Follow the step-by-step instructions in the build plans to attach the cut headboard pieces together using pocket holes and wood glue. This will create a secure and visually appealing headboard for your DIY queen bed frame.
Constructing the Footboard
The footboard is another essential component of the bed frame. Using the provided measurements and instructions, assemble the footboard by attaching the cut pieces together with pocket holes and wood glue. This will ensure a strong and durable footboard that complements the overall design of the bed.
Attaching the Rails
The rails connect the headboard and footboard, providing stability to the bed frame. Use bed rail brackets to securely attach the rails to the headboard and footboard. This will simplify the assembly process and allow for easy disassembly if needed.
Installing the Center Support
To enhance the overall strength and support of the bed frame, install a center support. Cut a 2×4 board to the specified measurements and attach it using joist hangers. This will prevent sagging and ensure the longevity of your DIY queen bed frame.
| Common Tools Needed: | Common Materials Needed: |
|---|---|
|
|
Now that you have cut the wood pieces to the correct measurements and assembled the headboard, footboard, rails, and center support, you’re one step closer to completing your easy DIY queen bed frame. The next section will cover the different styles of bed frames and how they can suit your preferences.
Platform Style Bed vs. Traditional Bed
When considering a DIY queen bed frame, it’s important to understand the differences between a platform style bed and a traditional bed. Our DIY queen bed frame is designed as a platform-style bed, eliminating the need for a box spring. Instead, the mattress is placed directly on the bed frame, providing a sleek and modern look for your bedroom.
If, however, you prefer the traditional style of a bed with a box spring, you have the flexibility to adjust the design. Lowering the 2×2 boards on the rails will allow you to accommodate a box spring, ensuring the desired comfort and height.
When it comes to mattress support, you also have options. In a platform-style bed, bed slats can be used to provide a sturdy base for your mattress. Alternatively, you can opt for plywood for added support and stability.
Cut List and Measurements
When building your own queen bed frame, accuracy in measurements is crucial to ensure a sturdy and well-fitted final product. The provided build plans include a comprehensive cut list with specific measurements for each size of the bed frame, ranging from twin to California king.
Measurement is key:
The cut list specifies the number of boards needed for each bed size, minimizing waste and ensuring cost-effective construction. Whether you’re crafting a cozy twin bed or an expansive California king, the build plans provide detailed measurements for all the necessary components of the bed frame, including headboard, footboard, rails, and center support.
Here is an example of the cut list for a queen bed frame:
| Component | Quantity | Measurement |
|---|---|---|
| Headboard | 2 | 64″ x 36″ |
| Footboard | 2 | 64″ x 18″ |
| Side Rails | 2 | 80″ x 6″ |
| Center Rail | 1 | 80″ x 4″ |
| Slats | 12 | 79″ x 3″ |
These measurements will guide you throughout the building process, helping you achieve precise cuts and seamless assembly. Take the time to double-check your measurements and ensure that each component fits together securely, guaranteeing a durable and well-designed queen bed frame.
Building the Footboard
The footboard is a crucial component of your DIY queen bed frame. It not only provides stability but also adds to the overall aesthetic appeal of your bed. To ensure a strong and durable footboard, you will assemble it using pocket holes and wood glue, creating secure joints that can withstand the test of time.
Before you begin, refer to the provided build plans for detailed instructions on cutting the footboard pieces to the correct measurements. Taking accurate measurements is essential to ensure the proper fit and alignment of the footboard.
Once you have the necessary components ready, follow these steps to assemble the footboard:
- Apply wood glue to the joining edges of the footboard pieces.
- Using a pocket hole jig, create pocket holes along the edges where the pieces will be joined together. This will provide additional strength and support to the joints.
- Align the pieces according to the measurements and press them firmly together, ensuring the pocket holes are properly aligned.
- Insert screws into the pocket holes and tighten them to securely fasten the pieces together.
- Wipe off any excess wood glue using a damp cloth.
- Allow the footboard to dry completely before continuing with the assembly of the bed frame.
By following these steps and utilizing pocket holes and wood glue, you will create a sturdy and visually pleasing footboard for your DIY queen bed frame. The footboard plays an important role in ensuring the overall stability and durability of the bed.


Building the Headboard
The headboard is an essential component of your DIY queen bed frame. It not only adds a decorative element to your bedroom but also provides support and stability for your mattress. Assembling the headboard involves careful measurements and the use of pocket holes and wood glue to create secure joints. Follow the step-by-step instructions below to build your headboard and attach it to the bed frame.
Cutting and Preparing the Headboard Pieces
Before assembly, you’ll need to cut the headboard pieces to the correct measurements. Refer to the provided build plans for precise dimensions based on your bed size. Use a miter saw or circular saw to make straight cuts, ensuring accuracy for a seamless fit. Once cut, sand the edges and surfaces of the wood to remove any rough spots and create a smooth finish.
Creating Pocket Holes
To ensure sturdy and secure joints, pocket holes are used in the headboard assembly. A Kreg pocket hole jig is a handy tool that allows you to create these holes with precision. Align the jig with the specified measurements and clamp it in place. Attach the drill bit to your drill and drill pocket holes at the marked locations on the headboard pieces.
Assembly with Wood Glue
Once you have the pocket holes prepared, it’s time to assemble the headboard. Apply a thin layer of wood glue to the edges of the headboard pieces that will be joined together. Align the pieces according to the build plans and insert screws through the pocket holes to secure the joints. Tighten the screws until the pieces are firmly held together, ensuring the headboard is square and level.
Attaching the Headboard to the Bed Frame
After the headboard assembly is complete, you can attach it to the bed frame. Position the headboard at the desired height and align it with the bed frame rails. Use screws or bolts to secure the headboard to the rails, ensuring a tight and stable connection. Refer to the build plans for recommended attachment methods based on your specific bed frame design.
By following these steps, you’ll be able to build your headboard and attach it to your DIY queen bed frame. The use of pocket holes and wood glue ensures a strong and durable headboard that will enhance the overall look and functionality of your bed. Continue to the next section to learn how to build the rails and complete your bed frame.
Building the Rails
The rails of the DIY queen bed frame play a crucial role in connecting the headboard and footboard. To ensure a secure and stable connection, the rails are assembled using bed rail brackets. These brackets provide the necessary support and strength for the bed frame, ensuring that it can withstand regular use without any wobbling or instability.
When attaching the bed rail brackets, it’s important to follow the detailed instructions provided in the build plans. This will ensure that the rails are aligned properly and securely fastened to both the headboard and footboard. The build plans will also specify the appropriate placement of the bed rail brackets for optimal support and stability.
Using bed rail brackets simplifies the assembly process, making it easier for even DIY beginners to build a sturdy and reliable queen bed frame. The brackets eliminate the need for complex joinery techniques and ensure a consistent and secure connection.
Once the bed rail brackets are properly attached, you can continue with the assembly of the rest of the bed frame components, such as the center support and mattress support. Following the comprehensive build plans will guide you through each step, ensuring that you achieve a successful and satisfying DIY project.

Image: Bed rail brackets provide secure and stable connections between the rails, headboard, and footboard.
Building the Center Support
To provide additional support to your DIY queen bed frame, a center support is included in the design. The center support is assembled using a 2×4 board and joist hangers, ensuring stability and durability for your bed frame.
“The center support plays a crucial role in distributing the weight of the mattress and the sleeper to prevent sagging and ensure a comfortable sleep experience.”
Follow the specific measurements and instructions provided in the build plans to attach the center support securely to your bed frame. The joist hangers will hold the center support in place, providing the necessary reinforcement for long-lasting stability.
| Materials | Tools |
|---|---|
|
|
Finishing Touches
Once you have completed the assembly of your DIY queen bed frame, it’s time to give it the perfect finishing touches. This step is essential to ensure not only a smooth and polished look but also to protect the wood and enhance its overall appearance. The finishing touches generally involve four key processes: sanding, painting, staining, and sealing.
Sanding
Start by sanding the wood surfaces of your bed frame. Sanding helps to smooth out any rough edges or imperfections, resulting in a professional finish. Use fine-grit sandpaper to gently sand all exposed wood areas, paying attention to corners and edges for a uniform texture. Take your time during this process to achieve the desired smoothness, and be sure to remove any dust or debris before moving on to the next step.
Painting
If you prefer a colorful or customized look, painting your bed frame is an excellent option. Choose a paint color that complements your bedroom decor and apply it evenly to the sanded wood surfaces. Consider using a roller or paintbrush for larger areas and a smaller brush for intricate details. Allow the paint to fully dry before proceeding to the next step.
Staining
For a more natural and earthy look, staining the wood is a popular choice. Stains come in various shades, allowing you to achieve different levels of richness and depth. Apply the stain to the sanded wood surfaces using a brush or rag, following the manufacturer’s instructions. Apply multiple coats of stain if desired, ensuring that each coat fully dries before adding the next. This will help you achieve the desired color intensity and enhance the wood grain.
Sealing
To protect your bed frame and preserve its beauty for years to come, it’s crucial to apply a sealant. A sealant acts as a barrier against moisture, dirt, and other potential damage. Choose a sealant appropriate for the type of finish you desire, such as a clear polyurethane for painted frames or a clear wood sealer for stained frames. Apply the sealant according to the instructions, ensuring complete coverage on all exposed wood surfaces.
By following these steps of sanding, painting, staining, and sealing, you will transform your DIY queen bed frame into a masterpiece. Not only will it be visually appealing, but it will also be protected and durable, ensuring long-lasting enjoyment for years to come.
Adding the Mattress Support
The mattress support is the final step in completing the DIY queen bed frame. Depending on your preference, you can choose between two options: using bed slats or plywood to support the mattress. Both options offer stability and comfort, so it’s up to you to decide which one suits your needs.
Using Bed Slats
Bed slats are a popular choice for mattress support. They are typically made of strong, durable wood and provide even weight distribution to ensure a comfortable sleep. Here’s how you can properly install bed slats within the bed frame:
- Measure the distance between the side rails of the bed frame.
- Cut the bed slats to fit the measured distance. Ensure that the slats are evenly spaced to provide adequate support.
- Place the bed slats perpendicular to the side rails, ensuring they are securely fastened.
- Double-check that the bed slats are level and evenly spaced before placing the mattress on top.
Using Plywood
Alternatively, you can choose to use plywood as a mattress support. Plywood offers excellent stability and can provide a firm surface for your mattress. Follow these steps to properly install plywood within the bed frame:
- Measure the dimensions of the bed frame to determine the size of the plywood needed.
- Cut the plywood to fit the dimensions of the bed frame accurately.
- Place the plywood on top of the bed frame, ensuring it covers the entire surface.
- Secure the plywood to the bed frame using screws or nails, making sure it is firmly attached.
- Double-check that the plywood is securely in place before placing the mattress on top.
Remember, regardless of whether you choose bed slats or plywood, it’s crucial to ensure proper support for your mattress. This will help extend its lifespan and provide you with a comfortable and restful sleep.
Conclusion
Building your own DIY queen bed frame is a rewarding and cost-effective project that allows you to create a personalized and unique piece of furniture for your bedroom. With the provided build plans and step-by-step instructions, you can easily build a sturdy and stylish bed frame that suits your needs and style preferences. By embarking on this easy DIY project, you will not only save money but also experience the satisfaction of creating a functional and beautiful centerpiece for your bedroom.
Whether you are a seasoned DIY enthusiast or just starting out, building a homemade queen bed frame is a great way to showcase your craftsmanship and creativity. By customizing the design and selecting the materials that resonate with your style, you can create a bed frame that perfectly complements your bedroom decor.
Remember to take measurements accurately, follow safety precautions, and use the right tools to ensure a successful construction process. Throughout the project, pay attention to detail and take your time to achieve precise cuts and secure joints. The result will be a long-lasting bed frame that provides a comfortable and stylish sleep surface for years to come.
So why not embark on this easy DIY project and become your own DIY queen bed frame expert? Enjoy the pride and fulfillment that come with creating a unique and personal space in your bedroom.
Get Inspired:
“The work you do while you procrastinate is probably the work you should be doing for the rest of your life.”
– Jessica Hische
Recommended Materials:
| Tools | Materials |
|---|---|
| Kreg pocket hole jig | 4×4 boards |
| Miter saw or circular saw | 2×8 boards |
| Drill | 2×6 boards |
| Impact driver | 2×2 boards |
| Finish nailer | 2×4 boards |
| Screws | |
| Glue | |
| Sandpaper | |
| Paint or stain |

References
The information and instructions provided in this article are based on various sources, including DIY bed frame tutorials, plans, and woodworking resources. These references serve as a valuable source of information and inspiration for readers interested in building their own bed frames.
Disclaimer
In your journey to build your own DIY queen bed frame, it is crucial to prioritize safety and exercise caution throughout the process. Building DIY projects requires proper woodworking skills and adherence to safety precautions to avoid any potential accidents or injuries. Remember to always follow the manufacturer instructions for tools and equipment, wear appropriate protective gear, and take extra care when using power tools.
The information provided in this article is for informational purposes only and should not be considered as professional advice or instruction. It is essential to consult with a professional or seek expert guidance if you have any doubts or concerns about your woodworking skills or the specific project you are undertaking.
Remember, everyone’s DIY journey is unique, and results may vary based on individual skill levels and specific project conditions. Prioritize your safety and the safety of others around you while working on your DIY queen bed frame project.
Recommended Resources
If you’re considering building your own DIY queen bed frame, here are some recommended resources to help you get started:
- Kreg Pocket Hole Jig: This handy tool is perfect for creating strong and secure joints in your bed frame. It allows you to connect wood pieces with precision and ease.
- High-Quality Lumber Materials: Opt for sturdy and reliable wood materials, such as Douglas Fir or Southern Yellow Pine, to ensure the durability of your bed frame. These hardwoods are known for their strength and longevity.
- Bed Rail Brackets: To simplify the assembly and disassembly of your queen bed frame, consider using bed rail brackets. These brackets make it easy to connect and disconnect the various components of your bed frame.
- Sandpaper and Finishes: Achieve a smooth and attractive finish by using sandpaper to prepare the wood surfaces and applying finishes such as paint or stain. This will protect the wood and enhance the overall appearance of your bed frame.
- Woodworking Tools: Essential tools like a miter saw and drill will be necessary for precise cuts and assembly. These tools will help you achieve accurate measurements and create a sturdy and well-built DIY bed frame.
By utilizing these recommended resources, you’ll have all the necessary tools and materials to successfully build your own DIY queen bed frame. Get ready to embark on an exciting and rewarding project that will provide you with a beautiful and customized bed for years to come.
FAQ
What are the benefits of building your own bed frame?
Building your own bed frame allows you to customize the design and style to match your preferences, it is a cost-effective alternative to buying a pre-made bed frame, and it can be a fun and rewarding DIY project.
What tools and materials do I need to build a DIY queen bed frame?
Essential tools include a Kreg pocket hole jig, miter saw or circular saw, drill, impact driver, and finish nailer. Additionally, you will need various wood products such as 4×4 boards, 2×8 boards, 2×6 boards, 2×2 boards, 2×4 boards, and screws, glue, sandpaper, and paint or stain for finishing.
What are the cutting and assembly instructions for building a DIY queen bed frame?
Follow our step-by-step instructions to cut the wood pieces to the correct measurements and assemble the DIY queen bed frame. The assembly process involves building the headboard, footboard, rails, and center support. Detailed measurements and assembly steps can be found in the provided build plans for different bed sizes.
What is the difference between a platform-style bed and a traditional bed?
Our DIY queen bed frame is designed as a platform-style bed, which means it does not require a box spring. Instead, the mattress is placed directly on the bed frame. However, if you prefer a traditional bed with a box spring, you can adjust the design and lower the 2×2 boards on the rails to accommodate the box spring. Additionally, you can choose to use bed slats or plywood for the mattress support.
What are the measurements for a DIY queen bed frame?
The provided build plans include a cut list with specific measurements for each size of the bed frame, including twin, full, queen, king, and California king. The cut list specifies the number of boards needed for each size and provides detailed measurements for all the necessary components of the bed frame.
How do I assemble the footboard of the DIY queen bed frame?
The footboard is assembled using pocket holes and wood glue to create strong joints. The provided build plans offer detailed instructions on how to cut the footboard pieces to the correct measurements and assemble them to create a sturdy and aesthetically pleasing footboard.
How do I assemble the headboard of the DIY queen bed frame?
The headboard assembly involves cutting the pieces to the correct measurements and using pocket holes and wood glue to create secure joints. The provided build plans offer step-by-step instructions on how to assemble the headboard and attach it to the bed frame.
How do I assemble the rails of the DIY queen bed frame?
The rails of the DIY queen bed frame are assembled using bed rail brackets to ensure a secure and stable connection. Detailed instructions on how to attach the brackets to the rails and the headboard/footboard are provided in the build plans.
How do I build the center support for the DIY queen bed frame?
To provide additional support to the DIY queen bed frame, a center support is included in the design. The center support is assembled using a 2×4 board and joist hangers. The build plans provide specific measurements and instructions on how to attach the center support to the bed frame.
What should I do to finish the DIY queen bed frame?
After the assembly of the DIY queen bed frame is complete, it is important to sand the wood surfaces to ensure a smooth finish. You can choose to paint, stain, or seal the bed frame based on your preferred aesthetic. The build plans provide recommendations on finishes and coatings that can be applied to protect and enhance the appearance of the wood.
What can I use for mattress support in the DIY queen bed frame?
The mattress support is the final step in completing the DIY queen bed frame. Depending on your preference, you can choose to use bed slats or plywood to support the mattress. The build plans offer instructions on how to properly install the bed slats or plywood within the bed frame.
What are some recommended resources for building a DIY queen bed frame?
We recommend using a Kreg pocket hole jig for creating strong joints, high-quality lumber materials, such as Douglas Fir or Southern Yellow Pine, for a sturdy frame, bed rail brackets for easy assembly and disassembly, sandpaper and finishes for a smooth and attractive finish, and woodworking tools, such as a miter saw and drill, for precise cuts and assembly.
Is building a DIY queen bed frame a difficult project?
Building your own DIY queen bed frame is a rewarding and cost-effective project that allows you to create a personalized and unique piece of furniture for your bedroom. With the provided build plans and step-by-step instructions, you can easily build a sturdy and stylish bed frame that suits your needs and style preferences. Enjoy the satisfaction of completing an easy DIY project and elevating your bedroom with a custom bed frame.
Is it necessary to have woodworking skills to build a DIY queen bed frame?
Building DIY projects, including a queen bed frame, does require proper safety precautions and some woodworking skills. It is important to follow manufacturer instructions for tools and equipment, wear appropriate protective gear, and exercise caution when working with power tools. Always prioritize safety and refer to professional advice or instruction when needed.