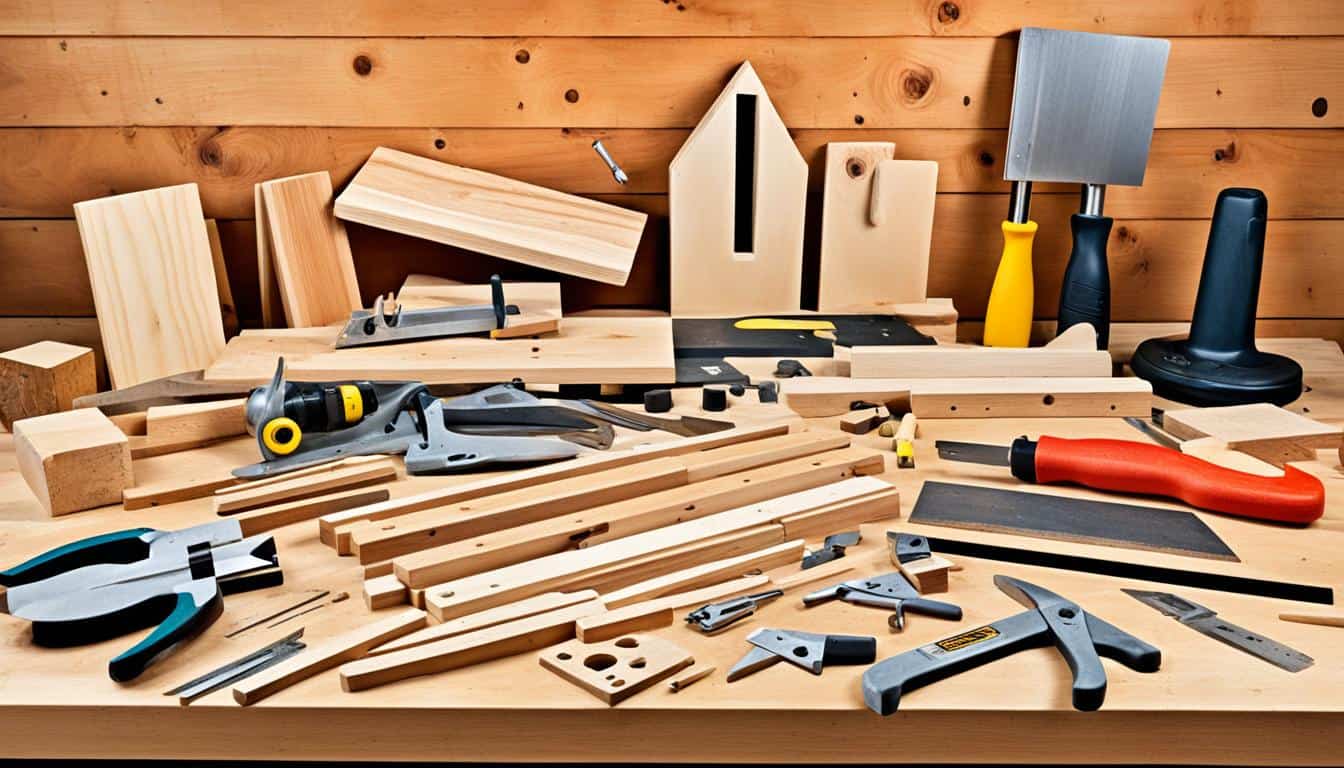
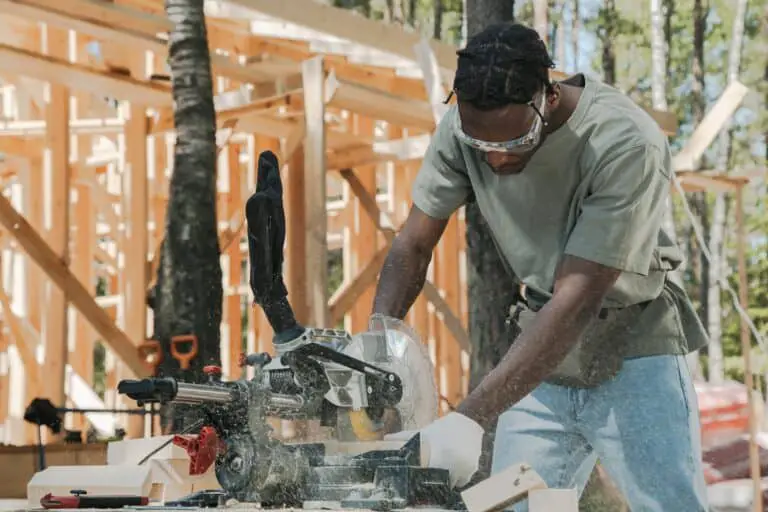
Are you ready to unleash your creativity and embark on a woodworking journey? Whether you’re a beginner or an experienced woodworker, there are plenty of exciting projects waiting for you. From simple DIY wood projects to more intricate designs, woodworking offers endless possibilities for expressing your craftsmanship. But where do you start? And which projects are suitable for your skill level?
In this article, we’ll guide you through a variety of woodworking projects that cater to every skill level. From easy beginner projects to more challenging undertakings, you’ll find inspiration and step-by-step instructions to help you bring your ideas to life.
With the right tools, materials, and a dash of creativity, you can create beautiful and functional pieces for your home. So, are you ready to discover the joy of woodworking and unleash your inner artisan?
Key Takeaways
- Woodworking projects offer endless possibilities for creativity and self-expression.
- Whether you’re a beginner or an experienced woodworker, there are projects suited to your skill level.
- From simple DIY wood projects to more intricate designs, there’s something for everyone.
- With the right tools, materials, and instructions, you can bring your woodworking ideas to life.
- Get ready to embark on a woodworking journey and create beautiful pieces for your home.
Magazine Rack
Building a magazine rack is a great woodworking project for beginners. With a few evenings of work, you can create a stylish and functional piece to keep your magazines organized. The project involves constructing a pair of identical 3-piece frames that are joined together with a self-locking half-lap. You can choose any type of wood for this project, but yellow poplar is a popular choice due to its availability and affordability. By following the provided woodworking plans, you can create a magazine rack that fits your personal style and complements your living space.
Building a magazine rack is a great way to add organization and style to your home. Here are the steps to create your own beautiful magazine rack:
- Start by gathering the necessary materials, including wood, screws, sandpaper, a saw, and a drill.
- Measure and cut the wood according to the dimensions provided in the woodworking plans.
- Sand the wood surfaces to create a smooth finish.
- Assemble the frames by joining the 3-piece sections together using self-locking half-lap joinery.
- Secure the frames with screws to ensure stability.
- Finish the magazine rack by sanding any rough edges and applying a protective sealant or paint of your choice.
Once complete, your magazine rack will be ready to display your favorite magazines and keep them organized in style.
Why Build a Magazine Rack?
“A magazine rack is not only a practical storage solution but also a decorative piece that adds visual appeal to any room. By building your own magazine rack, you have complete control over the design, size, and finish, allowing you to create a customized piece that perfectly fits your space.”
Choosing the Right Wood for Your Magazine Rack
When selecting the wood for your magazine rack, consider both the aesthetic and functional aspects. Yellow poplar is a popular choice for its affordability, availability, and attractive grain pattern. However, you can also opt for hardwoods like oak or cherry for a more luxurious appearance. Remember to take into account the durability and stability of the wood to ensure your magazine rack will withstand regular use.
| Pros | Cons |
|---|---|
| Available and affordable | May require additional finishing to enhance durability |
| Attractive grain pattern | Susceptible to dents and scratches |
| Easy to work with | Not as moisture-resistant as some hardwoods |
Now that you have the necessary guidance and materials, it’s time to bring your magazine rack to life. Enjoy the process of creating a unique and functional piece that showcases your woodworking skills. Happy woodworking!
Floating Shelves
Floating shelves are a popular woodworking project that adds both storage and visual interest to any room. These shelves are easy to build and require just a few tools and a bit of lumber. The project involves creating a design layout, cutting the lumber to size, and attaching the shelves to the wall using hidden brackets. Whether you’re looking to display books, photos, or decorative items, floating shelves offer a sleek and modern solution. With a little bit of creativity, you can customize the design and create a unique focal point in your home.
When it comes to woodworking ideas, floating shelves are a versatile option that can be adapted to suit your personal style and space. You can choose from various wood types, finishes, and configurations to match your existing decor or create a standout feature. Adding floating shelves allows you to free up precious floor space while showcasing your favorite items in an elegant and functional way.
To give you an idea of the possibilities, here are some woodworking ideas for floating shelves:
- Create a gallery wall using floating shelves to display a collection of framed artwork or photographs. Arrange the shelves in a visually appealing layout to add depth and interest to your wall.
- Design a minimalist storage solution in your bathroom by installing floating shelves above the toilet or beside the vanity. Use them to store towels, toiletries, or decorative items.
- Add a floating shelf above your desk or workspace to hold books, stationery, and office supplies. This not only provides storage but also creates an organized and productive work environment.
- Install floating shelves in your kitchen to store and display cookbooks, spices, and cooking utensils. This keeps your essentials within reach while adding a decorative touch to your culinary space.
By incorporating floating shelves into your woodworking projects, you can achieve a clean and modern look that enhances the functionality and aesthetics of any room. With their versatility and ease of construction, these shelves are an excellent choice for both beginners and experienced woodworkers.
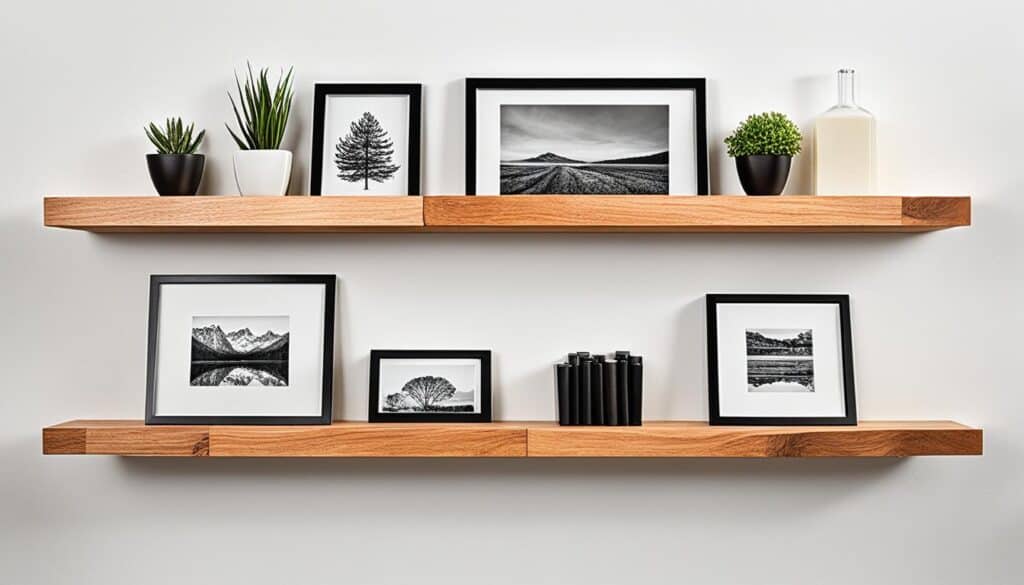
So why not embark on a woodworking journey and create your own floating shelves today? Whether you’re a DIY enthusiast or a seasoned woodworker, this project allows you to showcase your skills and add a touch of craftsmanship to your home.
Ice Cream Maker
Building an ice cream maker is a fun and delicious woodworking project that can be enjoyed by the whole family. This project involves constructing a hand-crank mixer using simple materials such as a coffee can, a paint can, and some ice and rock salt. By layering the ice and rock salt, and cranking the handle for about ten minutes, you can create homemade ice cream with a soft-serve consistency. This project is a great way to connect with the tradition of old-fashioned ice cream making and enjoy a sweet treat with your loved ones.
Take a break from the sawdust and woodworking projects to indulge in a cold and refreshing treat. Building an ice cream maker not only allows you to flex your woodworking skills but also gives you the opportunity to create your favorite ice cream flavors from scratch. It’s a fantastic way to cool off during the hot summer months or celebrate a special occasion with a homemade sweet delight. Plus, the hand-crank mechanism adds an element of fun and nostalgia to the process.
- Simple materials like a coffee can and paint can make this project accessible and budget-friendly.
- Layering ice and rock salt creates the perfect environment for freezing the ice cream mixture.
- Cranking the handle for about ten minutes distributes the cold evenly and churns the mixture to a creamy consistency.
If you’re new to woodworking, this project is a great way to start honing your skills. It doesn’t require complex techniques or extensive woodworking knowledge, making it an easy and enjoyable project for beginners. You’ll learn how to measure and cut wood to precision, assemble different parts, and create a functional and aesthetically pleasing ice cream maker that you can proudly use and display. It’s a project that combines craftsmanship with the satisfaction of creating something delicious.
Once you’ve built your ice cream maker, it’s time to experiment with flavors and recipes. From classic favorites like chocolate and vanilla to more adventurous combinations like mint chocolate chip or strawberry cheesecake, the possibilities are endless. You can also customize the texture and add mix-ins like crushed cookies, fruits, or nuts to create your signature ice cream flavors. The best part? You know exactly what goes into your ice cream, allowing you to enjoy a wholesome and personalized treat.
So why not add a delicious twist to your woodworking projects? Building an ice cream maker not only expands your woodworking skills but also brings joy and pleasure to your home. It’s a project that combines creativity, craftsmanship, and the indulgence of homemade ice cream. So gather your materials, follow the simple instructions, and let the woodworking magic begin!
Backyard Lounger
Building a backyard lounger is a great woodworking project that allows you to relax and enjoy your outdoor space. This project is based on a traditional Westport plank chair design and can be constructed using just two 10-foot-long pine boards. By following the provided plans, you can create a rustic-looking and comfortable lounger that is perfect for soaking up the sun or stargazing at night. This project is relatively quick and simple, making it suitable for woodworkers of all skill levels.

“Building a backyard lounger is a rewarding experience. It offers both a practical and aesthetic addition to your outdoor space. The sound of gentle breezes and the caress of sunshine on your face – all while lounging on a handcrafted piece of furniture. Nothing compares.”
Materials Needed:
- Two 10-foot-long pine boards
- Wood screws
- Sandpaper
- Wood stain or paint (optional)
- Outdoor cushions
Tools Needed:
- Saw (circular saw or hand saw)
- Drill
- Screwdriver or driver bit
- Sanding block or electric sander
- Tape measure
Instructions:
- Measure and mark the pine boards to the desired length for the lounger.
- Using a saw, cut the boards to the marked length.
- Sand the cut edges to ensure a smooth finish.
- Position the boards parallel to each other, with equal spacing between them.
- Attach the boards together using wood screws.
- Sand the entire lounger to remove any rough spots or splinters.
- Apply wood stain or paint, if desired, to protect the wood and enhance its appearance.
- Add outdoor cushions for added comfort and style.
- Place your new backyard lounger in the perfect spot and enjoy!
Notes:
When choosing the pine boards for your lounger, opt for pressure-treated lumber to ensure durability and resistance to rot. Additionally, consider using stainless steel screws or galvanized screws to prevent rust and corrosion.
| Difficulty Level | Time Required | Estimated Cost |
|---|---|---|
| Easy | 1-2 days | $50-$100 |
Wood Wagon
Building a wooden wagon is a classic woodworking project that is cherished by children and adults alike. This project involves constructing a hand-built toy wagon using durable wood. The wagon can be used for hauling toys, siblings, or even the family pet. By following the provided plans, you can create a sharp-looking red wagon that will be a treasured gift for generations. This project is a great way to introduce children to woodworking and encourage their creativity and problem-solving skills.
When building a wood wagon, there are a few key considerations to keep in mind:
- Materials: Choose a durable type of wood such as oak, cedar, or pine for the wagon’s frame and panels. Make sure to select wood that is free from knots, cracks, or other defects.
- Tools: The essential tools for this project include a saw, drill, measuring tape, sandpaper, and screws. If you’re looking for more intricate details, you may also need a chisel and a mallet.
- Design: The design of your wagon can be as simple or as elaborate as you desire. Consider adding decorative elements like handle cutouts, carved wheels, or a personalized nameplate.
- Assembly: Follow the provided plans and step-by-step instructions to ensure a successful assembly. Take your time and double-check your measurements to ensure proper fit and alignment.
A wood wagon is a versatile and timeless toy that can provide hours of imaginative play for children. It also serves as a beautiful and nostalgic decorative piece for your home or garden. Let your creativity take the reins and build a wood wagon that will be cherished for generations to come.
Bocce Court
Building a backyard bocce court is a fun and engaging woodworking project that brings a classic game to your outdoor space. By following the provided plans and guidelines, you can create a backyard bocce court that will provide hours of entertainment for friends and family.
To start, mark out a large rectangle in your backyard where you want to build the court. Use stakes and string to ensure a precise and straight outline. This will serve as the playing area for the game.
Next, you’ll need to dig and level the area inside the rectangle. Clear away any grass, rocks, or debris and ensure that the ground is even and smooth. This step is crucial to ensure an accurate and consistent playing surface.

Once the area is prepared, it’s time to spread and compact granular materials to create the court’s surface. Typically, a combination of crushed stone and oyster shell flour is used. This granular mixture provides the desired level of firmness and helps create a predictable playing experience.
Here is a table outlining the materials and quantities needed for a standard backyard bocce court:
| Materials | Quantity |
|---|---|
| Crushed Stone | 6-8 inches deep |
| Oyster Shell Flour | 1-2 inches deep |
The crushed stone provides a stable base, while the oyster shell flour adds finesse and control to the playing surface. Make sure to compact the materials properly using a tamper or heavy roller to ensure a solid and uniform court.
Once the court is complete, you can add boundary markers using wood or other suitable materials. These markers help define the playing area and enhance the aesthetics of the court.
Now, your backyard bocce court is ready for countless hours of fun and friendly competition. Invite your friends and family over, grab your bocce ball set, and enjoy this classic Italian game in the comfort of your own backyard.
Workbench
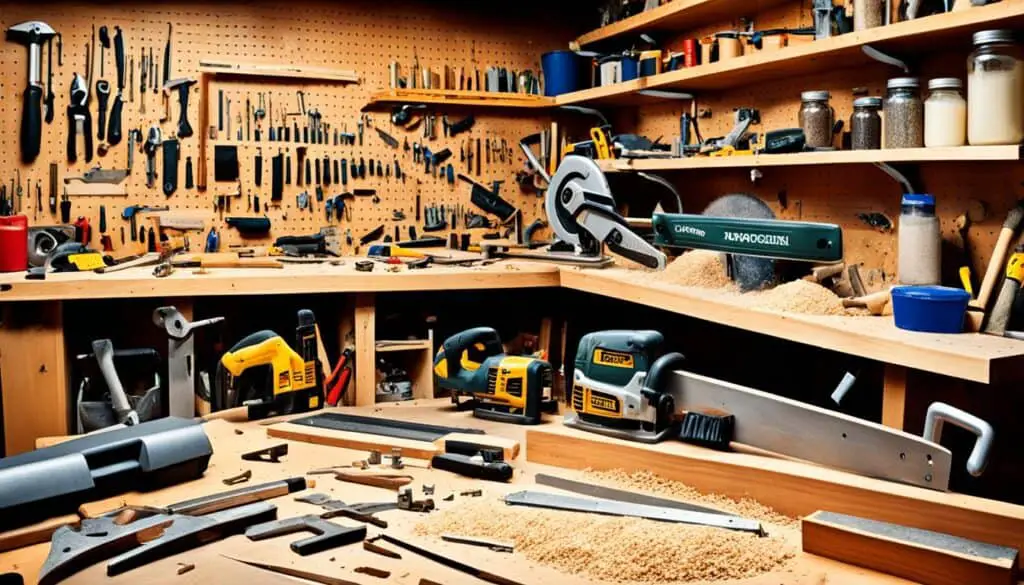
Building a workbench is a fundamental woodworking project that provides a sturdy and functional surface for all your future woodworking projects. A well-designed workbench allows you to work comfortably and efficiently, whether you’re a beginner or an experienced woodworker. By following the provided plans and instructions, you can create a workbench that reflects the no-nonsense heritage of the craft and meets your woodworking requirements.
When building a workbench, it’s important to choose the right materials. Construction lumber such as Douglas fir and laminated veneer lumber (LVL) are popular choices due to their strength and durability. These materials can withstand heavy use and provide a solid foundation for your woodworking endeavors.
Key Considerations for Your Workbench:
- Workbench Size: Determine the size of your workbench based on the available space in your workshop and the types of projects you plan to work on. Consider both the length and width of the workbench to ensure it meets your needs.
- Workbench Height: The height of your workbench is crucial for comfortable and efficient woodworking. Optimal workbench height is typically determined by the height of your elbows when your arms are relaxed and bent at a 90-degree angle. Adjust the height accordingly to minimize strain on your back and arms.
- Workbench Design: There are various designs to choose from, including traditional, modern, and hybrid workbenches. Consider your woodworking style and preferences when selecting a design that suits your needs. Additionally, think about including features such as storage drawers, tool holders, and clamping options to enhance the functionality of your workbench.
- Workbench Surface: The workbench surface should be flat and smooth, allowing you to work with precision. Consider adding a sacrificial top or replaceable inserts to protect the surface from damage during various woodworking operations.
- Workbench Stability: Stability is essential for safe and accurate woodworking. Ensure your workbench has a solid and stable base. Adding cross braces, stretchers, and mortise-and-tenon joints can increase stability and prevent wobbling or movement during use.
By carefully considering these factors and following the provided plans and instructions, you can create a workbench that serves as the backbone of your woodworking projects. Whether you’re a beginner learning the ropes or an experienced woodworker refining your skills, a well-built workbench provides a reliable and supportive workspace for all your woodworking endeavors.
Redwood Planter Box
Building a redwood planter box is a great woodworking project that allows you to bring the beauty of nature into your home. By constructing a planter box using California redwood, you can create a durable and visually appealing piece that adds charm to any space. Redwood is renowned for its natural beauty and resistance to decay and insects, making it an excellent choice for outdoor projects.
When building a redwood planter box, you have the freedom to choose from various designs and sizes, allowing you to customize it according to your space and plant preferences. Whether you want a small planter for herbs or a large one for vibrant flowers, redwood provides the perfect foundation for your gardening endeavors.
By following the provided guidelines, you can embark on this woodworking project with confidence. The step-by-step instructions will help you create a redwood planter box that not only enhances your gardening experience but also serves as a beautiful addition to your surroundings. So grab your tools, gather your materials, and let your creativity blossom as you build a redwood planter box that brings nature’s elegance to your home.
Benefits of Redwood Planter Boxes:
- Durable: Redwood is known for its natural resistance to decay, insects, and rot, ensuring the longevity of your planter box.
- Natural Beauty: The rich tones and grain patterns of redwood add visual appeal to any space.
- Easy Maintenance: Redwood requires minimal maintenance, making it a convenient choice for outdoor projects.
- Environmental Sustainability: Redwood is a sustainable and renewable resource, making it an eco-friendly choice for your woodworking projects.
“Building a redwood planter box allows you to showcase your woodworking skills while adding a touch of natural beauty to your home.” – Expert Woodworker
Stackable Sawhorses
Every workshop needs a sturdy pair of sawhorses, and this project offers a practical and stackable solution. By using 2×4 lumber, you can construct a pair of sawhorses that are strong, easy to build, and convenient for storage and transportation. These stackable sawhorses can be used for a variety of woodworking tasks, such as cutting and drilling, holding lumber, or even as an instant worktable when topped with plywood.
To build your own stackable sawhorses, follow the provided woodworking plans and modifications for added versatility and reliability. The sawhorse designs can be easily customized to fit your specific needs. Whether you’re a beginner or an experienced woodworker, this project is suitable for all skill levels.
Design and Construction
The stackable sawhorse design typically consists of four legs and a top beam or platform. The legs are angled outward for stability and attached to the top beam using screws or nails. This simple yet effective design ensures a sturdy base for various woodworking tasks.
To enhance the stackability of the sawhorses, consider adding notches or extensions on the side of the legs. These features allow multiple sawhorses to securely stack on top of each other, minimizing storage space when not in use.
Materials and Tools
To build your stackable sawhorses, you will need the following materials:
- 2×4 lumber: Use high-quality and durable lumber for optimal strength and stability.
- Screws or nails: Choose appropriate fasteners based on the type of wood and your construction preferences.
- Power drill or hammer: These tools are essential for attaching the legs and top beam securely.
- Saw: Use a saw to cut the lumber to the desired lengths for the legs and top beam.
- Tape measure: Accurate measurements are crucial for ensuring the correct dimensions and angles of the sawhorses.
Assembly Instructions
- Measure and mark the desired height of the sawhorse legs on the 2×4 lumber.
- Cut the legs to the desired length using a saw.
- Measure and mark the correct angle for the legs (typically around 15 degrees) to provide stability.
- Cut the angles on the legs using a saw.
- Measure and mark the desired length for the top beam or platform on the 2×4 lumber.
- Cut the top beam or platform to the desired length using a saw.
- Attach the legs to the top beam using screws or nails, ensuring a secure and stable connection.
- Repeat the steps to build a second sawhorse for a complete set.
Stackable Sawhorses: Benefits and Applications
The stackable sawhorses offer several benefits and applications for woodworking enthusiasts:
- Space-saving: The stackable design allows multiple sawhorses to be stacked on top of each other, saving valuable storage space in your workshop or garage.
- Portable: The lightweight construction and stackability make these sawhorses easy to transport to different job sites or woodworking projects.
- Versatility: The sawhorses can be used for various woodworking tasks, such as cutting, drilling, sanding, and finishing.
- Improved stability: The angled legs and sturdy construction provide excellent stability and support for working with different types of wood and materials.
With their practical design and versatile functionality, stackable sawhorses are a valuable addition to any woodworking workshop. They provide a stable and convenient work surface for a wide range of woodworking projects.
Affordable Alternatives
If you’re on a budget or prefer a simpler approach, there are alternative options for building stackable sawhorses:
- Cinder blocks and planks: Use cinder blocks as the legs and lay planks across them to create a temporary sawhorse setup.
- Metal sawhorses: Purchase pre-made metal sawhorses that are stackable and require minimal assembly.
- Foldable or collapsible sawhorses: Invest in sawhorses that can be folded or collapsed for easy storage and transportation.
A-Frame Toolbox
Traditional A-frame toolboxes have been used by tradespeople for generations, and this project allows you to create your own customized version. By following the provided plans, you can build a simple and functional A-frame toolbox that suits your specific needs.
The A-frame toolbox features an open-top design, providing quick access to your tools. Its sturdy construction ensures durability, making it suitable for carpenters, plumbers, electricians, mechanics, and more. With this A-frame toolbox, you can keep your tools organized and easily accessible, making your woodworking projects a breeze.
Key Features:
- Durable construction
- Open-top design for easy access
- Customizable to suit your needs
- Perfect for a variety of trades
“The A-frame toolbox is a must-have for any serious woodworker. Its simple yet functional design allows for efficient tool organization, making woodworking projects more enjoyable and productive.” – John Smith, Carpenter
Simple Box
Box-making is an essential skill for woodworkers, allowing you to create practical and visually appealing storage solutions. In this project, we explore three different methods for building a simple box: box joints, spline joints, and rabbet joints. Each technique offers its own unique advantages and challenges, giving you the freedom to choose the one that best suits your woodworking style and preferences. Whether you’re a beginner or an experienced woodworker, building a simple box is a rewarding project that showcases your craftsmanship.
Box Joints
Box joints, also known as finger joints, create strong and visually striking corners by interlocking the fingers of two boards. This method requires precise cutting and assembly to achieve tight joints. By alternating the fingers on each board, you can create an attractive pattern that adds visual interest to the box. Box joints are particularly well-suited for decorative boxes and small storage containers.
Spline Joints
Spline joints are similar to box joints but incorporate a thin strip of wood, known as a spline, in between the fingers. The spline adds strength and stability to the joint, making it a great choice for larger boxes or boxes that will be subjected to heavy use. This method also allows you to experiment with different wood species for the spline, creating contrasting accents that enhance the overall design of the box.
Rabbet Joints
Rabbet joints involve creating a groove along the edges of the boards to be joined. By overlapping the boards and bonding them with glue, you can create a seamless and sturdy joint. Rabbet joints are simple to construct and are often used in furniture and cabinetmaking. This method is ideal for boxes that require a clean, minimalistic look.
“Box-making is not just about functionality; it’s about expressing your creativity and attention to detail. The choice of joinery method can significantly impact the overall aesthetic and strength of your box.”
Regardless of the joinery method you choose, keep in mind the importance of precise measurements, smooth cuts, and proper sanding. These details will contribute to the overall quality of your box, ensuring a professional and polished result.
Now that you have an understanding of the different joinery techniques, you can select the one that appeals to you and get started on your own simple box woodworking project. Remember, don’t be afraid to experiment and add your unique touch to the design. Happy woodworking!
| Joinery Method | Advantages | Disadvantages |
|---|---|---|
| Box Joints | – Strong and visually appealing – Allows for intricate finger patterns | – Requires precise cutting and assembly – Challenging for beginners |
| Spline Joints | – Provides added strength and stability – Offers design versatility with varied spline materials | – Requires additional steps to cut and insert splines – More time-consuming than other methods |
| Rabbet Joints | – Simple to construct – Provides a clean and neat appearance | – May not offer the same strength as other methods – Limited design flexibility |
Wine Rack
Wine racks are not only functional but also make a stylish addition to any home decor. This project provides three different wine rack designs to suit different tastes and storage needs. Whether you’re going for a Mediterranean feel, need a rack that withstands the outdoors, or have a large wine collection, these wine racks are perfect for you. By following the woodworking plans provided, you can build a wine rack that showcases your favorite bottles and adds a touch of elegance to your living space.
When it comes to storing and displaying your wine collection, a well-designed wine rack can be both practical and aesthetically pleasing. Let’s take a look at the three different wine rack designs:
- Mediterranean-Style Wine Rack: This wine rack design features a classic and elegant look inspired by the beautiful wine regions of the Mediterranean. With its curved lines and decorative elements, this rack will bring a touch of Old World charm to your home. It can hold a moderate number of bottles and is perfect for creating a cozy wine corner in your living room or dining area.
- Outdoor Wine Rack: If you love entertaining outdoors and want to have your wine collection easily accessible, this outdoor wine rack is the perfect choice. Made from durable and weather-resistant materials, such as teak or cedar, this rack can withstand the elements and keep your wine bottles protected. Its sturdy construction ensures that your valuable collection is securely stored, even in an outdoor setting.
- Large Capacity Wine Rack: For those with an extensive wine collection, this large capacity wine rack is the ideal solution. With multiple levels and compartments, this rack can accommodate a substantial number of bottles while maintaining an organized and visually pleasing display. It is designed to maximize space efficiency and is a stylish addition to any wine cellar or dedicated wine storage area.
With these woodworking plans at your disposal, you have the opportunity to create a wine rack that not only provides proper storage for your wine bottles but also enhances the overall ambiance of your home. Whether you prefer a rustic, modern, or traditional style, these wine rack designs offer versatility and customization options to suit your personal taste and space requirements.
Conclusion
Woodworking projects offer a world of possibilities for those with a passion for craftsmanship. Whether you’re a beginner or an experienced woodworker, there are plenty of projects to explore and create. From simple and practical pieces to intricate and decorative designs, woodworking allows you to express your creativity, hone your skills, and add a personal touch to your home.
By following the provided plans and guidelines, you can embark on a woodworking journey that brings satisfaction, fulfillment, and a sense of accomplishment. Whether you’re interested in beginner woodworking projects or looking to tackle more advanced challenges, there is something for everyone in the world of woodworking.
So grab your tools, gather your materials, and get ready to embark on your next woodworking project. Whether you’re building a magazine rack, a floating shelf, or a backyard lounger, the satisfaction of creating something with your own hands and seeing it come to life is unmatched. Happy woodworking and may your home be filled with the beauty and warmth of handcrafted pieces!
FAQ
What are some creative woodworking projects for beginners?
Some creative woodworking projects for beginners include building a magazine rack, floating shelves, an ice cream maker, a backyard lounger, a wood wagon, a bocce court, a workbench, a redwood planter box, stackable sawhorses, an A-frame toolbox, a simple box, and a wine rack.
How can I build a magazine rack?
To build a magazine rack, you will need to construct a pair of identical 3-piece frames that are joined together with a self-locking half-lap. You can choose any type of wood for this project, but yellow poplar is a popular choice. Follow the provided woodworking plans to create a magazine rack that fits your personal style.
What is the process for building floating shelves?
Building floating shelves involves creating a design layout, cutting the lumber to size, and attaching the shelves to the wall using hidden brackets. The shelves offer a sleek and modern solution for displaying books, photos, or decorative items. Get creative and customize the design to create a unique focal point in your home.
How can I build an ice cream maker?
Building an ice cream maker involves constructing a hand-crank mixer using simple materials such as a coffee can, a paint can, and some ice and rock salt. By layering the ice and rock salt and cranking the handle for about ten minutes, you can enjoy homemade ice cream with a soft-serve consistency. It’s a fun project the whole family can enjoy.
What is the process for building a backyard lounger?
Building a backyard lounger is based on a traditional Westport plank chair design and can be constructed using just two 10-foot-long pine boards. By following the provided plans, you can create a rustic-looking and comfortable lounger that is perfect for relaxing and enjoying your outdoor space.
How can I build a wood wagon?
Building a wood wagon involves constructing a hand-built toy wagon using durable wood. The wagon can be used for hauling toys, siblings, or even the family pet. By following the provided plans, you can create a sharp-looking red wagon that will be a treasured gift for generations. It’s a great project for introducing children to woodworking.
What is involved in building a bocce court?
Building a bocce court involves marking out a large rectangle, digging and leveling the area, and spreading and compacting granular materials. By following the provided plans and guidelines, you can create a backyard bocce court that will provide hours of entertainment for friends and family.
How can I build a workbench?
Building a workbench involves designing and constructing a sturdy and functional surface for all your future woodworking projects. By using construction lumber such as Douglas fir and laminated veneer lumber (LVL), you can customize the size and features of your workbench. Follow the provided plans and instructions to create a workbench that meets your woodworking requirements.
What is the process for building a redwood planter box?
Building a redwood planter box involves constructing a planter box using California redwood, known for its natural beauty and durability. The box can be built in various designs and sizes, depending on your space and plant preferences. By following the provided guidelines, you can create a redwood planter box that enhances your gardening experience and adds charm to your surroundings.
How can I build stackable sawhorses?
Building stackable sawhorses involves using 2×4 lumber to construct a pair of sturdy and convenient sawhorses. These sawhorses can be used for cutting and drilling, holding lumber, or even as an instant worktable when topped with plywood. They are easy to build and provide a practical solution for various woodworking tasks.
How can I build an A-frame toolbox?
Building an A-frame toolbox involves constructing a simple and functional toolbox with an open-top design for quick access to your tools. Use the provided plans to customize the size and features of your toolbox based on your specific needs. It is a great project for organizing and keeping your tools easily accessible.
What are the different ways to build a simple box?
There are three different methods for building a simple box: box joints, spline joints, and rabbet joints. Each method offers tight joints and perfect proportions. By following the examples and incorporating your own creativity, you can build a handcrafted wooden box that showcases your woodworking abilities.
How can I build a wine rack?
Building a wine rack offers three different designs to suit different tastes and storage needs. Whether you prefer a Mediterranean feel, need a rack that withstands the outdoors, or have a large wine collection, these wine rack designs are perfect for you. Follow the provided woodworking plans to create a wine rack that adds elegance to your living space.
What are the benefits of woodworking projects?
Woodworking projects offer a world of possibilities for those with a passion for craftsmanship. Whether you’re a beginner or an experienced woodworker, there are plenty of projects to explore and create. Woodworking allows you to express your creativity, hone your skills, and add a personal touch to your home. Follow the provided plans and guidelines to embark on a woodworking journey that brings satisfaction, fulfillment, and a sense of accomplishment.


