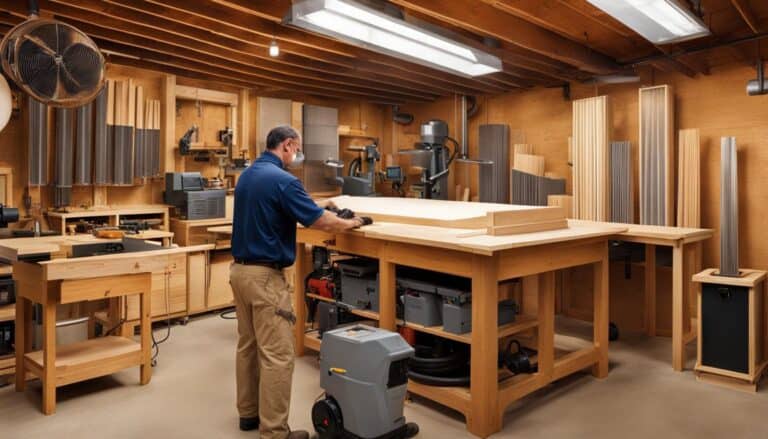
Are you looking to add a touch of uniqueness to your living space? Do you want to showcase your woodworking skills and create a piece of furniture that reflects your personal style? Look no further! In this article, we will provide you with detailed DIY end table plans that are perfect for easy home projects. Whether you’re a seasoned woodworker or a novice, these step-by-step instructions will guide you through the process of building your own end table.
Key Takeaways:
- Create a unique end table that adds charm and function to your home
- Follow step-by-step instructions to build your own end table
- Customize the design to match your personal style
- Explore other DIY projects to further enhance your woodworking skills
- Enjoy the satisfaction of creating handmade furniture
Materials and Tools Needed
To build your own end table, you will need the following materials:
- 3/4″ cabinet grade plywood
- poplar wood
- edge banding (optional)
- various hardware
Additionally, you will need the following tools:
- table saw or circular saw
- nail gun
- drill
Having these materials and tools on hand will ensure a smooth and successful DIY project.
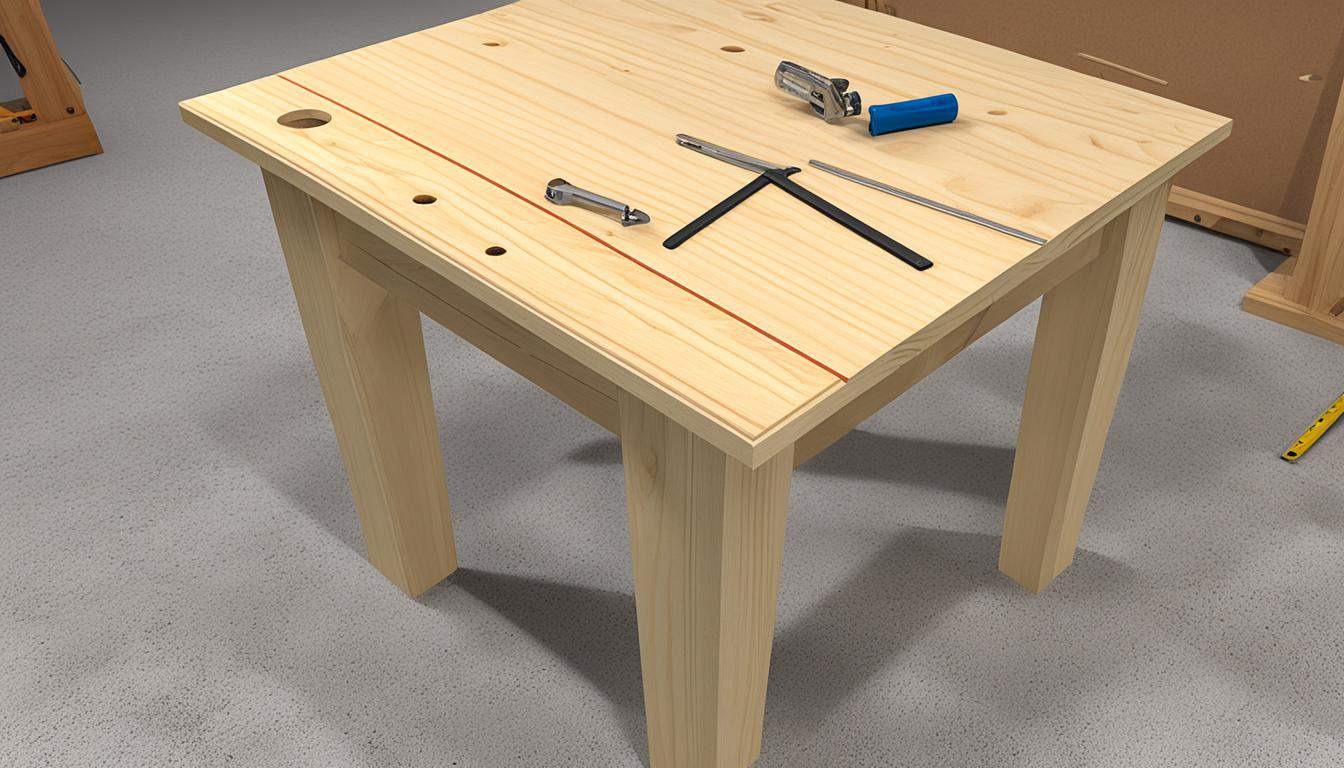
Step-by-Step Instructions
Follow these step-by-step instructions to build your own end table:
- Begin by cutting the wood into the required sizes for the legs, rails, shelf, and top.
- Note: Make sure to measure and mark the wood accurately before cutting.
- Assemble the legs and rails using glue and nails.
- Note: Apply a small amount of wood glue to the joints for extra stability.
- Attach the shelf and top using screws.
- Note: Pre-drill holes before inserting the screws to prevent splitting the wood.
- After assembly, spackle any visible gaps or nail holes.
- Note: Use a putty knife to apply the spackle and allow it to dry completely before sanding.
- Sand the table to create a smooth surface.
- Note: Start with coarse-grit sandpaper and gradually switch to finer-grit sandpaper for a polished finish.
- Paint the table with your desired color.
- Note: Apply multiple thin coats of paint, allowing each coat to dry before applying the next.
- Add edge banding for a finished look.
- Note: Measure and cut the edge banding to fit the edges of the table, then use a hot iron to attach it.
- Apply a stain or top coat for protection.
- Note: Choose a stain or top coat that suits your desired level of shine and protection.
- Finally, enjoy your finished end table!
Tips and Tricks:
If you’re new to woodworking, consider starting with a simpler project to get familiar with the tools and techniques before tackling an end table. Remember to always wear safety goggles and follow proper safety precautions when working with power tools.

Customization Options
One of the great things about DIY projects is the ability to customize them to fit your personal style and needs. With these end table plans, you have the freedom to modify the size and shape of the table to suit your preferences. Whether you prefer a taller table for added functionality or a smaller one to fit in a tight space, the customization options are endless.
Consider adding decorative details to make your end table truly stand out. You can incorporate intricate designs or embellishments into the table legs or use unique hardware to add a touch of personality. Choose different finishes that complement your existing home decor or experiment with new styles to create a statement piece.
If you need additional storage options, you can customize your end table by including shelves or drawers. This allows you to keep your living space organized and clutter-free while still having a functional piece of furniture.
Remember, the key to successful customization is planning. Take the time to sketch out your ideas and consider how they will fit into the overall design. By carefully selecting your customization options, you can create a unique and personalized end table that perfectly matches your style and needs.
Customization Options
| Customization Options | Description |
|---|---|
| Size and Shape | Modify the dimensions of the end table to fit your space and preferences. |
| Decorative Details | Add intricate designs or embellishments to make your end table visually appealing. |
| Finishes | Choose from a variety of finishes to match your existing home decor or create a unique look. |
| Storage Options | Incorporate shelves or drawers to maximize the functionality of your end table. |
Quotes:
“The ability to customize your DIY projects not only adds a personal touch but also allows you to create functional furniture that meets your specific needs.” – Home Decor Magazine
Video Tutorial
For a more visual understanding of the building process, we recommend watching a video tutorial on how to build this end table. Seeing each step in action can help clarify any confusion and ensure that you’re following the instructions correctly.
Check out the provided video tutorial for a comprehensive guide to building your own end table.


Similar DIY Projects
If you enjoyed building your own end table, you’ll be glad to know that there are plenty of other DIY projects that you can explore. From farmhouse end tables to rustic end tables and small end tables, there’s a wide range of furniture pieces that can be built using similar techniques. Engaging in these projects will not only provide you with additional opportunities to hone your woodworking skills but also allow you to create unique and personalized pieces for your home.
Here are some examples of similar DIY projects that you might find interesting:
- Farmhouse end tables: Build charming and rustic end tables inspired by the farmhouse style. These tables often feature distressed finishes, reclaimed wood, and simple yet elegant designs.
- Rustic end tables: Create rustic end tables that bring a touch of nature into your home. Utilize natural materials like logs, branches, or reclaimed wood to achieve a warm and earthy aesthetic.
- Small end tables: If you’re short on space, consider building small end tables that can fit seamlessly into any room. These compact tables are designed to provide functionality without sacrificing style.
By exploring these and other similar projects, you’ll expand your repertoire of woodworking skills while adding handmade beauty to your living spaces.
Similar DIY Projects
| Project | Description |
|---|---|
| Farmhouse end tables | Charming and rustic tables inspired by farmhouse style with distressed finishes and reclaimed wood. |
| Rustic end tables | Tables that embrace a natural aesthetic, using materials such as logs, branches, or reclaimed wood. |
| Small end tables | Compact tables designed to fit seamlessly into smaller living spaces, providing functionality and style. |

Stacked-Lamination End Table
The stacked-lamination end table is a unique woodworking project that allows you to unleash your creativity and explore a pottery-like design using wood. It offers a refreshing twist on traditional furniture making while providing ample opportunities for artistic expression. By following the provided plans and instructions, you can craft your very own stacked-lamination end table that is sure to be a stunning centerpiece in any room.
To create the stacked-lamination end table, you will build layers of wood by gluing together several thin strips. This technique allows you to sculpt the wood into intricate shapes and create visually captivating patterns. Whether you prefer a simple and contemporary design or a more intricate and ornate look, the stacked-lamination technique offers endless possibilities.
As you start the construction process, consider experimenting with different types of wood to add depth and contrast to your end table. Maple, walnut, cherry, and mahogany are popular choices that can enhance the overall aesthetic appeal of your piece.
Once you have assembled the layers, use a combination of sanding and carving techniques to refine the shape and create smooth, flowing lines. This is where the true artistry of the stacked-lamination end table comes to life, as each carving stroke helps shape the character and personality of your creation.
Finally, complete the project by applying a protective finish that showcases the natural beauty of the wood and ensures the longevity of your stacked-lamination end table. Consider using varnish, lacquer, or other sealants that complement your desired look.
Stacked-Lamination End Table Materials:
- Wood strips of different species
- Wood glue
- Sandpaper (various grits)
- Carving tools
- Protective finish
| Pros | Cons |
|---|---|
| Allows for artistic expression and creativity | Requires precision and patience |
| Offers unique and visually captivating designs | May involve more complex woodworking techniques |
| Provides a one-of-a-kind end table | Requires specialized tools for carving |
Building a stacked-lamination end table is a truly rewarding woodworking project that combines craftsmanship and artistry. The process of layering wood and sculpting it into stunning designs allows you to create a one-of-a-kind piece that will undoubtedly be a conversation starter in your home. Let your imagination run wild, and bring your stacked-lamination end table vision to life.
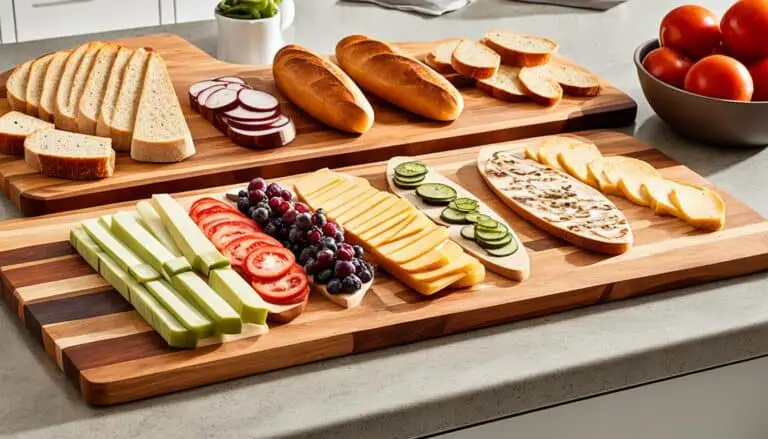
Beverage Stand
The beverage stand is a sleek and functional addition to any living space. With its simple design, this DIY project can be completed with just a few tools and materials. The beverage stand is perfect for holding drinks and snacks while entertaining guests or enjoying a movie night at home.
Creating a beverage stand allows you to have a dedicated space for your favorite beverages, keeping them within reach and neatly organized. Whether you’re hosting a party or simply relaxing in your living room, having a beverage stand can enhance your overall experience.
Materials and Tools
To build a beverage stand, you will need the following materials:
- Wooden boards – choose a type of wood that fits your aesthetic preference.
- Screws or nails – for securing the boards together.
- Sandpaper – to smooth any rough edges.
- Paint or stain – to add a finished look to the stand.
You will also need the following tools:
- Saw – for cutting the wooden boards to the desired size.
- Screwdriver or drill – for attaching the boards.
- Sandpaper – for smoothing the surfaces.
- Paintbrush or foam roller – for applying paint or stain.
Building Steps
- Measure and cut the wooden boards according to the desired dimensions of your beverage stand.
- Assemble the stand by attaching the boards together using screws or nails.
- Sand the surfaces of the stand to remove any rough edges.
- Apply paint or stain to the stand, allowing it to dry completely.
Once your beverage stand is complete, you can arrange your favorite drinks, glasses, and snacks on it for easy access. Whether you’re hosting a gathering or enjoying a quiet evening at home, the beverage stand will be a stylish and functional addition to your living space.
Eastlake Table
The Eastlake table is a classic piece of late nineteenth-century woodworking that showcases intricate details and a visually captivating design. Building your own Eastlake table may initially seem like a complex endeavor, but by following the provided plans and instructions, you can create a stunning heirloom piece to be cherished in your home.
The Eastlake style originated in the 1870s and was influenced by the Eastlake Movement, which emphasized craftsmanship and ornamental details. This style is characterized by its use of geometric patterns, ebonized wood, and carved embellishments.
Key Features of the Eastlake Table:
- Ebonized wood finish
- Ornate carvings and geometric patterns
- Intricately turned legs
- Distinctive hardware, such as brass handles
“The Eastlake table is a testament to the artistic craftsmanship of the late nineteenth century. Its intricate details and unique design make it a statement piece in any home.”
When building your own Eastlake table, make sure to pay attention to the fine details. The ornamental carvings and geometric patterns can be achieved through careful woodworking techniques, such as carving and routing. The ebonized wood finish can be achieved through staining or painting techniques, giving the table its distinctive dark appearance.
| Materials Needed | Tools Needed |
|---|---|
| Hardwood (such as cherry or oak) | Chisels |
| Wood glue | Wood carving tools |
| Ebonizing stain or paint | Sanding tools |
| Brass hardware | Finishing tools (brushes, cloths) |
As you progress through the construction of your Eastlake table, take your time to ensure precise measurements and attention to detail. Finishing the table with brass hardware, such as handles or drawer pulls, will add an authentic touch to the final piece.
By building your own Eastlake table, you not only create a beautiful and functional piece of furniture but also gain a deeper appreciation for the craftsmanship of the past. Embrace the challenge and enjoy the process of bringing this timeless style into your home.
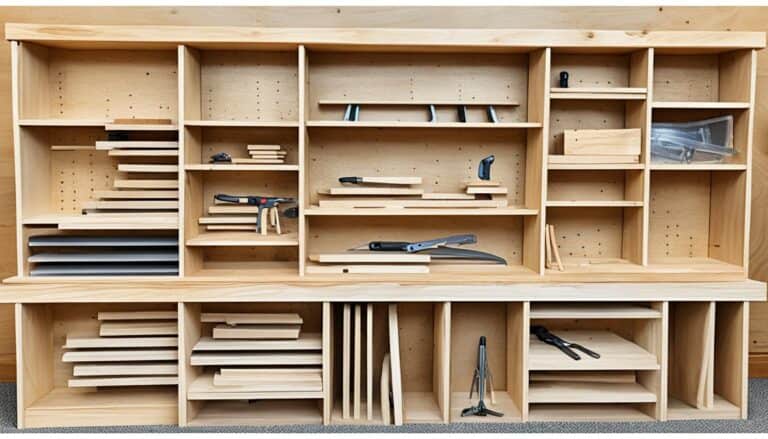
Sliding Top End Table
The sliding top end table is a versatile and practical addition to any living space. With its unique design, this table offers hidden compartments that allow you to store various items without compromising the sleek and modern aesthetics. Whether you need a place to hide remotes, magazines, or any other small belongings, this multipurpose end table has got you covered.
Building your own sliding top end table is a rewarding DIY project that can be accomplished with the help of step-by-step instructions. With just a few materials and tools, you can create a functional and stylish piece of furniture that perfectly suits your needs.
Key Features:
- Sliding top mechanism for easy access to hidden compartments
- Sleek and modern design that complements a variety of decor styles
- Ample storage space for organization and clutter-free living
- Customizable dimensions to fit your specific requirements
- Durable construction using high-quality materials
Materials and Tools Needed:
Before you begin building your sliding top end table, make sure you have the following materials and tools:
| Materials | Tools |
|---|---|
| 3/4″ plywood | Table saw or circular saw |
| Wood glue | Drill |
| Screws | Nail gun |
| Hinges | Screwdriver |
| Drawer slides | Sanding block |
| Paint or stain | Paintbrush |
With these materials and tools at your disposal, you’re ready to embark on your DIY journey to create a sliding top end table that will enhance the functionality and aesthetic appeal of your living space.
Conclusion
In conclusion, DIY end table plans offer a fantastic opportunity to unleash your creativity and showcase your woodworking skills. By following the provided step-by-step instructions, you can build a one-of-a-kind end table that not only adds charm to your home but also serves a practical purpose.
With the right materials, tools, and commitment, you can embark on this fulfilling DIY project and create something truly special for your living space. Imagine the sense of accomplishment and pride that comes with handcrafting furniture that perfectly complements your style and preferences.
Whether you choose to stick with the detailed instructions provided or explore other DIY projects, the experience of constructing your own furniture is unparalleled. It allows you to personalize your living space and create a unique atmosphere that reflects your taste and personality.
So, don’t wait any longer. Start your DIY end table project today and witness the joy and satisfaction that comes with building functional and beautiful furniture with your own two hands. Let your creativity soar and enjoy the journey of transforming raw materials into a stunning end table that will be the centerpiece of your home.
FAQ
What materials do I need to build an end table?
To build an end table, you will need 3/4″ cabinet grade plywood, poplar wood, edge banding (optional), and various hardware.
What tools do I need to build an end table?
You will need tools such as a table saw or circular saw, nail gun, and drill.
What are the step-by-step instructions for building an end table?
The step-by-step instructions include cutting the wood into required sizes, assembling the legs and rails, attaching the shelf and top, spackling and painting the table, adding edge banding, and applying a stain or top coat.
Can I customize the end table to fit my style and needs?
Yes, you can modify the size, shape, and finishes of the end table to suit your preferences and add your personal touch.
Is there a video tutorial available for building an end table?
Yes, we recommend watching a video tutorial for a visual understanding of the building process. It can help clarify any confusion and ensure that you’re following the instructions correctly.
Are there other DIY projects similar to building an end table?
Yes, you can explore farmhouse end tables, rustic end tables, small end tables, or other furniture pieces that can be built using similar techniques.
What is a stacked-lamination end table?
A stacked-lamination end table is a unique woodworking project that involves sculpting wood to create a pottery-like design.
What is a beverage stand?
A beverage stand is a sleek and functional addition to any living space, perfect for holding drinks and snacks.
What is an Eastlake table?
An Eastlake table is a nod to late nineteenth-century woodworking and features intricate details and eye-catching design.
What is a sliding top end table?
A sliding top end table offers a unique and versatile storage solution with hidden compartments.