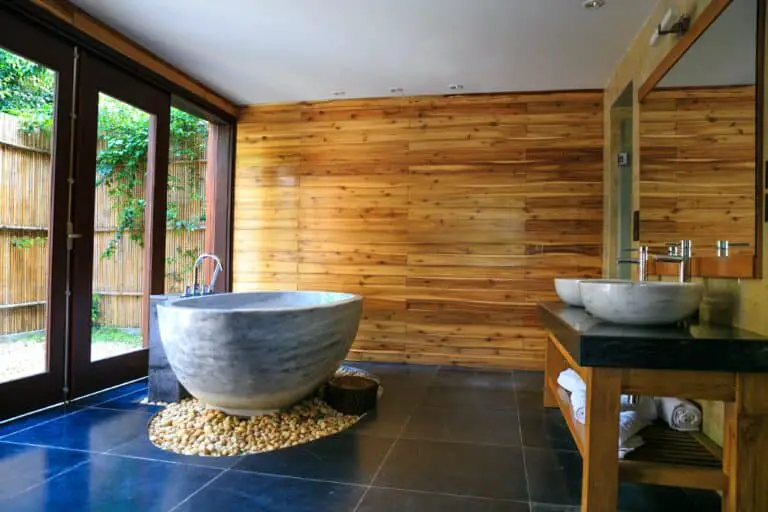
Are you tired of your cluttered bathroom and searching for practical bathroom storage ideas? Have you ever considered creating your own custom medicine cabinet to revamp your space? From cabinet organization tips to a complete medicine cabinet makeover, this DIY project will provide you with the ultimate bathroom storage solution. So, are you ready to transform your bathroom and create a stylish and functional space that meets all your needs?
Key Takeaways:
- Learn how to create your own custom medicine cabinet with this step-by-step DIY guide
- Discover practical bathroom storage ideas to maximize space and declutter your bathroom
- Get expert cabinet organization tips to keep your medication and toiletries in order
- Transform your bathroom with a medicine cabinet makeover that adds style and functionality
- Find budget-friendly storage solutions that suit your needs and enhance your daily routine
Materials and Tools Needed
To complete this DIY medicine cabinet project, you will need the following materials and tools:
Materials
- Penny tile
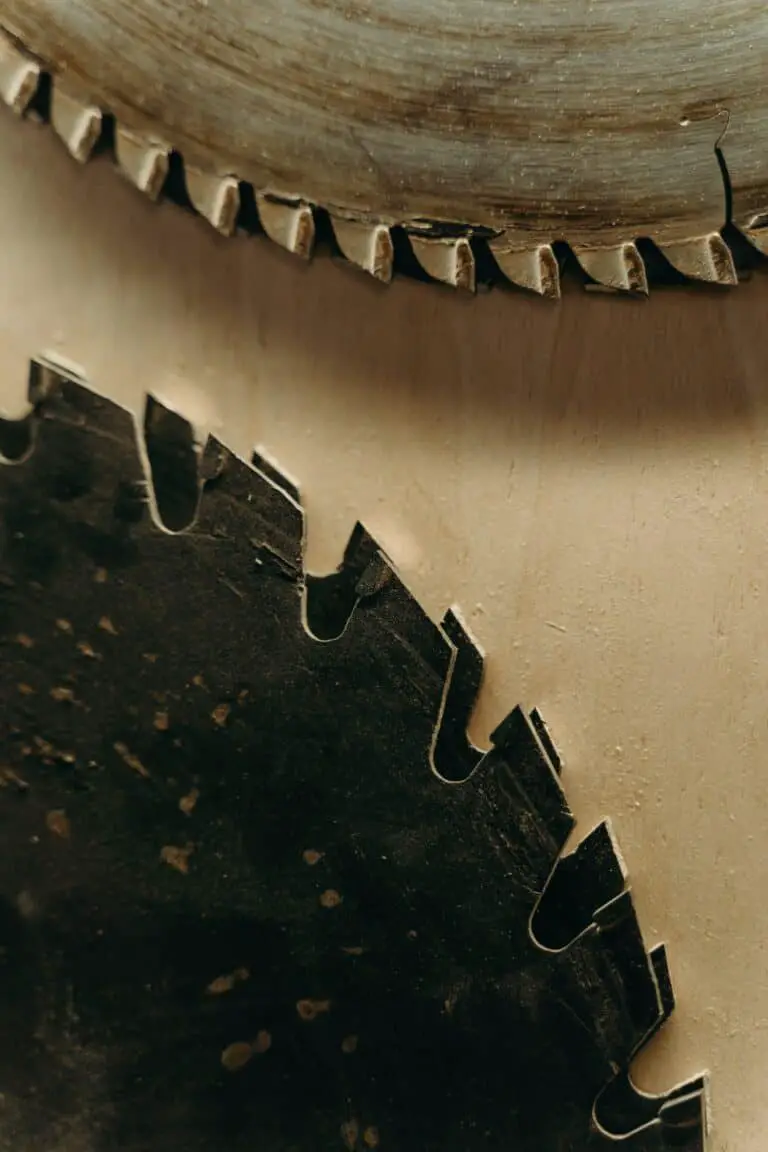
- Table saw
- Miter saw
- Push stick
- Circular saw
- Orbital sander
- Wood glue
- Wood finish
- Tile grout
- Construction adhesive
Tools
- Small level
- Tile adhesive
- V notched trowel
- Rubber grout float
- Pin nailer
These tools and materials will help you achieve professional results with minimal effort.
Removing the Existing Cabinet
Before embarking on your DIY medicine cabinet project, it’s essential to take the necessary steps to remove the existing cabinet in your bathroom. This process will involve removing any loose sheetrock pieces and creating a flat back wall surface to ensure a smooth installation for your new custom-built medicine cabinet. By eliminating the old cabinet, you’ll be able to maximize your small bathroom storage and explore budget-friendly storage ideas that suit your needs.
Follow these steps to efficiently remove the existing cabinet:
- Start by clearing out the contents of the cabinet, ensuring all items are safely stored away.
- Use a screwdriver or drill to remove any screws or fasteners holding the cabinet in place.
- Gently pry the cabinet away from the wall, being cautious not to damage the surrounding area.
- Inspect the wall for any loose sheetrock or other debris that may have been hidden behind the cabinet.
- Secure any loose sheetrock pieces and use joint compound or spackle to fill in any holes or imperfections.
- Smooth the surface with sandpaper, creating a flat and even back wall for the installation of your new medicine cabinet.
By taking the time to remove the existing cabinet properly, you’ll lay the foundation for a successful DIY medicine cabinet project. This will allow you to optimize your small bathroom storage space and explore various budget-friendly storage ideas tailored to your specific requirements.
Quote:
“Removing the old cabinet is a crucial step in creating your DIY medicine cabinet masterpiece. By starting with a clean and blank canvas, you’ll have the freedom to design a storage solution that perfectly suits your bathroom’s needs.”
– Emily Wright, DIY Home Renovation Expert
Tips for Small Bathroom Storage:
- Consider utilizing vertical space by installing shelves or wall-mounted organizers.
- Opt for furniture pieces with built-in storage such as vanities or wall cabinets.
- Use bins, baskets, or stylish storage containers to keep smaller items organized.
- Maximize the space under your sink by installing shelving or utilizing stackable storage solutions.
- Take advantage of unused wall space by adding hooks or racks for towels or robes.
| Benefit | Description |
|---|---|
| Maximized Storage Space | Removing the existing cabinet allows for the installation of a custom-built medicine cabinet, providing you with ample storage space to organize your bathroom essentials. |
| Budget-Friendly Solution | By taking this DIY approach, you can save money by repurposing materials and avoiding the expense of purchasing a new pre-built cabinet. |
| Personalization and Customization | Removing the old cabinet gives you the opportunity to design and create a medicine cabinet that perfectly fits your style, preferences, and storage needs. |
Tiling the Back Side
To create a visually appealing and functional medicine cabinet, you can tile the back side of the cavity. This will add a stylish touch and provide a clean backdrop for your stored items. Using penny tile, you can easily cut and install the tiles using a small level and tile adhesive. This creative storage solution will enhance your bathroom’s aesthetics and provide an organized space.
Adding tiles to the back side of your DIY medicine cabinet is a great way to infuse style and creativity into your bathroom. The penny tiles offer a modern and unique look that will instantly elevate the overall design of your medicine cabinet. Plus, their small size makes them easy to cut and arrange, allowing for precise installation.
Steps for Tiling the Back Side:
- Prepare the surface by ensuring it is clean and dry.
- Measure the dimensions of the back side of the medicine cabinet cavity.
- Cut the penny tiles using a tile cutter or a small pair of tile nippers, if needed.
- Apply tile adhesive to the back side of the cavity using a small trowel.
- Press each tile firmly into place, spacing them evenly and using a small level to ensure they are straight.
- Allow the adhesive to dry completely before proceeding to grouting.
By tiling the back side of your DIY medicine cabinet, you not only create a beautiful focal point in your bathroom but also enhance the functionality of the cabinet. The tiles provide a smooth and easy-to-clean surface that adds durability and longevity to your storage space.
“Tiling the back side of the medicine cabinet not only adds style but also creates a clean and organized backdrop for your stored items.” – [Your Name]
| Pros | Cons |
|---|---|
| Enhances the aesthetics of the medicine cabinet | Requires some level of tile cutting and installation skills |
| Provides a clean and organized backdrop for stored items | Additional time and effort required for tile adhesive application and drying |
| Easy to clean and maintain | May increase the overall cost of the project |
Tiling the back side of your DIY medicine cabinet is a worthwhile investment that will transform your bathroom storage into a stylish and functional space. Consider incorporating this creative storage solution into your project to achieve a custom and personalized look.
Building the Frame
Now that you have removed the existing cabinet and tiled the back side of the cavity, it’s time to build the frame for your DIY medicine cabinet. Follow these steps to create a sturdy and functional structure that will support your cabinet shelves:
- Materials and Tools Needed:
| Materials | Tools |
|---|---|
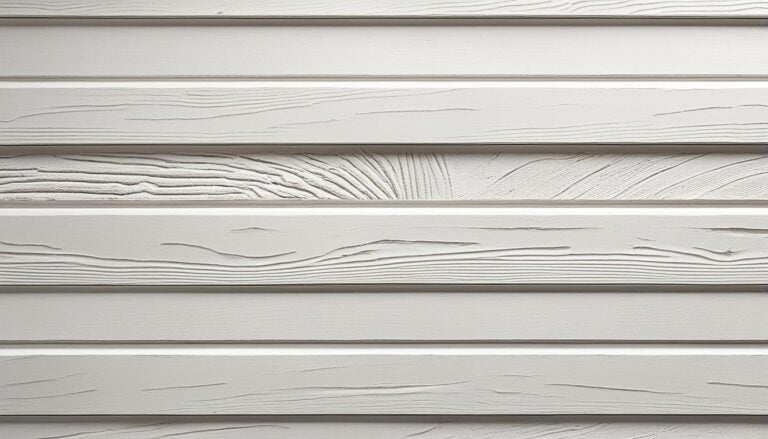
| 3/4″ solid white oak boards | Table saw or circular saw |
| Wood glue | Clamps |
- Instructions:
1. Start by cutting the white oak boards to your desired width and length using a table saw or circular saw. Measure twice and cut once to ensure precise dimensions.
2. Create grooves, known as dados, in the side pieces of the frame. These grooves will act as slots to hold the shelves securely in place.
3. Apply wood glue to the edges of the white oak boards and assemble the frame. Use clamps to hold the pieces together while the glue dries. This will ensure a secure fit and provide stability to the overall structure of your medicine cabinet.
4. Allow the glue to dry completely before moving on to the next step.

Building the frame is an essential step in the DIY medicine cabinet project. It not only provides stability to the cabinet but also allows for effective cabinet organization. With a strong frame in place, you’ll be one step closer to creating a functional and stylish storage solution for your bathroom.
Installing the Shelves
Once the frame is complete, it’s time to install the shelves. This step is crucial for optimizing the storage space and improving the organization in your DIY medicine cabinet.
Start by measuring and marking the desired locations for the shelves on the side pieces of the frame. Take into account the height and spacing that will best suit your storage needs.
To create a snug fit, use a circular saw to cut grooves, known as dados, into the side pieces of the frame. These dados will securely hold the shelves in place.
Once you have created the dados, carefully insert the shelves into their respective grooves. Ensure a tight fit to prevent any wobbling or instability.
To further reinforce the shelves, apply wood glue along the edges where they come into contact with the frame. This added layer of adhesion will enhance the overall strength and durability of your medicine cabinet.
Allow the wood glue to dry completely before proceeding to the next steps. This will ensure a solid bond between the shelves and the frame.
By installing the shelves in your DIY medicine cabinet, you are creating additional storage space and organizing your bathroom essentials effectively. With everything neatly arranged, you’ll have easy access to your items and a clutter-free cabinet.


Adding Trim and Finishing Touches
To give your DIY medicine cabinet a finished look, add trim pieces to the frame. Cut strips of white oak board and attach them to the front of the frame using wood glue and brad nails. Sand the entire cabinet to smooth any rough edges and apply a wood finish of your choice. This step will enhance the aesthetics of the medicine cabinet and give it a professional touch.
Adding trim not only brings a visual appeal to your DIY medicine cabinet but also adds a sense of completeness. By using white oak board strips, you can achieve a clean and modern look that complements any bathroom decor. Attach the trim to the front of the frame using wood glue for a secure bond, and reinforce it further with brad nails. This ensures a sturdy and long-lasting finish.
Once the trim is securely in place, take the time to sand the entire cabinet to create a smooth surface. Sanding not only removes any rough edges but also prepares the wood for the application of a wood finish. Choose a finish that matches the style of your bathroom, whether it’s a natural stain, glossy lacquer, or a distressed look. Applying a wood finish not only protects the wood but also enhances its natural beauty and adds depth to the overall appearance of the medicine cabinet.
The finishing touches are what truly elevate a DIY project. By adding trim and applying a wood finish to your medicine cabinet, you’ll achieve a polished and professional look, transforming a simple storage solution into an eye-catching focal point in your bathroom.
Applying Grout to the Tile
After the frame and trim of your DIY medicine cabinet are complete, it’s time to apply grout to the tile. This step is crucial for achieving a professional and polished look. Follow these simple steps to ensure a successful grouting process:
- Mix a small amount of white grout to a smooth consistency. Consistency is key, so be sure to follow the manufacturer’s instructions for mixing proportions.
- Using a rubber float, work the grout into the seams between the tiles. Apply gentle pressure and use a diagonal motion to ensure the grout fills the gaps completely.
- Once the grout is applied, wipe away any excess grout from the surface of the tiles using a clean, wet sponge. It’s important to be gentle to avoid removing grout from the joints.
- Allow the grout to cure according to the manufacturer’s instructions. This typically takes about 24 hours.
By applying grout to the tile, you not only enhance the visual appeal of your DIY medicine cabinet but also ensure that the tiles are securely held in place. The grout creates a protective barrier and prevents moisture from seeping behind the tiles, promoting longevity and durability.
Remember, attention to detail during the grouting process is essential for a flawless finish. Take your time and enjoy the satisfaction of seeing your DIY medicine cabinet fully come together!
Expert Tip:
Before applying grout, seal the tiles with a penetrating sealer to make the grout removal process easier. This step will also prevent the grout from penetrating the tiles, making cleanup a breeze.
Installation of the Cabinet
Once the grout is dry, it’s time to install the medicine cabinet. This step will provide a secure and functional storage solution, especially for small bathrooms where space is a premium. With the following instructions, you’ll be able to easily install your DIY medicine cabinet and maximize your bathroom’s storage potential.
Tools and Materials Needed:
- Construction adhesive
- Pin nails or wood screws
- Level
- Tape measure
- Power drill
- Screwdriver
Remember to always wear protective gear such as safety glasses and gloves when working with power tools.
Follow these steps to install your medicine cabinet:
- Step 1: Measure and Mark
Using a tape measure, determine the desired height and position of your medicine cabinet on the wall. Use a level to ensure it’s straight. Mark the location with a pencil.
- Step 2: Apply Construction Adhesive
Apply a thin, even layer of construction adhesive to the back of the medicine cabinet frame. This will help secure it to the wall.
- Step 3: Position and Secure
Position the medicine cabinet on the marked location and press it firmly against the wall. Use a level to ensure it’s straight. Secure the frame with pin nails or wood screws, driving them through the corners and along the edges. Be careful not to overtighten and damage the frame or wall.
- Step 4: Test and Adjust
Open and close the cabinet doors to ensure they operate smoothly. If needed, make any necessary adjustments to the hinges or frame to ensure proper alignment.
Once the installation is complete, step back and admire your newly installed DIY medicine cabinet. It provides convenient and budget-friendly storage solutions, making your small bathroom more organized and functional.

Summary:
| Benefits of DIY Medicine Cabinet Installation |
|---|
| Maximizes storage potential in small bathrooms |
| Creates a secure and functional storage solution |
| Offers budget-friendly storage ideas |
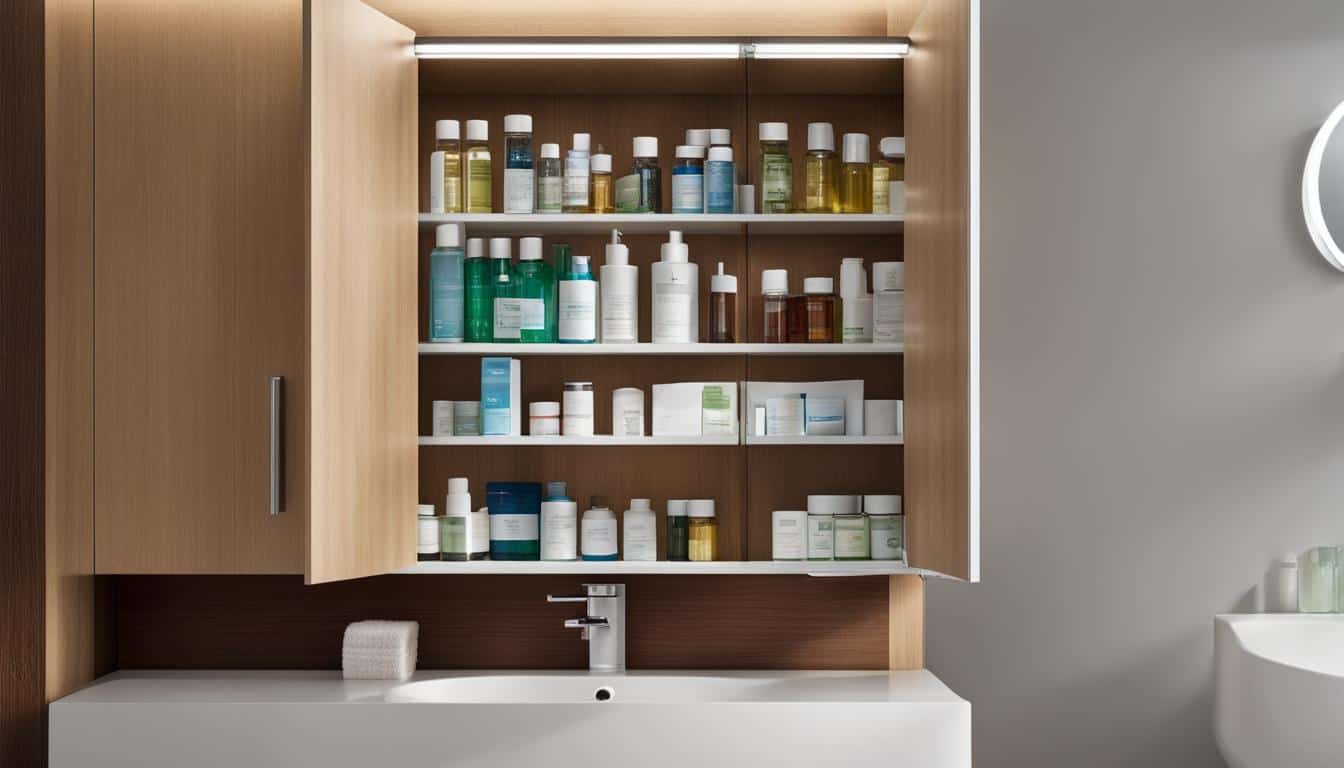
Final Touches and Reveal
After the cabinet is installed, it’s time for the final touches and reveal of your DIY medicine cabinet. Take a moment to do a thorough check for any necessary touch-ups or adjustments, ensuring that everything is perfect before showcasing your creation. Clean the surface of the mirror with a gentle glass cleaner to remove any fingerprints or smudges, allowing it to shine brightly. Check that all components are securely fastened, ensuring the stability and durability of your medicine cabinet.
Step back and take in the transformation of your bathroom with the newly made medicine cabinet. The medicine cabinet makeover will not only bring a new level of organization but also add a touch of style to your bathroom. With the creative bathroom storage ideas presented in this guide, you’ll have inspiration for organizing your everyday necessities in a functional and aesthetically pleasing way.
Admire how the medicine cabinet now serves as both a practical storage solution and a decorative element, elevating the overall look of your bathroom. The DIY medicine cabinet allows you to personalize your space and showcase your DIY skills, making it a unique addition to your home.
Conclusion
In conclusion, creating a DIY medicine cabinet is a rewarding and achievable project. By following the step-by-step instructions and using the recommended tools and materials, you can revamp your bathroom and create an organized and stylish space.
The easy DIY projects and organization hacks presented in this guide will help you maximize your bathroom’s storage potential and create a budget-friendly storage solution. Whether you’re looking to add more storage space, improve cabinet organization, or simply enhance the aesthetics of your bathroom, a DIY medicine cabinet is the perfect solution.
Start your DIY medicine cabinet project today and enjoy the benefits of a custom and functional storage solution. With a little time and effort, you can transform your bathroom into a well-organized oasis that suits your needs and style.
FAQ
What materials and tools do I need for this DIY medicine cabinet project?
To complete this DIY medicine cabinet project, you will need penny tile, a small level, tile adhesive, a V-notched trowel, a rubber grout float, a table saw, a miter saw, a push stick, a circular saw, an orbital sander, wood glue, wood finish, tile grout, construction adhesive, and a pin nailer. These tools and materials will help you achieve professional results with minimal effort.
How do I remove the existing cabinet?
Before starting the DIY medicine cabinet project, you will need to remove the existing cabinet. This may involve removing any loose sheetrock pieces and creating a flat back wall surface. By eliminating the old cabinet, you will be able to make room for your custom-built medicine cabinet, allowing for better small bathroom storage and budget-friendly storage solutions.
How do I tile the back side of the medicine cabinet?
To create a visually appealing and functional medicine cabinet, you can tile the back side of the cavity. This will add a stylish touch and provide a clean backdrop for your stored items. Using penny tile, you can easily cut and install the tiles using a small level and tile adhesive. This creative storage solution will enhance your bathroom’s aesthetics and provide an organized space.
How do I build the frame of the medicine cabinet?
The next step in the DIY medicine cabinet project is building the frame. Using 3/4″ solid white oak boards, cut them to the desired width and length using a table saw or circular saw. Create grooves, called dados, in the side pieces to hold the shelves. Assemble the frame using wood glue and clamps for a secure fit. This step will help with cabinet organization and provide stability to the overall structure.
How do I install the shelves in the medicine cabinet?
Once the frame is complete, it’s time to install the shelves. Measure and mark the desired locations for the shelves on the side pieces of the frame. Cut grooves, called dados, using a circular saw for a snug fit. Insert the shelves into the dados and secure them with wood glue. This step will provide additional storage space and improve cabinet organization in your medicine cabinet.
How do I add trim and finish the medicine cabinet?
To give your DIY medicine cabinet a finished look, add trim pieces to the frame. Cut strips of white oak board and attach them to the front of the frame using wood glue and brad nails. Sand the entire cabinet to smooth any rough edges and apply a wood finish of your choice. This step will enhance the aesthetics of the medicine cabinet and give it a professional touch.
How do I apply grout to the tile in the medicine cabinet?
After the frame and trim are complete, it’s time to apply grout to the tile. Mix a small amount of white grout to a smooth consistency and use a rubber float to work it into the seams between the tiles. Wipe away any excess grout with a clean, wet sponge, being careful not to remove grout from the joints. This step will ensure a professional and polished look for your DIY medicine cabinet.
How do I install the medicine cabinet?
Once the grout is dry, it’s time to install the medicine cabinet. Using construction adhesive, attach the frame to the cavity in the wall. Secure the frame with pin nails or wood screws for added stability. This step will provide a secure and functional storage solution, especially for small bathrooms where space is a premium. The budget-friendly storage ideas presented in this DIY project will help you maximize your bathroom’s storage potential.
How do I do final touches and reveal the finished medicine cabinet?
After the cabinet is installed, do a final check for any necessary touch-ups or adjustments. Clean the surface of the mirror and make sure all components are secure. Step back and admire the transformation of your DIY medicine cabinet. The medicine cabinet makeover will bring a new level of organization and style to your bathroom, while the bathroom storage ideas presented in this guide will inspire creative storage solutions for your everyday necessities.