Making your own DIY picture frames can be a fun and fulfilling project. But have you ever wondered why you should bother making your own frames when you can easily buy pre-made ones? What advantages and unique touches can DIY frames bring to your favorite photos and artwork?
In this guide, we will explore easy and creative ideas for homemade picture frames. Whether you’re a beginner or an experienced DIYer, you’ll find step-by-step tutorials to help you create personalized and unique frames that perfectly showcase your cherished memories. Let’s dive in!
Key Takeaways:
- Create personalized and unique frames with DIY picture frame projects.
- Making your own frames allows for customization and a perfect fit for your photos and artwork.
- DIY picture frames can be a cost-effective alternative to buying pre-made frames.
- Explore creative materials, designs, and finishing touches to make your frames truly stand out.
- Display your DIY frames in unique ways, such as creating a gallery wall or using picture ledges.
Why Make Your Own Picture Frames?
Making your own picture frames has several advantages. First, it allows you to customize the frame to perfectly fit your photo or artwork. Second, it can be a cost-effective alternative to purchasing pre-made frames. Finally, DIY picture frames can be a creative and personal way to display your favorite memories.
“Creating your own picture frames adds a unique touch to your home decor. You have the freedom to choose the materials, colors, and styles that best complement your photos or artwork. It’s an opportunity to showcase your creativity and reflect your personal style.”
When you make your own picture frames, you have full control over the design. You can choose from a variety of materials, such as wood, metal, or even repurposed items, to create a frame that perfectly matches your vision. By putting your DIY skills to work, you can achieve a customized look that is not easily found in store-bought frames. Plus, the satisfaction of creating something with your own hands adds a special value to the final product.
Customization and Personalization
One of the biggest advantages of making your own picture frames is the ability to customize and personalize them. Whether you want a simple and minimalist frame or something more elaborate, DIY allows you to bring your ideas to life. You can add unique embellishments, such as carvings, engravings, or decorative accents, to make your frame truly one-of-a-kind.
Cost-Effective Option
Another benefit of DIY picture frames is the cost savings. Buying pre-made frames can be expensive, especially if you have multiple photos or artwork to frame. By making your own frames, you can save money without sacrificing quality. The materials needed for frame construction are often readily available and affordable, making it a budget-friendly option for those looking to display their memories without breaking the bank.
Display Your Memories with Creativity
DIY picture frames offer you the opportunity to display your memories with creativity and flair. Instead of traditional rectangular frames, you can experiment with different shapes, sizes, and orientations. Create a gallery wall with a mix of frames or use unconventional materials for a unique look. Let your imagination run wild and design frames that truly reflect your personality and style.
With DIY picture frames, you can turn a simple photo or artwork into a cherished keepsake. Whether you’re framing a family portrait, vacation snapshot, or a piece of art, the frame you create will enhance its beauty and significance. So get ready to unleash your creativity and start making your own picture frames today!
Choosing the Right Materials
When it comes to creating your own DIY picture frames, selecting the right materials is key. Not only does it affect the appearance of the final product, but it also influences the ease of the project. To ensure a successful and enjoyable experience, consider the following materials:
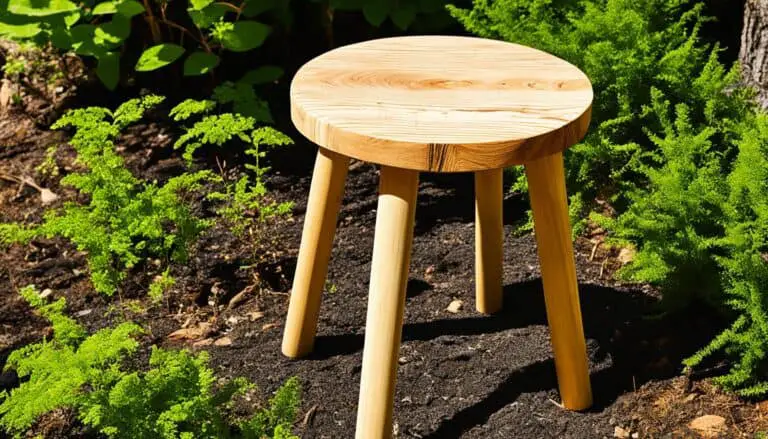
Pine Boards or Furring Strips
If you’re looking for a straightforward and beginner-friendly option, pine boards or furring strips are excellent choices. These materials are readily available, affordable, and easy to work with. Their smooth surface allows for easy painting or staining, giving you the flexibility to customize your frame to match your personal style.
Reclaimed or Repurposed Wood
If you desire a touch of uniqueness and sustainability in your DIY picture frame, consider using reclaimed or repurposed wood. Old pallets, salvaged barn wood, or discarded furniture can be transformed into stunning frames with character. Not only will you create a one-of-a-kind piece, but you’ll also be minimizing waste and giving new life to materials that would otherwise be discarded.
Whichever wood you choose, ensure that it’s free from any damage or rot that could affect the stability and longevity of your picture frame.
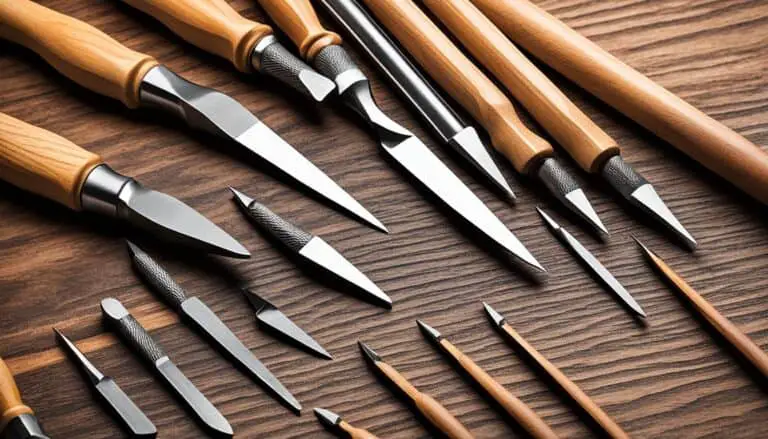
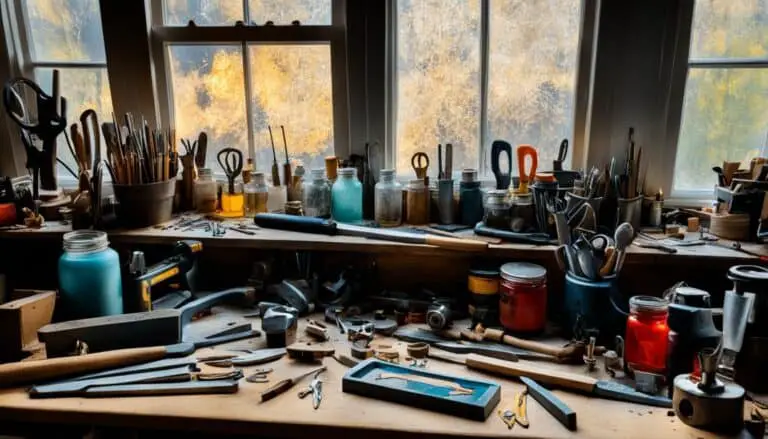
Essential Tools
To bring your DIY picture frame to life, you’ll need a few basic tools. Having these tools on hand will make the process smoother and more efficient:
- Saw: To cut the wood to the desired sizes
- Screwdriver: For attaching hardware and securing the frame
- Clamps: To hold the frame pieces together during assembly
These tools are readily available at most hardware stores and are essential for achieving professional-looking results.
By carefully selecting the right materials and tools, you’ll set yourself up for success when creating your own handmade picture frames. The next step is to measure and cut the boards to the desired size, which we’ll cover in the next section.
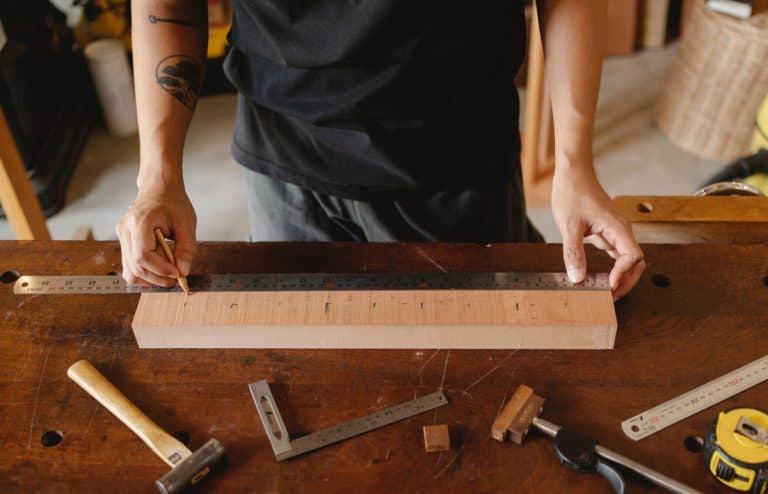
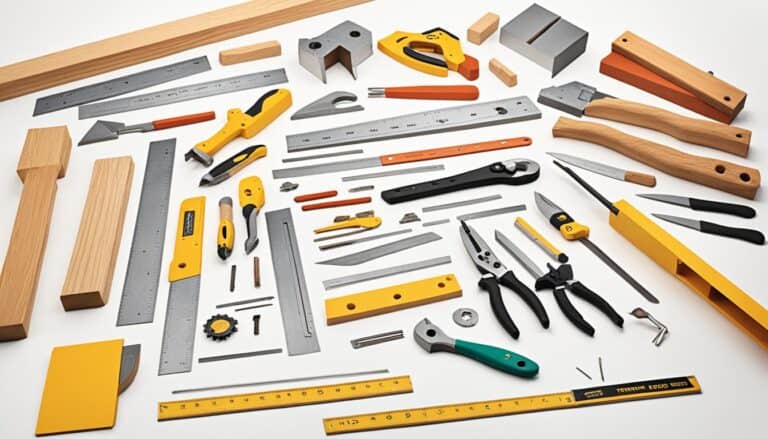
Measuring and Cutting the Boards
Before you start assembling your DIY picture frame, it’s important to get the measurements just right. This step is crucial to ensure a precise fit and a professional-looking finished product. Here’s a step-by-step guide to help you measure and cut the boards for your frame.
1. Determine the dimensions
Using a tape measure, measure the size of the photo or artwork you want to frame. Consider any additional space you want to leave for matting or overhang. Take accurate measurements to make sure your frame fits perfectly.
2. Choose the right boards
Decide on the type of wood you want to use for your frame. Pine boards or furring strips are commonly used for their affordability and ease of cutting. If you want a more unique and rustic look, consider using reclaimed or repurposed wood.
3. Cut the boards
Mark the measurements on the boards using a pencil and ruler. Double-check your measurements before cutting to avoid any mistakes. Use a saw (such as a miter saw or a hand saw) to make precise cuts according to your measurements.
Remember to use caution and follow safety guidelines when operating power tools.
4. Sand the edges
After cutting the boards, use sandpaper or a sanding block to smooth out any rough edges or splinters. This will give your frame a polished and professional look.
5. Double-check the fit
Before proceeding to the next step of frame assembly, double-check the fit by placing the cut boards together. Ensure that the corners align perfectly and that the frame fits the dimensions of your photo or artwork.
By taking the time to measure and cut the boards accurately, you’ll set a strong foundation for creating a beautiful and well-crafted DIY picture frame.
Assembling the Frame
Once you have cut all the boards to size, it’s time to assemble the frame. There are different methods you can use to ensure a sturdy and well-constructed frame.
- Mitered Corners: For a clean and professional look, you can create mitered corners. This involves cutting the ends of the boards at a 45-degree angle and fitting them together to form a neat corner.
- Butt Joints: If you prefer a simpler approach, you can use butt joints. This involves placing the ends of the boards against each other and securing them with screws or nails.
For those who are new to frame making, beginner-friendly options are available:
Corner Brace Brackets: Using corner brace brackets is a simple and effective way to hold the frame together. These brackets can be easily attached to the inside corners of the frame using screws, providing stability and reinforcement.
Wood Glue: Another beginner-friendly option is using wood glue. Apply the glue to the miters or butt joints, join the pieces together, and use clamps to hold them in place while the glue dries.
Whichever method you choose, make sure to align the corners accurately and use clamps to ensure tight joints. Allow the glue to dry completely before moving on to the next step.
Tips:
- Measure and mark the placement of the corner brace brackets or the application of wood glue for optimal alignment.
- Use clamps to hold the frame together tightly, ensuring a secure bond.


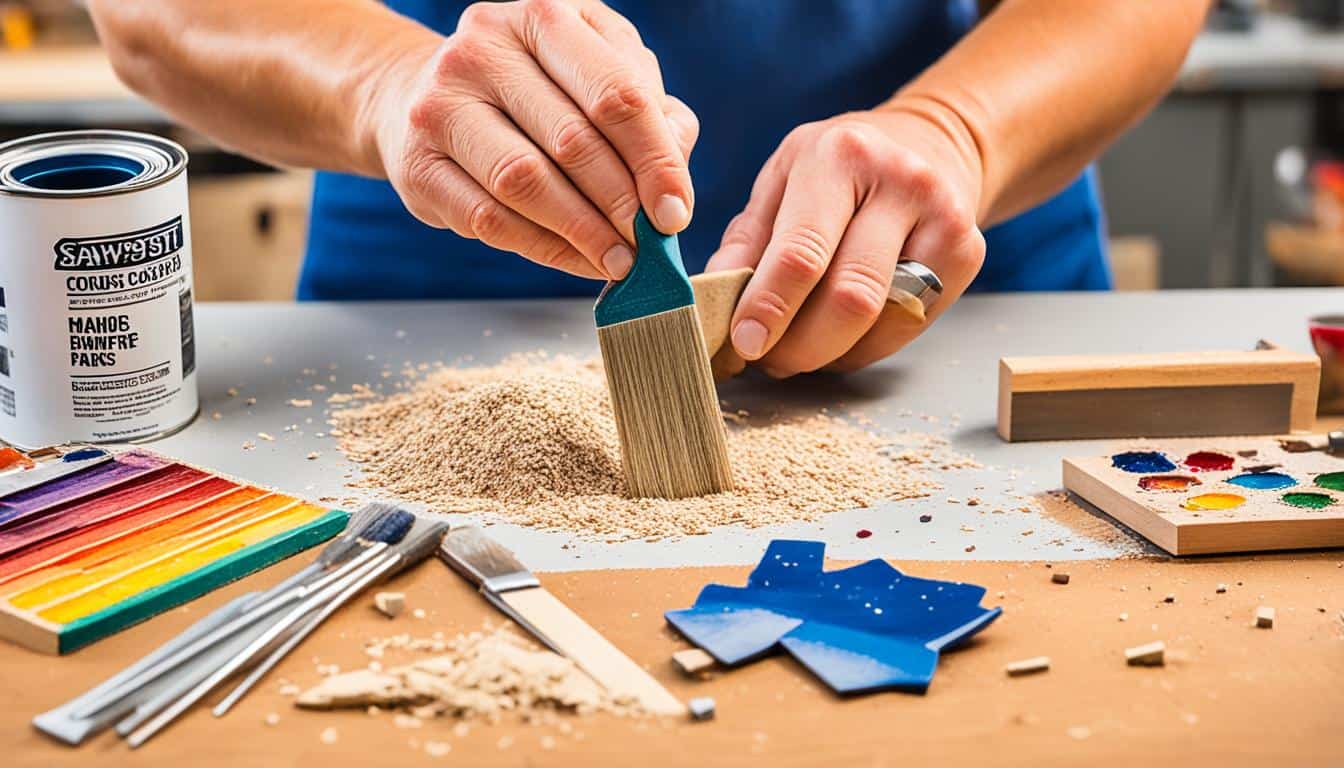
Adding the Finishing Touches
Now that the frame is assembled, it’s time to add the finishing touches to your DIY picture frame. These final steps will help enhance the overall look and protect your photo or artwork.
1. Staining or Painting the Frame
If you want to add a decorative touch to your frame, consider staining or painting it. Staining the frame can enhance the natural beauty of the wood, while painting it allows you to add a pop of color that matches your home decor. Choose a stain or paint color that complements your photo or artwork, ensuring that it stands out in the frame.
2. Applying a Clear Coat
For a polished and glossy finish, consider applying a clear coat to the frame. This will protect the finish and give it a smooth and professional look. Apply the clear coat according to the manufacturer’s instructions, and let it dry completely before proceeding to the next step.
3. Adding Glass or Plexiglass
To protect your photo or artwork from dust, dirt, and damage, consider adding a piece of glass or plexiglass to the frame. Measure the dimensions of the frame and have a piece of glass or plexiglass cut to fit precisely. Carefully place the glass or plexiglass into the frame, ensuring that it fits securely.
4. Attaching Hanging Hardware
To easily hang your DIY picture frame on the wall, you’ll need to attach hanging hardware to the back. Choose appropriate hardware based on the weight of the frame and the type of wall you’ll be hanging it on. Common options include sawtooth hangers, D-ring hangers, or picture wire. Follow the manufacturer’s instructions to securely attach the chosen hardware to the frame.
With these finishing touches, your DIY picture frame is complete. The staining or painting, clear coat, glass or plexiglass, and hanging hardware all contribute to the overall look, protection, and functionality of your frame. Now you can proudly display your favorite photo or artwork in a personalized and unique frame.
Creative Framing Ideas
DIY picture frames offer endless possibilities for creativity. Instead of sticking to traditional materials and shapes, you can explore unique frame designs that truly reflect your personal style. By thinking outside the box, you can create a gallery-worthy display that will captivate your audience. Here are some creative framing ideas to inspire your next project:
1. Use Different Materials
Break away from conventional wooden frames and experiment with various materials. Consider using driftwood for a rustic and beachy vibe. Metal frames can add an industrial touch to your artwork. Get creative and mix materials to create a one-of-a-kind look.
2. Try Unconventional Shapes
Explore different shapes and sizes to add visual interest to your frames. Circular frames can add a modern and playful touch to any space. Hexagonal frames offer a unique geometric appeal. Stand out from the crowd by thinking beyond the traditional rectangle.
3. Create a Collage Frame
Instead of using a single frame, why not create a collage frame using multiple smaller frames? This allows you to showcase multiple photos or pieces of artwork in a fun and dynamic way. Play around with different layouts to find the perfect arrangement.

4. Add a Pop of Color
Make your frames stand out by adding a splash of color. Paint them in bold hues that complement the colors in your artwork or room decor. Alternatively, opt for a subtle pastel shade for a delicate and elegant touch.
5. Incorporate Natural Elements
Embrace nature by incorporating natural elements into your frames. Use twigs, leaves, or shells to create a whimsical and earthy feel. This organic approach will bring a unique and captivating element to your framed pieces.
6. Mix and Match
Don’t be afraid to mix and match different frame styles and materials. Create an eclectic look by combining vintage frames with modern ones. Play with various textures, colors, and finishes to achieve a visually dynamic display.
7. Personalize with Embellishments
Add a personal touch to your frames by embellishing them with unique details. Consider attaching ribbons, beads, or small ornaments to make them truly special. These personalized touches will enhance the overall aesthetic and create a meaningful connection with your artwork.
8. Think Beyond the Frame
Expand your creative framing ideas beyond the confines of the frame itself. Consider using floating frames, shadow boxes, or even displaying artwork without a frame for a contemporary and minimalist look. Explore unconventional ways to highlight your art.
| Material | Description |
|---|---|
| Driftwood | A rustic and beachy material that adds natural charm to frames. |
| Metal | Industrial and modern, metal frames can make a bold statement. |
| Hexagonal | A geometric shape that adds an interesting focal point to your artwork. |
| Collage | Combining multiple frames to showcase a collection or tell a story. |
| Pop of Color | Adding a vibrant hue to make your frames visually striking. |
| Natural Elements | Incorporating organic materials like twigs or leaves for an earthy touch. |
| Mix and Match | Creating an eclectic display by combining different frame styles. |
| Embellishments | Adding unique details like ribbons or beads to personalize your frames. |
Tips for Displaying Your DIY Picture Frames
Once you have completed your DIY picture frames, it’s important to display them in a way that highlights their beauty. Here are some tips to help you showcase your personalized picture frames and unique frame designs:
- Create a gallery wall: Arrange multiple frames together on a wall to create a stunning visual impact. Mix and match different sizes, styles, and colors for a personalized touch. Experiment with different arrangements until you find the perfect composition.
- Use picture ledges or shelves: Instead of hanging your frames directly on the wall, consider using picture ledges or shelves. This allows you to create a layered effect by overlapping frames and adding decorative elements such as plants or small sculptures.
- Play with different sizes and orientations: Don’t be afraid to mix different frame sizes and orientations. Pair larger frames with smaller ones to add variety to your display. Experiment with both horizontal and vertical orientations for a dynamic look.
- Highlight a focal point: Choose one frame to be the focal point of your display. This could be a larger frame with a special photo or artwork that holds sentimental value. Surround this frame with smaller frames to create a visually appealing arrangement.
- Consider the surrounding decor: Take into account the overall style and theme of the room where you’ll be displaying your frames. Choose frames that complement the existing decor and colors. This will create a cohesive and harmonious look.
Remember, the key is to experiment and have fun with your display. Rearrange your frames as often as you’d like until you find the perfect arrangement that showcases your DIY picture frames in all their personalized and unique glory.
| Frame Material | Frame Color | Frame Style |
|---|---|---|
| Wood | Dark Brown | Vintage |
This personalized picture frame combines the warmth of wood with a dark brown vintage finish. Its elegant design and rich color make it a perfect choice for displaying cherished photos or artwork with a touch of nostalgia.
DIY Picture Frame as a Gift
A DIY picture frame can make a thoughtful and personalized gift for a loved one. Consider framing a special photo or artwork that holds sentimental value. You can also add a personal touch by engraving a message or name on the frame. Whether it’s for a birthday, anniversary, or holiday, a handmade picture frame is a heartfelt gift that will be cherished for years to come.
Give a memorable gift by creating a DIY picture frame that perfectly captures the essence of your relationship or the significance of the occasion. Personalize it with engraved details or heartfelt messages to make your gift truly one-of-a-kind.
Tips for Personalizing a DIY Picture Frame:
- Choose a photo or artwork that holds special meaning to the recipient, such as a cherished memory or a shared experience.
- Consider using materials or colors that reflect the recipient’s taste and style.
- Add an engraved message, quote, or name to the frame to make it even more personal.
- Don’t be afraid to get creative with decorative elements, such as ribbons, charms, or embellishments.
When giving a DIY picture frame as a gift, you’re not only gifting a beautiful frame but also the love and thoughtfulness that went into its creation. It’s a unique and personalized gesture that will touch the heart of anyone who receives it.
“The best gifts come from the heart, and a DIY picture frame is a heartfelt token of love and appreciation.”
| Occasion | DIY Picture Frame Ideas |
|---|---|
| Birthday | Frame a favorite childhood photo |
| Anniversary | Engrave the couple’s names and wedding date |
| Graduation | Showcase the graduate’s achievements with a collage frame |
| Holiday | Create a festive frame with seasonal decorations |
Budget-Friendly Picture Frames
Making your own picture frames can be a budget-friendly alternative to purchasing pre-made frames. By using affordable materials and tools, you can create beautiful frames at a fraction of the cost.
Look for deals on lumber or repurpose old materials for an even more budget-friendly option.
With a little creativity and resourcefulness, you can achieve stunning results without breaking the bank.
Tips for Creating Budget-Friendly Picture Frames
Here are some tips to help you create budget-friendly picture frames:
- Utilize discounted lumber or reclaimed wood for cost savings.
- Repurpose old frames or materials to give them a new life.
- Consider using alternative materials such as cardboard, fabric, or rope for a unique and inexpensive frame.
- Shop at discount stores, thrift shops, or yard sales for affordable frame components.
- Get creative with embellishments by using inexpensive trinkets, buttons, or beads.
Comparison of Costs: DIY vs. Pre-Made Frames
| Cost Factors | DIY Picture Frame | Pre-Made Frame |
|---|---|---|
| Materials | Affordable and customizable | Fixed costs for pre-designed frames |
| Tools | Basic tools like a saw and screwdriver | No additional tools needed |
| Customization | Endless possibilities for personalized designs | Limited options for customizing |
| Cost | Significantly cheaper | Higher price point |
Creating Budget-Friendly DIY Frames
“Making your own picture frames not only saves you money but also allows you to unleash your creativity without limitations. With a little ingenuity, you can transform inexpensive materials into stunning frames that perfectly showcase your favorite photos or artwork.” – [Author Name]
So, why spend a fortune on pre-made frames when you can create your own unique and affordable masterpieces?
Step-by-Step Tutorial for a Simple DIY Picture Frame
Follow this step-by-step tutorial to create a simple DIY picture frame. With just a few materials and basic tools, you’ll be able to make a beautiful frame that perfectly showcases your favorite photo or artwork.
Materials Needed:
- Pine boards or furring strips
- Saw
- Corner brace brackets or wood glue
- Stain or paint
- Hanging hardware
- Glass or plexiglass (optional)
Instructions:
- Measure and Cut the Boards: Use a tape measure to determine the dimensions of your frame. Take into account any overhang or matting you want to include. With a saw, cut the boards to the desired size. Remember to double-check your measurements for accuracy.
- Assemble the Frame: Depending on your preference, you can use corner brace brackets or wood glue to assemble the frame. If using brackets, secure them at each corner of the frame. If using wood glue, apply a thin layer to the joints and press the pieces together. Use clamps to hold the frame in place while the glue dries. Allow sufficient time for the glue to set.
- Add the Finishing Touches: Once the frame is assembled, you can add a personal touch by staining or painting it. Choose a color that complements your photo or artwork. Apply the stain or paint evenly and allow it to dry completely. If desired, you can also add a clear coat for added protection and a glossy finish.
- Attach Hanging Hardware: Flip the frame over and attach the hanging hardware to the back. You can use D-rings, sawtooth hangers, or picture wire depending on your preference. Make sure the hardware is securely fastened to ensure safe and easy hanging.
- Insert Your Photo or Artwork: Carefully insert your photo or artwork into the frame. If using glass or plexiglass, place it on top of the photo before closing the frame. Ensure that everything is properly aligned and centered. If needed, you can use small pieces of tape or adhesive putty to hold the photo or artwork in place.
Remember, the beauty of DIY picture frames lies in their simplicity and versatility. Feel free to experiment with different stains, paints, or decorative elements to create a frame that truly reflects your style and enhances the beauty of your photo or artwork.
Once your DIY picture frame is complete, you can proudly display it in your home or gift it to someone special. It’s a wonderful way to showcase your creativity and add a personalized touch to your space.
DIY Picture Frame for Special Occasions
A DIY picture frame can be a perfect way to commemorate special occasions such as weddings, graduations, or anniversaries. Creating a custom frame adds an extra special touch to the gift or keepsake.
Personalized Elements
Consider incorporating personalized elements into your DIY picture frame to make it truly unique. Engrave initials or dates on the frame to honor the special occasion and add a personal touch. This will make the frame a cherished keepsake that holds sentimental value for years to come.
Themed Materials and Decorations
Add an extra level of customization to your DIY picture frame by using themed materials or decorations that match the occasion. For example, for a wedding, you can use lace or ribbons to give the frame an elegant touch. For a graduation, consider incorporating the graduate’s school colors or emblem. These themed elements will make the frame more meaningful and relevant to the occasion.
To visually inspire you, here’s an example of a DIY picture frame created for a wedding:
By incorporating personalized elements and themed materials, you can create a DIY picture frame that captures the spirit of any special occasion and becomes a cherished memento.
DIY Picture Frame for Kids’ Artwork
Kids’ artwork is precious and deserves to be displayed proudly. Create a DIY picture frame specifically designed to showcase your child’s artwork. Consider using bright and colorful materials to match the playful nature of the drawings. You can also add a label or nameplate to highlight the artist’s name and the title of the artwork. This will make your child feel proud and appreciated for their creativity.

When it comes to framing your child’s artwork, let their imagination be your guide. Use materials like craft foam or popsicle sticks to create a unique frame that reflects their creativity. Allow them to choose the colors and decorations to make it truly personalized.
Consider using fun elements such as googly eyes, glitter, or sequins to add a touch of whimsy to the frame. These small details will make your child’s artwork stand out and bring a smile to their face every time they see it on display.
In addition to the frame, you can also create a label or nameplate to accompany the artwork. Use cardstock or construction paper and write the artist’s name, the title of the artwork, and the date. Attach the label to the frame or place it next to the artwork for a professional touch.
Displaying your child’s artwork in a DIY picture frame not only showcases their talent but also boosts their confidence and self-esteem. It shows them that their creations are valued and appreciated. Hang the frame in a prominent place in your home, such as their bedroom or a dedicated art wall, to celebrate their artistic achievements.
Remember, the process of creating the DIY picture frame can be just as enjoyable as displaying the final product. Involve your child in every step, from selecting materials to decorating the frame. This collaborative effort will create cherished memories and deepen your bond.
DIY Picture Frame for Vintage Photos
Vintage photos have a timeless charm that deserves to be showcased in a special way. To create a DIY picture frame that perfectly complements the style and era of your vintage photos, consider using antique or distressed materials for a vintage look. Adding vintage-inspired embellishments such as lace or old buttons can further enhance the nostalgic appeal of your frame, creating a cohesive and sentimental display for your cherished photos.
Not only does a DIY picture frame provide a unique and personalized touch, but it also allows you to tap into your creativity and design a frame that truly reflects your personal style. By incorporating vintage elements into your frame design, you can create a captivating display that adds character and charm to your vintage photos.
| Materials | Description |
|---|---|
| Antique or distressed wood | Choose wood with an aged or weathered appearance to enhance the vintage aesthetic. |
| Lace or fabric | Adorn your frame with delicate lace or vintage-inspired fabric to add an elegant touch. |
| Old buttons or trinkets | Attach vintage buttons or trinkets to the frame for a charming and nostalgic detail. |
When creating your DIY picture frame for vintage photos, remember to pay attention to details like color, texture, and overall design. Take inspiration from the era of the photos and incorporate elements that were popular during that time. By carefully selecting materials and embellishments, you can craft a unique frame that showcases your vintage photos in a visually appealing and meaningful way.
DIY Picture Frame for Art Prints
Art prints are a great way to add color and personality to your home decor. To truly showcase their beauty, it’s important to create DIY picture frames specifically designed for art prints. By choosing the right frames and matting options, you can enhance the visual impact of your prints and create a gallery-worthy display.
When selecting frames for your art prints, consider opting for a minimalist design. This allows the focus to remain on the artwork itself, without any distractions. A simple, clean frame can complement a wide range of artistic styles and ensure that your prints remain the center of attention.
Additionally, experimenting with different matting options can add depth and dimension to your art prints. By using multiple mats or layering them strategically, you can create a unique and visually interesting effect. Consider using mats in contrasting colors to make your prints pop or opt for a subtle monochromatic scheme for a more sophisticated look.
By incorporating these creative framing ideas into your DIY picture frames for art prints, you can take your home decor to the next level. Let the beauty of your prints shine and create a stunning display that reflects your personal style and artistic appreciation.
Conclusion
Making your own DIY picture frames is a rewarding and creative endeavor. With a little time, effort, and creativity, you can create personalized and unique frames that perfectly showcase your favorite photos and artwork. Whether you’re a beginner or an experienced DIYer, the possibilities and inspiration are endless.
By following easy picture frame tutorials, you can learn the step-by-step process of frame making, allowing you to unleash your creativity and bring your vision to life. With a wide range of materials available, including reclaimed wood and repurposed materials, you can create frames that are not only visually appealing but also environmentally friendly.
Let your imagination soar with creative framing ideas. Experiment with various shapes, sizes, and materials to add a touch of uniqueness to your frames. From rustic driftwood frames to sleek metal designs, there’s a style for every aesthetic. Don’t be afraid to mix and match, creating collage frames or creating a gallery wall with multiple frames.
So, why wait? Grab your tools and start creating your own DIY picture frames today. Whether you’re framing cherished memories, displaying kids’ artwork, or adding a personal touch to a gift, the satisfaction of creating something one-of-a-kind is unparalleled. Get started on your DIY picture frame journey and let your creativity shine!
FAQ
Why should I make my own picture frames?
Making your own picture frames allows you to customize the frame to perfectly fit your photo or artwork and can be a cost-effective alternative to purchasing pre-made frames. Additionally, DIY picture frames can be a creative and personal way to display your favorite memories.
What materials should I choose for making DIY picture frames?
For a simple and easy project, you can use pine boards or furring strips. These materials are affordable and easy to work with. If you want to add a unique touch, consider using reclaimed or repurposed wood. Additionally, you’ll need basic tools such as a saw, a screwdriver, and clamps.
How do I measure and cut the boards for my DIY picture frame?
Use a tape measure to determine the dimensions of your frame, and be sure to account for any overhang or matting. Once you have your measurements, use a saw to cut the boards to size. Double-check your measurements to ensure a precise fit.
What methods can I use to assemble my DIY picture frame?
There are different methods you can use, such as mitered corners or simple butt joints. For a beginner-friendly approach, you can use corner brace brackets or wood glue to hold the frame together. Use clamps to ensure tight joints and allow the glue to dry completely before moving on to the next step.
How do I add finishing touches to my DIY picture frame?
Consider staining or painting the frame for a decorative touch. You can also apply a clear coat for a glossy finish. To protect your photo or artwork, consider adding a piece of glass or plexiglass to the frame. Finally, attach hanging hardware to the back of the frame for easy wall hanging.
What are some creative framing ideas for DIY picture frames?
You can use different materials such as driftwood or metal for a unique and rustic look. Experiment with different shapes and sizes, such as circular or hexagonal frames. Another creative idea is to create a collage frame using multiple smaller frames.
How should I display my DIY picture frames?
Consider creating a gallery wall with multiple frames for a striking visual impact. Mix and match different sizes and styles for a personalized touch. You can also use picture ledges or shelves to create a layered effect. Don’t be afraid to experiment and rearrange your frames to find the perfect display.
Can a DIY picture frame be a personalized gift?
Absolutely! Framing a special photo or artwork that holds sentimental value can make a thoughtful and personalized gift. Consider adding an engraving or personal message to the frame for an extra special touch.
Can making DIY picture frames be budget-friendly?
Yes, making your own picture frames can be a cost-effective alternative to purchasing pre-made frames. By using affordable materials and tools, you can create beautiful frames at a fraction of the cost. Look for deals on lumber or repurpose old materials for an even more budget-friendly option.
What is a step-by-step tutorial for a simple DIY picture frame?
Start by measuring and cutting the boards to size. Then, assemble the frame using corner brace brackets or wood glue. Add the finishing touches such as staining or painting the frame and attaching hanging hardware. Finally, insert your photo or artwork into the frame and proudly display it in your home.
How can I create a DIY picture frame for special occasions?
Incorporate personalized elements such as engraved initials or dates. Use themed materials or decorations to match the occasion. Creating a custom frame adds an extra special touch to the gift or keepsake.
How can I create a DIY picture frame specifically for kids’ artwork?
Use bright and colorful materials to match the playful nature of the drawings. Consider adding a label or nameplate to highlight the artist’s name and the title of the artwork.
How can I create a DIY picture frame for vintage photos?
Use antique or distressed materials for a vintage look. Add vintage-inspired embellishments such as lace or old buttons to create a cohesive and nostalgic display for your cherished photos.
How can I create a DIY picture frame specifically for art prints?
Use frames with a minimalist design to let the artwork shine. Experiment with different matting options to create a layered effect and showcase your art prints in a gallery-worthy display.
Can I create personalized and unique DIY picture frames?
Yes! With a little time, effort, and creativity, you can create personalized and unique frames that perfectly showcase your favorite photos and artwork. Let your imagination run wild and create a frame that truly reflects your personal style.