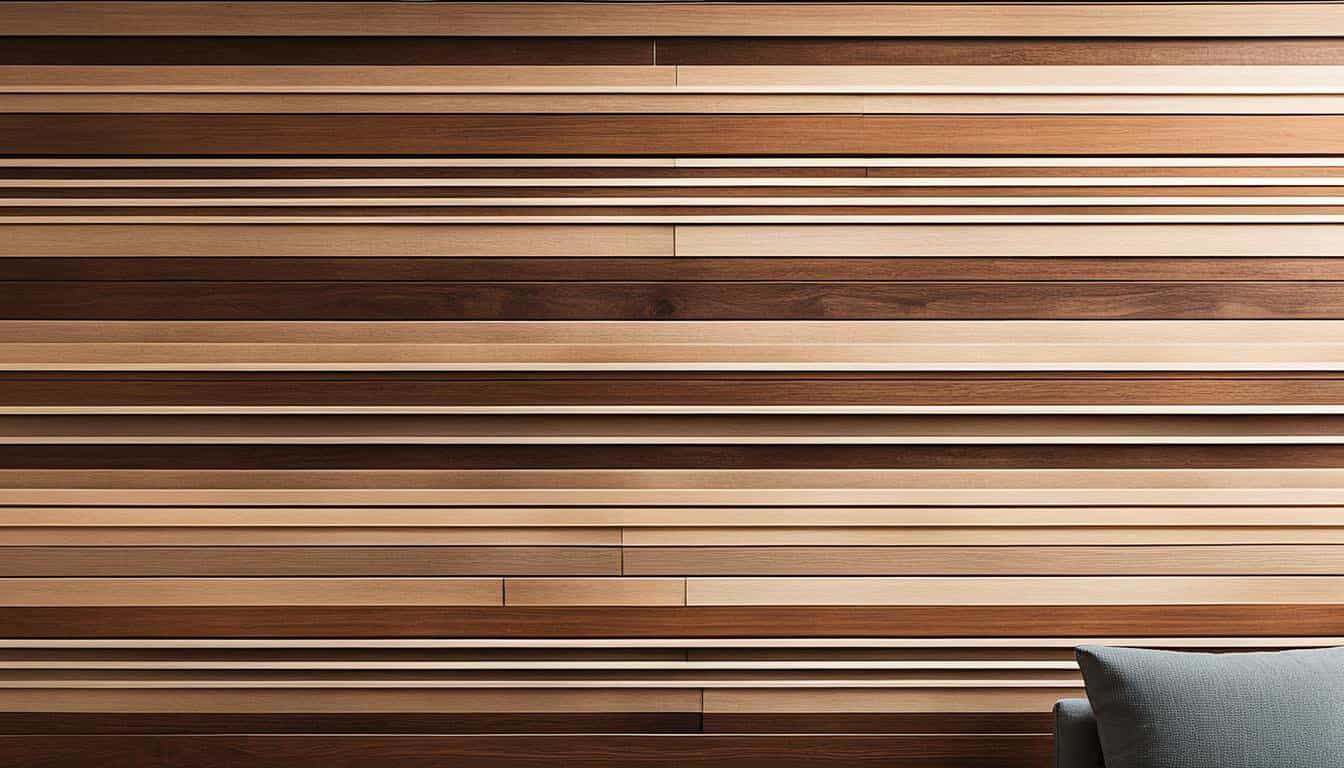
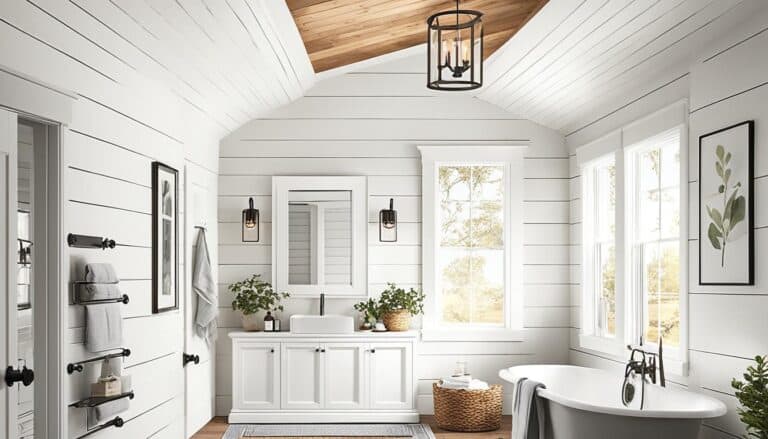
Are you looking for a simple and stylish way to upgrade your home? Have you considered creating a DIY slat wall? This versatile and customizable home decor solution can transform any room in your house, from the garage to the living room. But how do you get started? And what materials and tools will you need? In this guide, we’ll walk you through the step-by-step process of creating a DIY slat wall, so you can enhance the functionality and aesthetic appeal of your space effortlessly.
Key Takeaways:
- Creating a DIY slat wall is an easy and stylish way to upgrade your home.
- You can choose from a variety of materials, such as pine wood, hardwood, or plywood, depending on your budget and desired aesthetic.
- Investing in the right tools, such as a brad nailer and a saw, will make the installation process smoother.
- Consider painting the wall behind the slat wall a dark color to create an eye-catching contrast.
- Take measurements, plan the slat spacing, and work around outlets for a professional-looking result.
What is the Best Wood to Make a Slat Wall?
When it comes to creating a DIY slat wall, choosing the right wood is essential. You want a material that not only looks great but also meets your budget and design requirements. Here are three popular options to consider:
Pine Wood
Pine wood is a top choice for DIY slat walls due to its affordability and widespread availability at lumber stores. It’s a versatile option that can be stained to achieve the desired wood tone, allowing you to customize and match it to your existing decor. Pine is an excellent budget-friendly choice that still offers a beautiful, natural look.
Hardwood – Poplar or Oak
If you’re looking for a more refined and high-end look, hardwood slats such as poplar or oak are an excellent choice. With hardwood, you can add a touch of elegance to your slat wall without the need for sanding or staining. However, keep in mind that hardwood slats may come with a higher price tag compared to pine wood.
Plywood
Plywood is an option for slat wall materials, although it’s not as commonly used as pine or hardwood. It has a different aesthetic and offers a more modern look. However, keep in mind that plywood doesn’t absorb stain as nicely as other woods, and it may not have the same high-end finish. It’s important to consider your desired aesthetic and the overall style of your space when determining if plywood is the right choice for your slat wall.
What is the Cheapest Way of Making a Slat Wall?
If you’re looking for a cost-effective option to create a slat wall, pine wood is your best bet. Pine is both affordable and readily available, making it a popular choice for budget-friendly DIY projects. With its natural beauty and versatility, pine offers a great value for those looking to upgrade their space without breaking the bank. Alternatively, you can also consider using plywood if you have access to a table saw. However, keep in mind that plywood may not provide the same high-end finish as pine or hardwood, and it requires more time to cut and sand each individual strip of wood.
Comparison of Affordable Slat Wall Options
| Material | Cost | Appearance | Ease of Installation |
|---|---|---|---|
| Pine Wood | Affordable | Natural beauty, versatile | Relatively easy |
| Plywood | Cost-effective | May lack high-end finish | Requires more time and effort |
As shown in the comparison table above, pine wood offers an affordable and visually appealing choice for creating a slat wall. Its natural beauty, versatility, and relatively easy installation make it a popular option among DIY enthusiasts. However, if you’re willing to invest more time and effort, plywood can be a cost-effective alternative. Consider your budget, desired aesthetic, and available tools before deciding on the most suitable material for your slat wall project.
What Nail Gun is the Best for Slat Wall?
A nail gun is an essential tool for installing a slat wall. When embarking on your DIY project, it’s important to choose the best nail gun for slat wall installation. The ideal option is a high-quality brad nailer that can efficiently drive nails into both the wood slats and the wall, ensuring a secure and reliable hold.
For the best results, invest in a cordless brad nailer. This type of nail gun offers several advantages for slat wall installation. Firstly, it doesn’t require a compressor, making it more convenient and portable. Secondly, cordless nail guns are lightweight, allowing for easy maneuverability, especially when working on a ladder or in tight spaces.
When considering a nail gun, prioritize one with sufficient power and precision to securely fasten the slats without causing damage. A brad nailer with adjustable depth settings is particularly useful, as it ensures the nails do not penetrate too far into the slats, which could weaken the overall structure.
Remember, choosing the best nail gun for your DIY slat wall project is crucial to achieving a professional and long-lasting result. Take the time to research and invest in a reliable brad nailer that meets your specific needs and provides the performance you require for successful slat wall installation.

Nail Gun Comparison Table
| Nail Gun | Power Source | Weight | Depth Adjustment |
|---|---|---|---|
| Brand A Brad Nailer | Battery | 5.5 lbs | Yes |
| Brand B Brad Nailer | Battery | 6.2 lbs | Yes |
| Brand C Brad Nailer | Battery | 4.8 lbs | Yes |
| Brand D Brad Nailer | Battery | 7.1 lbs | Yes |
Here is a comparison table of some popular nail guns for slat wall installation. It includes details such as power source, weight, and depth adjustment capabilities. Use this table as a starting point for your research and compare features to find the best nail gun that suits your needs.
Power tools
To create a DIY slat wall, you’ll need a set of essential power tools. These tools will help you handle various tasks during the installation process, ensuring a smooth and efficient project. Here are the power tools you need:
Mitre Saw or Table Saw
A mitre saw or table saw is crucial for cutting the wood slats to the desired size. These powerful tools provide accurate and precise cuts, ensuring that each slat fits perfectly in place. Whether you choose a mitre saw or a table saw depends on your personal preference and the availability of the tool.
Level
A level is essential for ensuring that your slats are installed straight and aligned correctly. It helps you maintain a consistent and professional look, ensuring the slat wall is visually appealing. Use the level to check the alignment of each slat as you attach them to the wall.
Jigsaw
A jigsaw is a versatile tool that comes in handy when cutting around outlets or corners. It allows you to make precise and intricate cuts, ensuring a seamless fit for your slats. The jigsaw’s maneuverability makes it easier to handle complex cutting tasks and achieve the desired design for your slat wall.
Sander with 220 Grit Sandpaper
A sander paired with 220 grit sandpaper helps you achieve a smooth finish on the wood slats. It allows you to remove any rough edges or imperfections, ensuring that the slats are ready for staining or painting. The sander helps create a polished and professional look for your slat wall.
Brad Nailer with 1.5″ Nails
A brad nailer is essential for attaching the slats to the wall securely. It provides a quick and efficient way to drive nails into both the wood slats and the wall’s surface. Opt for a brad nailer with 1.5″ nails, which is suitable for most slat wall installations. This tool ensures that your slats stay in place and withstand the test of time.
With these power tools by your side, you’ll have everything you need to tackle the installation of your DIY slat wall. They make the process easier and more efficient, ensuring that your slat wall is not only functional but also visually stunning.
| Power Tools | Function |
|---|---|
| Mitre Saw or Table Saw | Cutting wood slats to size |
| Level | Ensuring straight and aligned installation |
| Jigsaw | Cutting around outlets or corners |
| Sander with 220 Grit Sandpaper | Smoothing the wood slats |
| Brad Nailer with 1.5″ Nails | Attaching slats securely to the wall |
Materials for your slat wall
In addition to power tools, you will need a few materials for your slat wall. These essential supplies will ensure a successful and seamless slat wall installation:
- 1×2 poplar or pine slats – These are the main building blocks of your slat wall. Choose between poplar or pine depending on your budget and desired aesthetic.
- Wood conditioner and stain (if desired) – To enhance the natural beauty of the wood and protect it from wear and tear, apply a wood conditioner and stain of your choice.
- Paint brushes – You’ll need paint brushes to apply the wood conditioner, stain, or paint.
- Paint – If you prefer a painted slat wall instead of stain, choose a paint color that complements your overall home decor.
- Painter’s tape – Use painter’s tape to create clean and precise edges when applying stain or paint.
- Drop cloth – Protect your floor or work area from any accidental spills or drips by using a drop cloth.
- Adjustable roller frame and tray – If you decide to paint your slat wall, an adjustable roller frame and tray will make the process easier and more efficient.
- Extension roller pole – This handy tool will allow you to reach high areas of your slat wall without the need for a ladder.
- Regular paint rollers – Use regular paint rollers for larger areas that cannot be reached with a roller frame.
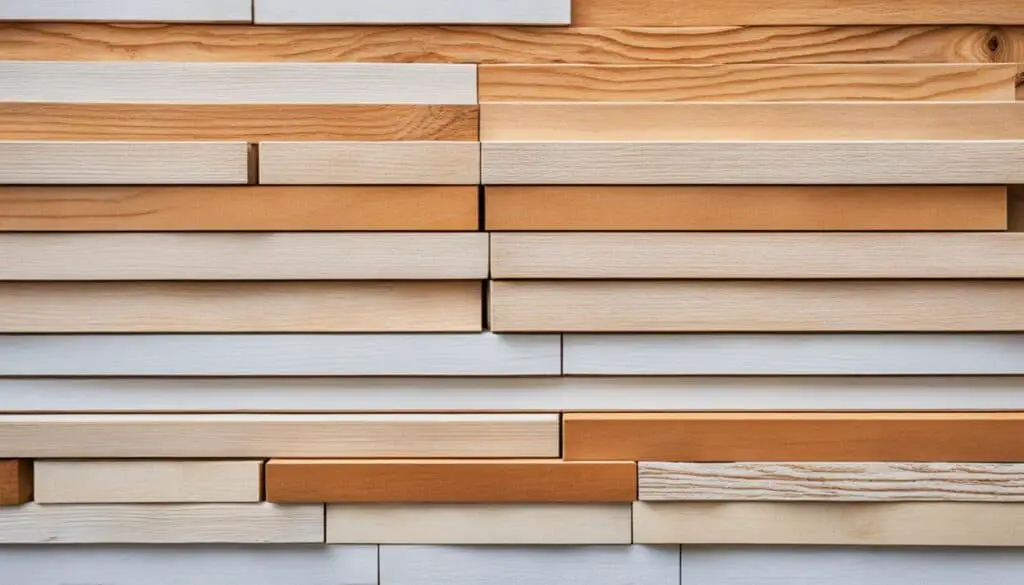
Having these materials on hand will ensure a smooth and successful slat wall installation. Whether you choose to stain or paint your slats, these supplies are essential for achieving a professional and visually appealing finish for your DIY slat wall.
Step 1. Cut the pieces
The first step in creating your DIY slat wall is to measure and cut the wood pieces. This step is crucial to ensure that your slat wall is visually pleasing and linear. There are two options for cutting the slat wall pieces: using a mitre saw or a table saw, or having the wood cut to size at a lumber store.
If you choose to cut the pieces yourself, start by measuring the desired height of your slats. Use a tape measure to accurately determine the dimensions. Once you have the measurements, carefully cut the pieces accordingly using a mitre saw or a table saw. Remember to follow all safety precautions when operating power tools.
If you prefer a simpler approach, consider having the wood cut to size at a lumber store. Most lumber stores offer cutting services and can accurately cut the pieces for you based on your measurements. This eliminates the need for you to have specialized cutting tools and provides you with ready-to-use slat wall pieces.
Regardless of whether you cut the pieces yourself or have them cut at a lumber store, make sure the slat wall pieces are straight and not warped. This will ensure that your slat wall is aesthetically pleasing and fits together seamlessly.

Expert Tip:
When cutting the slat wall pieces, it’s a good idea to cut a few extra pieces as spares. This will come in handy in case you make any mistakes or need replacement pieces in the future.
Step 2. Prep the wood
Once you have cut the slats to the desired size, the next step is to prepare the wood for staining. This is an essential part of the process, especially if you are working with hardwood or plywood. Preparing the wood properly will ensure a smooth finish and help the stain penetrate evenly.
- Sanding the Slats: Start by sanding the cut edges and surfaces of the slats using 220 grit sandpaper. This will remove any roughness or imperfections, creating a smooth surface for the stain to adhere to. Sanding will also help achieve a professional-looking result.
- Wood Conditioner: If you plan to stain the slats, applying a wood conditioner is highly recommended. Wood conditioner helps the stain absorb evenly and prevents blotching or uneven coloration. Follow the instructions on the product label for application guidance.
- Staining the Slats: After sanding and conditioning the wood, it’s time to apply the stain. Choose a stain color that complements your overall design aesthetic. Use a paintbrush or a clean cloth to apply the stain, following the manufacturer’s instructions. Apply multiple coats if necessary, allowing each coat to dry completely before proceeding.
By properly sanding the slat wall pieces and preparing the wood for staining, you can achieve a professional-looking finish that enhances the overall appearance of your slat wall.
Step 3. Remove your baseboards
If you want the slats to go from floor to ceiling, it may be necessary to remove the baseboards. Use caution when removing the baseboards to avoid damaging the drywall. Once the baseboards are removed, patch any holes or imperfections with drywall compound and sand the area smooth.
When removing baseboards, follow these steps:
- Start by carefully scoring the caulk along the top edge of the baseboard using a utility knife. This will help loosen the caulk and make it easier to remove the baseboard.
- Next, insert a putty knife or a similar tool between the baseboard and the wall, gently prying the baseboard away from the wall. Use a rocking motion to loosen the baseboard and continue prying along its length.
- If necessary, use a small pry bar or a flatbar for additional leverage to remove stubborn baseboards. Insert the pry bar between the baseboard and the wall and apply gentle pressure to lift the baseboard away from the wall.
- Work your way along the entire length of the baseboard, prying it away from the wall until it is completely removed.
Once the baseboards are removed, it’s essential to take care of any holes or imperfections in the wall. Use a flexible putty knife to apply drywall compound to the holes or gaps left behind by the baseboards. Smooth the compound with the putty knife, ensuring it is level with the surrounding drywall. Allow the compound to dry completely, typically for 24 hours, before sanding the area smooth with fine-grit sandpaper.
Step 4. Work out the spacing of your slats
Before attaching the slats to the wall, it’s essential to determine the spacing between each slat to create a uniform and visually appealing slat wall design. Follow these steps to work out the perfect slat spacing:
- Start by using painter’s tape to visually lay out the slats against the wall. This will give you a clear idea of how the slats will look once installed.
- Adjust the spacing between the slats by moving them closer together or further apart until you achieve the desired look. Take your time to find the spacing that suits your aesthetic preferences.
- To ensure consistent spacing between the slats, consider using scrap pieces of wood as spacers. Place a spacer between each slat to maintain a consistent gap throughout the installation.
- Aim for a spacing of approximately 1 inch between each slat. This measurement provides a visually appealing and organized slat wall design.
By taking the time to determine the slat spacing and creating a uniform design, you’ll achieve a professional-looking slat wall that adds style and functionality to your space.
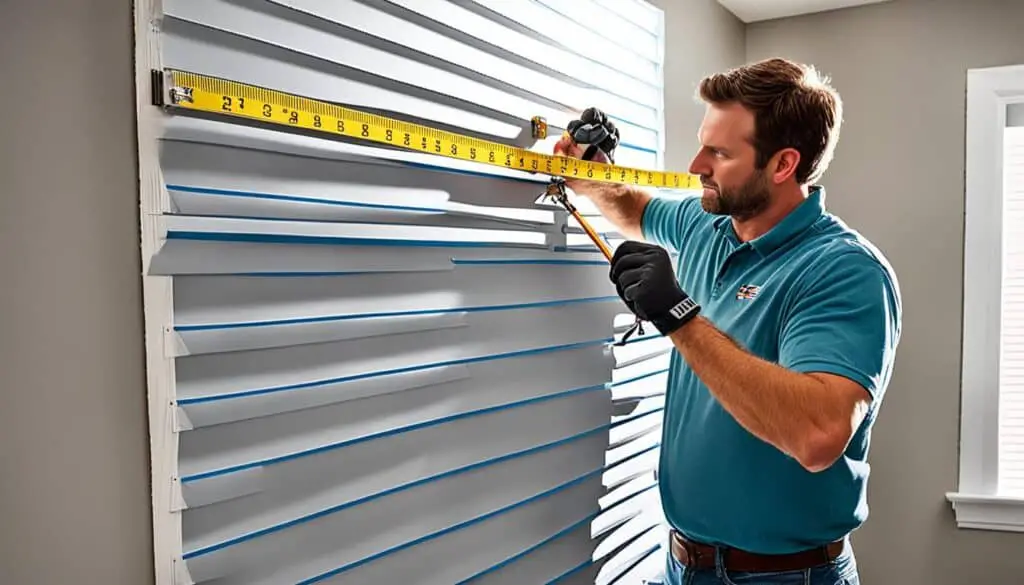
“The spacing between each slat plays a crucial role in the overall appearance of your slat wall. Taking the time to work out the spacing ensures that your slats are evenly placed and visually pleasing.”
Step 4. Paint your wall a dark color
One of the key elements in creating a visually impactful slat wall is choosing the right backdrop color. By painting the wall a dark color, you can create a striking contrast that enhances the overall aesthetic appeal of the slat wall. The dark background will make the slats stand out and create a visually dynamic look.
When selecting the wall color for your slat wall, consider your overall home decor and style. Choose a dark paint color that complements the surrounding elements and creates a cohesive look in the space. Whether you opt for a deep gray, charcoal black, or espresso brown, the dark color will make the slats pop and add depth to the room.
To paint the wall, start by preparing the surface. Clean the wall to remove any dirt or dust, and ensure it is smooth and dry. Use painter’s tape to protect any surrounding trim or surfaces you don’t want to paint.
Next, gather your supplies: a roller frame and tray, suitable paintbrushes, and the dark-colored paint of your choice. It’s recommended to use a roller for painting the slat wall as it provides a smooth and even finish.
Pour the dark paint into the roller tray and load the roller evenly with paint. Begin at the top corner of the wall and work your way down in vertical sections. Apply two coats of paint, allowing sufficient drying time between each coat as recommended by the manufacturer.
Once the paint is dry, you will have a beautiful and dramatic backdrop that highlights the slat wall and elevates the overall aesthetic of your space.
Step 5. How to Attach Slat to the Wall
Attaching the slats to the wall is a crucial step in creating a sturdy and visually appealing slat wall. By following these instructions, you can ensure a secure hold and evenly spaced slats.
- Apply a bead of construction adhesive to the back of each slat. The adhesive provides extra support and helps prevent the slats from shifting over time.
- Press the slats firmly against the wall, making sure they are level and evenly spaced. Take your time to adjust the position of each slat for a professional-looking finish.
- Use a brad nailer to secure the slats further by driving nails into the top and bottom plate of the wall framing. Crisscross the nails to create a secure hold. This method ensures that the slats stay in place, even with regular use.
- Repeat this process for each slat until the entire wall is covered. Take breaks as needed, but maintain consistency in your installation to achieve a uniform appearance.
By following these steps, you can confidently attach the slats to the wall, creating a functional and stylish slat wall that enhances the look of your space.
Working with the spacer
When installing a slat wall, one of the key factors in achieving a professional look is consistent slat spacing. This is where the spacer comes into play. Using spacers made from cut slat pieces ensures that your slats are evenly spaced and aligned throughout the installation process.
To begin, place the spacer next to the first slat. This spacer will determine the distance between each slat. Make sure the spacer is the desired width before proceeding.
Once the spacer is in place, push the second slat against the spacer. This will create a consistent gap between the two slats. Nail the second slat into place, securing it to the wall.
Next, slide the spacer down to the gap between the second and third slats. Again, push the third slat against the spacer and nail it into place. Repeat this process for each subsequent slat in your slat wall.
Using spacers not only ensures consistent slat spacing but also helps you maintain a straight and level installation. It prevents slats from being installed too close together or too far apart, resulting in a visually appealing and professional-looking slat wall.
By taking the time to work with a spacer, you can achieve a slat wall that is both functional and aesthetically pleasing.
Benefits of using spacers:
- Ensures consistent slat spacing
- Helps maintain a straight and level installation
- Creates a visually appealing and professional-looking slat wall
Step 6. Working around easy outlets
If your slat wall has electrical outlets, you’ll need to take extra care when installing the slats. Here’s how to tackle this step:
- Measure the area around the outlets and mark the dimensions on your slats.
- Use a jigsaw or a similar tool to make precise cuts along the marked lines. Take your time to ensure a snug fit around the outlets.
- If necessary, remove the outlet covers before installing the slats. This will make it easier to fit the slats around the outlets.
- Once the slats are in place, reattach the outlet covers to complete the installation.
Working around electrical outlets requires attention to detail and precision. By carefully measuring and cutting the slats, you can achieve a seamless look, where the slats fit neatly around the outlets.
Conclusion
Creating a DIY slat wall is a cost-effective and stylish solution for upgrading your home. Whether you opt for pine, hardwood, or plywood, a slat wall offers numerous benefits for your space.
Firstly, a slat wall enhances the functionality of your home by providing versatile storage options. You can easily hang tools, accessories, and even shelves on the slats, allowing for better organization and eliminating clutter.
Additionally, a slat wall adds a touch of aesthetic appeal to your space. With various design ideas, you can create a customized look that complements your home decor. Whether you prefer a sleek and modern design or a rustic and natural feel, the possibilities are endless.
By following the step-by-step guide and using the right tools and materials, you can enjoy the benefits of a beautifully designed and organized space with your new DIY slat wall. Upgrade your home today and create a functional and visually stunning environment that reflects your personal style.
FAQ
What is the best wood to make a slat wall?
Pine wood is a popular and budget-friendly choice. Hardwood, such as poplar or oak, offers a more refined look. Plywood can also be used, but it doesn’t have the same high-end finish.
What is the cheapest way of making a slat wall?
Using pine wood is the most cost-effective option. It is readily available and affordable. Plywood can also be used, but it requires more time to cut and sand each strip of wood.
What nail gun is the best for a slat wall?
A good-quality cordless brad nailer is recommended for installing a slat wall. It allows for easy maneuverability and ensures secure attachment of the slats to the wall.
What power tools do I need for a slat wall?
You’ll need a mitre saw or table saw for cutting the wood slats, a level for ensuring straightness, a jigsaw for cutting around outlets, and a sander for smoothing the wood.
What materials do I need for my slat wall?
You’ll need 1×2 poplar or pine slats, wood conditioner and stain (if desired), paint brushes, paint, painters tape, a drop cloth, roller frame and tray, extension roller pole, and regular paint rollers.
How do I cut the slat wall pieces?
Measure the desired height of the slats, then use a mitre saw or table saw to cut the pieces to size. Alternatively, you can have the wood cut at a lumber store.
How do I prep the wood for my slat wall?
Sand the cut edges and surfaces with 220 grit sandpaper to remove roughness. Apply wood conditioner if desired, then stain the slats with your desired color or leave them unfinished for a natural wood look.
How do I remove my baseboards for a slat wall?
Take caution and remove the baseboards carefully to avoid damaging the drywall. Patch any holes or imperfections with drywall compound and sand the area smooth.
How do I work out the spacing of my slats?
Use painter’s tape to visually lay out the slats against the wall and adjust the spacing until you achieve the desired look. Consider using scrap pieces of wood as spacers for consistent spacing.
Should I paint my wall a dark color for the slat wall?
Painting the wall a dark color will create a striking contrast between the slats and the wall. Choose a color that complements your home decor and style.
How do I attach the slats to the wall?
Apply construction adhesive to the back of each slat and press them firmly against the wall. Use a brad nailer to secure the slats by driving nails into the top and bottom plate of the wall framing.
How do I work with the spacer for my slat wall?
Use a spacer made from a cut slat piece to maintain consistent spacing between the slats. Place the spacer next to the first slat, push the second slat against it, and nail it into place. Repeat the process for each subsequent slat.
How do I work around outlets when installing the slats?
Measure and cut the slats to fit around the outlets, ensuring a snug fit. Use a jigsaw or similar tool to make precise cuts. Remove outlet covers if necessary and reattach them once the installation is complete.
What are the benefits of a DIY slat wall?
Creating a DIY slat wall is a cost-effective and stylish way to upgrade your home. It enhances the functionality and aesthetic appeal of your space, providing organized storage and a visually appealing backdrop.

