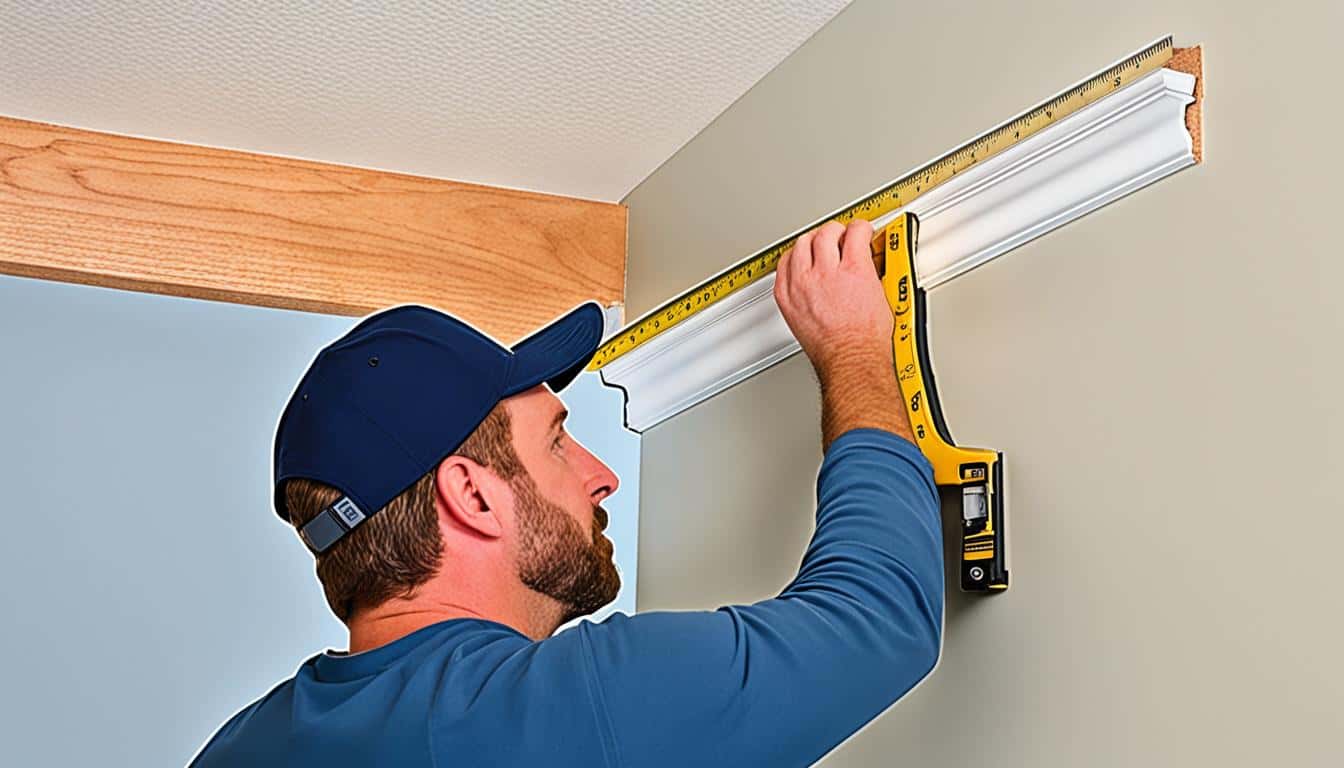
Have you ever struggled with cutting crown molding and achieving precise and flat cuts? It can be a daunting task, but there are techniques and tools that can make the process much easier. Imagine being able to cut crown molding with accuracy and professionalism, without any confusion or frustration. So, how can you master cutting crown molding flat? Let us guide you through the process and reveal the secrets to achieving flawless results.
Key Takeaways:
- Learn the challenges of cutting crown molding and how to overcome them
- Introduce the Crown 45 cutting jig and its benefits
- Discover how to set up the Crown 45 cutting jig for precise cuts
- Master inside and outside corner cuts with the Crown 45 cutting jig
- Explore other techniques and tools for cutting crown molding
The Challenges of Cutting Crown Molding
Cutting crown molding can be a daunting task, especially for DIY enthusiasts. Remembering the correct orientation and angle for each cut can be tricky, leading to frustration and inaccurate results. Traditional methods such as using a miter saw or coping the joints may not provide the desired precision. However, there are tools and techniques available that can simplify the process and make cutting crown molding much easier.
The Frustrations of DIY Crown Molding Cutting
“I always found it difficult to keep track of the correct angles when cutting crown molding. It resulted in wasted material and a lot of frustration.” – Tom, DIY enthusiast
Many DIYers struggle with the complexities of cutting crown molding. The intricate angles and orientations required for each cut can be confusing to remember, leading to mistakes and wasted time. Additionally, traditional methods like using a miter saw can be challenging to master, resulting in less-than-perfect cuts. Coping the joints, another common technique, requires precision and can be time-consuming.
The Solution: Simplifying Crown Molding Cutting
Fortunately, there are tools and techniques available that can help DIYers overcome the challenges of cutting crown molding. These solutions streamline the process and enhance accuracy, making DIY crown molding cutting more accessible than ever before.
- Crown 45 Cutting Jig: The Crown 45 cutting jig is a specialized tool designed specifically for cutting crown molding. It provides a precise and efficient way to cut crown molding at the correct angles and orientations. The jig comes with angle finders that help determine the spring angle of the crown molding, ensuring accuracy. It also provides visual references and detailed instructions for setting up the jig and making the cuts.
- Templates: Creating templates for crown molding cuts can be a helpful solution. Templates provide a visual reference for determining the type of cut needed for each corner. By creating your own templates based on the specific angles and orientations of your crown molding, you can easily determine the miter and bevel settings for your cuts.
- Utilizing Saw Angles and Markings: Your miter saw may have markings and stops for common crown molding angles, simplifying the cutting process. By utilizing these angles and markings, you can make precise cuts without the need for complicated calculations.
With these tools and techniques, DIYers can overcome the challenges of cutting crown molding and achieve accurate and professional results. Whether you choose to use a cutting jig, templates, or leverage your saw’s markings, simplifying the cutting process will enhance the overall satisfaction and aesthetics of your crown molding installation.
Introducing the Crown 45 Cutting Jig
The Crown 45 cutting jig is a game-changer when it comes to cutting crown molding. Designed specifically for this purpose, it ensures precision and efficiency in every cut you make. This tool takes away the guesswork and provides you with the exact angles and orientations needed for professional-looking results.
Equipped with angle finders, the Crown 45 cutting jig helps you determine the spring angle of the crown molding, ensuring accurate cuts every time. No more confusion or trial and error. The jig’s visual references and detailed instructions make setting up and operating the tool a breeze.
With the Crown 45 cutting jig, you can say goodbye to the frustrations of traditional crown molding cutting techniques. This tool streamlines the process, empowering you to achieve clean and precise cuts like a seasoned professional.
Don’t just take our word for it. See it in action for yourself:
Testimonials
“The Crown 45 cutting jig has revolutionized the way I work with crown molding. It’s incredibly user-friendly and produces flawless results. I highly recommend it!” – John Smith, Professional Carpenter
“As a DIY enthusiast, I was intimidated by cutting crown molding. But with the Crown 45 cutting jig, I feel confident and capable. This tool has made a world of difference in my projects.” – Jane Doe, Home Renovator
Features of the Crown 45 Cutting Jig
| Feature | Description |
|---|---|
| Angle Finders | Determines the spring angle of the crown molding |
| Visual References | Provides clear guidance for setting up and making cuts |
| Detailed Instructions | Ensures ease of operation and optimal results |
| Precision and Efficiency | Eliminates guesswork and streamlines the cutting process |
| User-Friendly | Suitable for both professionals and DIY enthusiasts |
Discover the power of the Crown 45 cutting jig and transform your crown molding projects into works of art. Whether you’re a professional or a passionate DIYer, this tool will elevate your craftsmanship and make cutting crown molding a breeze.
Setting Up the Crown Cutting Jig
To use the Crown 45 cutting jig effectively, it is crucial to set it up correctly, ensuring precise and accurate cuts. The jig comes with detailed instructions and video tutorials that guide you through the setup process. Follow these steps to get started:
- Determine the spring angle of the crown molding you are working with. This angle will help you align the jig properly for the perfect cut.
- Adjust the height of the Crown 45 cutting jig to match the size of your crown molding. This ensures that the molding is held securely in place while cutting, minimizing errors and improving safety.
- Align the jig with the saw blade to ensure that the crown molding is held at the correct angle during the cutting process. This alignment is essential for achieving precise and professional results.
By following the setup instructions provided with the Crown 45 cutting jig, you can confidently begin cutting your crown molding with ease and accuracy. The jig eliminates guesswork and simplifies the process, allowing you to focus on creating beautiful and seamless crown molding installations.
Setting Up the Crown Cutting Jig – Step by Step:
| Step | Description |
|---|---|
| 1 | Determine the spring angle |
| 2 | Adjust the height of the jig |
| 3 | Align the jig with the saw blade |
Making Inside Corner Cuts
When it comes to making accurate and precision cuts for crown molding, the Crown 45 cutting jig is a game-changer. This innovative tool provides clear guidance on positioning the crown molding and the direction of the saw blade, making inside corner cuts a breeze.
With the Crown 45 cutting jig, you can achieve tight and seamless inside corner joints. The jig comes equipped with markings and visual references for both left and right inside corners, ensuring precise cuts every time. By following the instructions and using this tool, you can easily create professional-looking crown molding installations.
Making Outside Corner Cuts
When it comes to making precise and accurate cuts for the outside corners of crown molding, the Crown 45 cutting jig is once again your go-to tool. With its specific instructions and visual references, this jig provides clear guidance on positioning the crown molding and setting the direction of the saw blade for both left and right outside corners.
By following these instructions carefully, you can achieve clean and seamless outside corner joints that enhance the overall appearance of your crown molding installation.
For a better understanding of the process, refer to the visual representation below:
| Left Outside Corner | Right Outside Corner |
|---|---|
| 1. Position the crown molding | 1. Position the crown molding |
| 2. Set the direction of the saw blade | 2. Set the direction of the saw blade |
| 3. Make the cut | 3. Make the cut |
| 4. Verify the accuracy of the cut | 4. Verify the accuracy of the cut |
By following these steps, you can achieve accurate and precise outside corner cuts that seamlessly join your crown molding pieces, giving your project a professional finish.
Other Angled Cuts
The Crown 45 cutting jig offers versatility beyond inside and outside corner cuts. With this tool, you can achieve precise and accurate cuts for unique corner situations that require other angles. Whether it’s a non-standard corner or a custom angle, the Crown 45 cutting jig provides guidelines to help you find the correct angles using a protractor. Armed with these measurements, you can easily make necessary adjustments on the saw to ensure precision in your cuts.
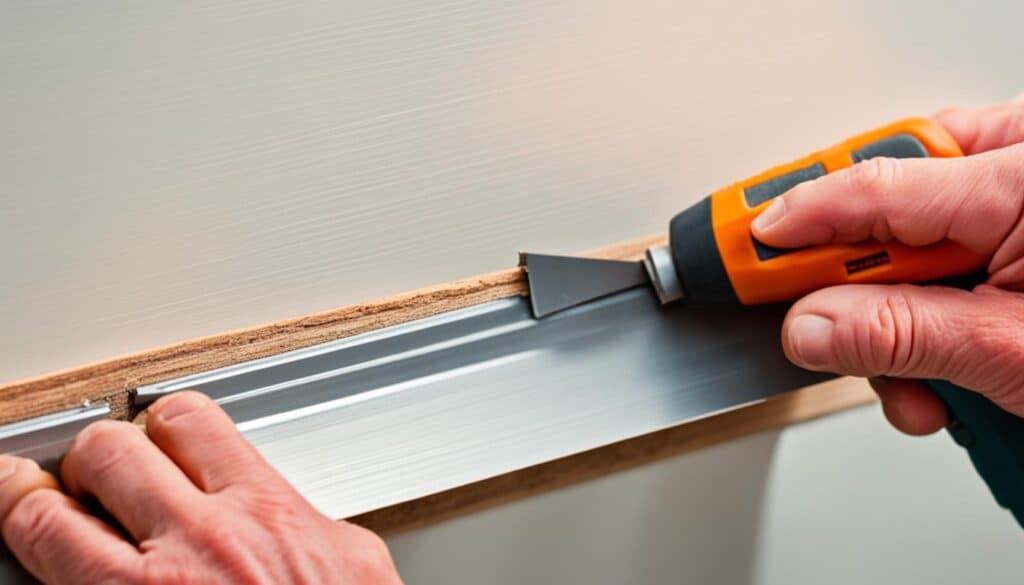
Don’t let unconventional angles discourage you. The Crown 45 cutting jig empowers you to tackle any corner or angle with confidence, delivering accurate crown molding cuts every time.
Using Templates for Cutting Crown Molding
When it comes to cutting crown molding, using templates can greatly simplify the process and ensure accurate and precise cuts. Templates provide a visual reference for determining the type of cut needed for each corner, making it easier to determine the miter and bevel settings for your cuts. By creating your own templates based on the specific angles and orientations of your crown molding, you can minimize the chances of mistakes and achieve a professional result.
Creating Custom Templates
Creating your own templates for cutting crown molding allows you to tailor them to the specific angles and orientations of your project. Start by measuring the angles of the corners where the crown molding will be installed. Then, using a protractor or angle finder, transfer those angles onto a piece of sturdy material such as plywood or cardboard. Cut out the templates carefully, ensuring smooth edges and precise angles.
Once you have your templates ready, you can easily position them on your crown molding to determine the correct miter and bevel settings for each cut. This eliminates the guesswork and ensures that your cuts will fit perfectly in each corner.
The Benefits of Using Templates
Using templates for cutting crown molding offers several advantages:
- Accuracy: Templates provide a precise visual reference, ensuring that each cut is made at the correct angle and orientation.
- Efficiency: By using templates, you can quickly determine the miter and bevel settings for your cuts, saving time and eliminating the need for complex calculations.
- Consistency: Templates allow you to achieve consistent results throughout your project, ensuring that all corners have the same precise cuts.
Whether you are a DIY enthusiast or a professional contractor, using templates for cutting crown molding can greatly improve the accuracy and efficiency of your cuts. By creating custom templates based on your specific project, you can achieve professional-quality results with minimal effort.
By using templates for cutting crown molding, you can achieve precise and accurate cuts, ensuring that your crown molding fits perfectly in each corner. The visual reference provided by templates eliminates the guesswork and allows for easier determination of the miter and bevel settings. Whether you are a beginner or an experienced DIYer, templates can make the cutting process more straightforward and help you achieve professional-looking results.
Utilizing Saw Angles and Markings
When cutting crown molding, it is essential to use the correct angles and markings on your saw. Most compound miter saws have markings and stops for common crown molding angles, such as the 33.9° bevel and 31.6° miter. These settings are based on the spring angle of the crown molding, ensuring accurate cuts. By utilizing these angles and markings, you can make precise cuts without the need for complicated calculations.
Tips for Using Saw Angles and Markings:
- Always refer to the markings and stops on your compound miter saw for crown molding cuts.
- Set the bevel angle on your saw to match the spring angle of the crown molding. This will ensure that the molding sits flush against the wall when installed.
- Adjust the miter angle on your saw according to the corner you are cutting. Most inside and outside corners have predetermined angles that can be easily set on the saw.
- Make sure to lock the bevel and miter angles in place before making the cut.
- Double-check the angles and markings on your saw before cutting. Accuracy is key in achieving precise crown molding cuts.
By following these tips and utilizing the saw angles and markings, you can confidently make accurate cuts for your crown molding projects.
| Common Crown Molding Angles | Bevel Angle | Miter Angle |
|---|---|---|
| Inside Corners | 33.9° | 31.6° |
| Outside Corners | 33.9° | 33.9° |
| Non-Square Corners | Varies | Varies |
Refer to the table above for the common crown molding angles and their corresponding bevel and miter angles.
Creating a Crown Molding Cutting Chart
To simplify the process of cutting crown molding, you can create a cutting chart or reference guide. This chart includes the specific miter and bevel angles for different types of cuts, such as inside corners, outside corners, and non-square corners. By referring to this chart, you can quickly determine the correct angles for your cuts, saving time and reducing errors.
Having a crown molding cutting chart provides a visual and organized reference that allows you to make precision cuts with ease. It eliminates the need for repeated measurements and calculations, streamlining the cutting process.
Here’s an example of what a crown molding cutting chart could look like:
| Corner Type | Miter Angle | Bevel Angle |
|---|---|---|
| Inside Left | 45° | 45° |
| Inside Right | 45° | 45° |
| Outside Left | 45° | 45° |
| Outside Right | 45° | 45° |
| Non-Square Left | [Custom Angle] | [Custom Angle] |
| Non-Square Right | [Custom Angle] | [Custom Angle] |
By consulting this chart, you can quickly identify the appropriate miter and bevel angles for each type of cut. This ensures that your crown molding fits together perfectly, creating seamless joints and a polished finish.
Using a crown molding cutting chart not only saves time but also enhances accuracy and reduces mistakes. Whether you’re a professional or a DIY enthusiast, having a reference guide like this can make the process of cutting crown molding much smoother and more efficient.
Managing Short Pieces and Difficult Cuts
When it comes to cutting short pieces of crown molding or tackling difficult cuts, precision is key. These situations can present unique challenges, but with the right techniques and tools, you can achieve accurate results. Here are some strategies to help you manage short pieces and overcome difficult cuts:
- Use clamping techniques: Securely clamp the crown molding in place to prevent movement and ensure stability during the cutting process. This helps maintain accuracy and reduces the risk of mistakes.
- Miter one end of a longer piece first: When working with longer pieces of crown molding, start by making a miter cut on one end. This will make it easier to handle and position the stock for the opposite end cut.
- Reposition the stock: After mitering one end of the longer piece, reposition the stock to cut the opposite end. This allows you to maintain control while making precise cuts and minimizes the chances of errors.
By employing these techniques, you can confidently tackle short pieces of crown molding and manage difficult cuts with ease. Remember to prioritize safety and accuracy to achieve professional-looking results.
Overcoming Corner Squareness Issues
In some cases, corners may not be perfectly square, which can pose challenges when cutting crown molding. To achieve precision cuts and ensure accurate and seamless corner joints, there are a couple of strategies you can employ:
- Make micro adjustments to the miter and bevel settings on your saw:
When dealing with corners that are slightly off-square, you can fine-tune the miter and bevel angles on your saw to compensate for the discrepancy. By making small adjustments, you can achieve a perfect fit between the crown molding pieces, resulting in a seamless joint.
- Use spackle to fill in gaps and imperfections:
If you encounter small gaps or imperfections in the corner joints after making the cuts, consider using spackle to fill them in. Spackle is a versatile material commonly used for repairing small holes and blemishes. By applying a thin layer of spackle to the gaps, you can ensure a smooth and flawless finish for your crown molding installation.
Expert Tip:
When adjusting the miter and bevel settings on your saw, make sure to test the fit of the crown molding pieces by dry-fitting them together before making any permanent cuts or applying spackle. This will allow you to make any necessary refinements and achieve the best possible result.
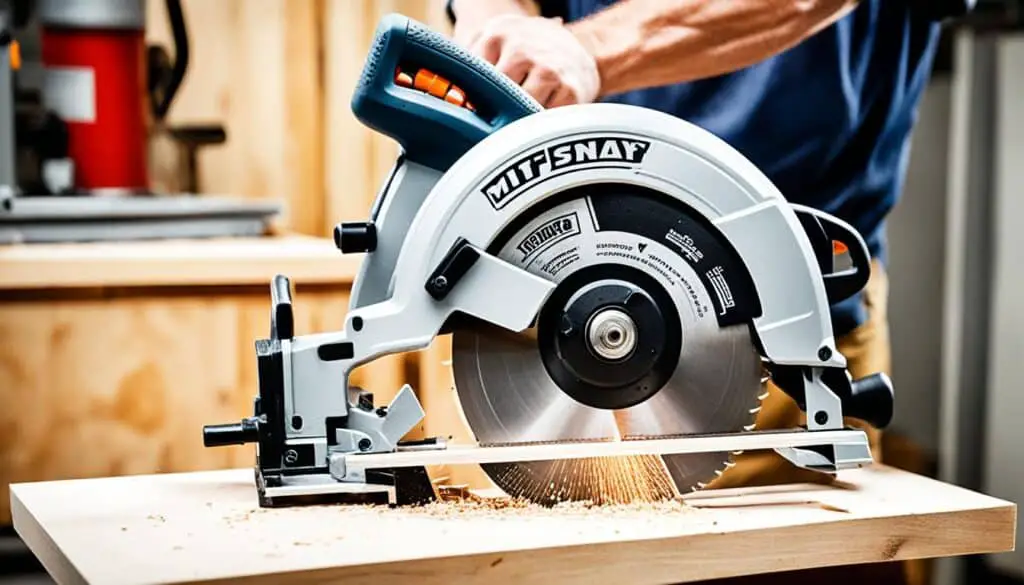
By using these techniques, you can overcome corner squareness issues and achieve precision cuts for your crown molding, ensuring accurate and seamless joints that enhance the overall aesthetic of your space.
| Issue | Solution |
|---|---|
| Corners are not perfectly square | Make micro adjustments to the miter and bevel settings on your saw |
| Gaps or imperfections in corner joints | Use spackle to fill in gaps and create a seamless finish |
The Benefits of Using Crown Molding Templates
When cutting crown molding, using templates can provide a range of benefits. These helpful tools offer visual references for each type of corner cut, making the cutting process less confusing and more efficient. By utilizing crown molding templates, you can set up your saw accurately, ensuring precise angles and orientations for each cut. Templates also enable you to achieve consistent and professional results, as they can be reused for future projects, saving both time and effort.
Tips for Installing Crown Molding
While this article primarily focuses on the cutting process, it’s essential to note a few tips for installing crown molding. By following these professional techniques, you can ensure a seamless and polished finish for your DIY crown molding project.
- Start at the corner: When installing crown molding, always begin at a corner. This ensures that the corner joints meet seamlessly, creating a clean and professional look.
- Secure with adhesive and nails: Use both adhesive and nails to securely attach the crown molding to the wall or cabinet. Apply a bead of adhesive along the back of the molding, then firmly press it into place. Use finishing nails to provide additional support and stability.
- Take your time and make adjustments: During the installation process, take your time to ensure accuracy. Carefully position each piece of molding and double-check the alignment before securing it. If necessary, make minor adjustments to ensure the perfect fit and alignment.
By following these tips, you can achieve a professional-looking installation that complements your DIY crown molding cutting efforts. Take pride in your work and enjoy the beautiful transformation that crown molding brings to any space.
Conclusion
Mastering the art of cutting crown molding flat can seem like a daunting task, but with the right techniques and tools, you can achieve precision cuts and enhance the beauty of your space. Using tools like the Crown 45 cutting jig or creating templates provides a streamlined and efficient approach to cutting crown molding.
By following the instructions and guidelines provided, you can make accurate and seamless cuts for both inside and outside corners. Utilize the correct angles and markings on your miter saw, and make any necessary adjustments for corner squareness to ensure a perfect fit.
Remember, practice makes perfect. Take your time, be patient, and don’t rush the process. With dedication and attention to detail, you’ll soon be able to cut crown molding flat like a pro. So go ahead, embark on your crown molding project, and transform your space with beautiful and precise crown molding installations.
FAQ
What are the challenges of cutting crown molding?
Cutting crown molding can be confusing and time-consuming, especially when trying to remember the correct orientation and angle for each cut. Traditional methods may not provide the desired results.
What is the Crown 45 cutting jig?
The Crown 45 cutting jig is a tool designed specifically for cutting crown molding. It provides a precise and efficient way to cut crown molding at the correct angles and orientations.
How do I set up the Crown cutting jig?
The Crown 45 cutting jig comes with instructions and video tutorials to guide you through the setup process. It involves determining the spring angle of the crown molding and aligning the jig with the saw blade.
How do I make inside corner cuts?
The Crown 45 cutting jig provides clear guidance on positioning the crown molding and the direction of the saw blade for inside corner cuts. Visual references and markings ensure precise cuts.
How do I make outside corner cuts?
The Crown 45 cutting jig provides specific instructions and visual references for positioning the crown molding and the direction of the saw blade for outside corner cuts.
Can the Crown 45 cutting jig be used for other angled cuts?
Yes, the Crown 45 cutting jig can be used for other angled cuts, such as those required for unique corner situations. The jig provides guidelines for finding the correct angles and making adjustments on the saw.
Can I use templates for cutting crown molding?
Yes, templates provide a visual reference for each type of corner cut and can simplify the cutting process. They help determine the miter and bevel settings for your cuts.
How do I utilize saw angles and markings?
Most compound miter saws have markings and stops for common crown molding angles. Utilizing these angles and markings ensures accurate cuts without complicated calculations.
Can I create a crown molding cutting chart?
Yes, creating a cutting chart or reference guide that includes specific miter and bevel angles for different types of cuts can save time and reduce errors.
How do I manage short pieces and difficult cuts?
To improve accuracy and safety, you can use clamping techniques and miter one end of a longer piece before repositioning it for the opposite end. This helps achieve precise cuts.
How do I overcome corner squareness issues?
You can make micro adjustments to the miter and bevel settings on your saw for a perfect corner joint. Alternatively, you can use spackle to fill in small gaps or imperfections in the corner joints.
What are the benefits of using crown molding templates?
Crown molding templates provide a visual reference, make the cutting process efficient, help set up the saw accurately, and can be reused for future projects.
What tips can you give for installing crown molding?
Always start at a corner, ensure seamless corner joints, use adhesive and nails for secure attachment, and make minor adjustments if necessary during installation.
How can I achieve accurate and seamless cuts when cutting crown molding?
By using tools like the Crown 45 cutting jig or creating templates, referring to saw angles and markings, and following best practices for cutting crown molding, you can achieve precise and professional results.


