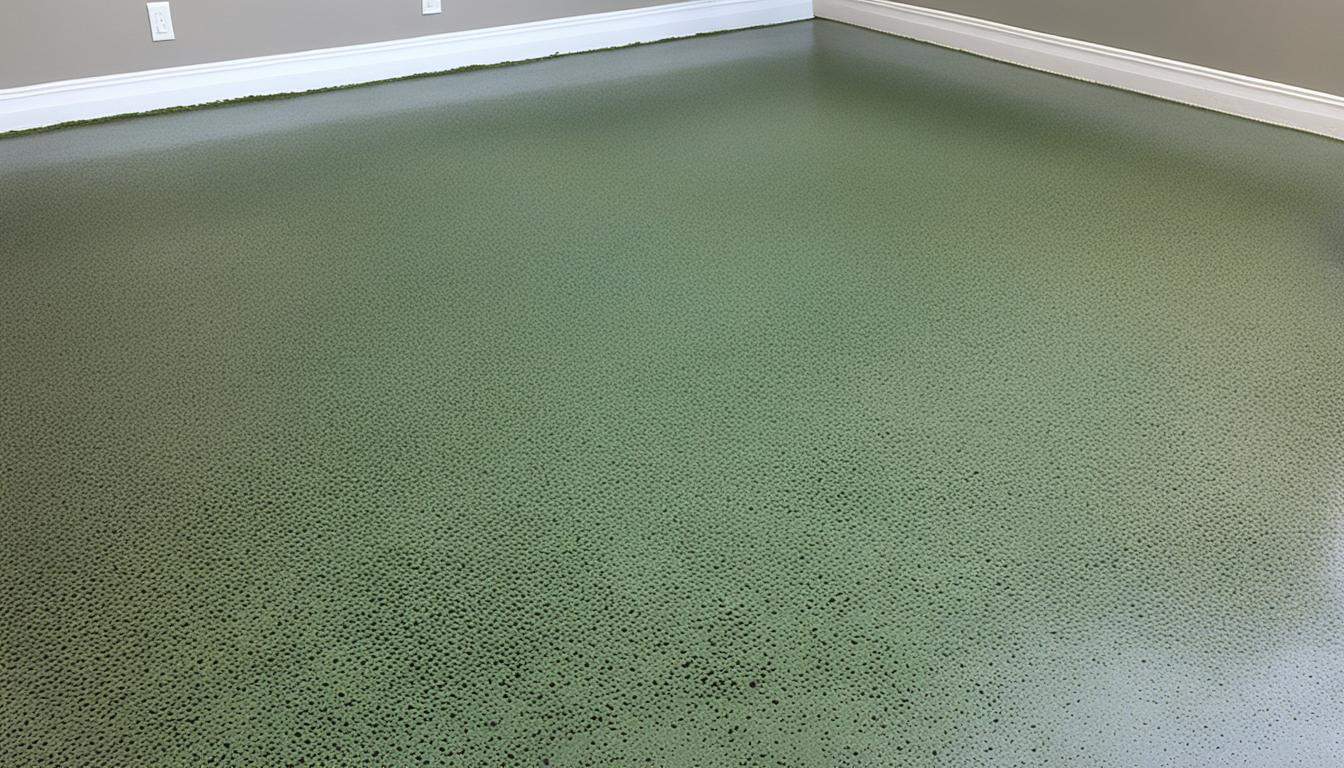
Painting concrete floors has become a popular trend in home improvement, offering a cost-effective way to transform your space and add a touch of style. But with so many options available, choosing the right paint and technique can be overwhelming. How do you ensure a long-lasting finish? Are there any special tips and tricks to get that flawless look?
In this comprehensive guide, we will walk you through the process of painting concrete floors step-by-step. From surface preparation to choosing the perfect paint, we’ll provide you with all the information you need to achieve professional results. Say goodbye to boring concrete and hello to a vibrant, durable, and stylish floor!
Key Takeaways:
- Preparing the concrete surface is crucial for a successful paint job.
- Cleaning the floor thoroughly removes debris, stains, and old paint.
- Applying an etching solution helps create a smooth and even surface.
- Filling cracks and surface defects is essential for a flawless finish.
- Choosing the right paint and applying two coats ensures durability and aesthetic appeal.
Why Cleaning is Important Before Painting Concrete
Before you start painting your concrete floor, it’s crucial to properly clean the surface. Cleaning the concrete removes any surface debris, stains, grease, or old paint, ensuring a smooth and even finish for your new coat. An important step in this process is pressure washing, which can help achieve a deep clean. However, it’s essential to use the right amount of pressure to avoid damaging the concrete.
Efflorescence, a common issue on concrete surfaces, can also be addressed during the cleaning process. Efflorescence refers to the white, powdery substance that sometimes appears on concrete. By thoroughly cleaning, you can remove efflorescence and prevent it from affecting the appearance of your painted floor.
Additionally, if there is any existing paint on the concrete floor, removing it before applying a new coat is highly recommended. Removing old paint ensures optimal adhesion and helps you achieve the best results with your new coat of paint.
Table of Contents
- Why Cleaning is Important Before Painting Concrete
- The Importance of Applying an Etching Solution
- Filling Cracks and Surface Defects
- Applying a Concrete Sealer
- Choosing the Right Paint for Concrete Floors
- Applying Two Coats of Paint for a Lasting Finish
- The Benefits of Using High-Quality Masonry Preparation Products
- The Benefits of Painting Concrete Floors
- Paint vs. Stain: Choosing the Right Option for Concrete Floors
- Why Proper Surface Preparation is Essential for Painting Concrete Floors
- A Step-by-Step Guide to Painting Concrete Floors
- Conclusion
The Importance of Applying an Etching Solution
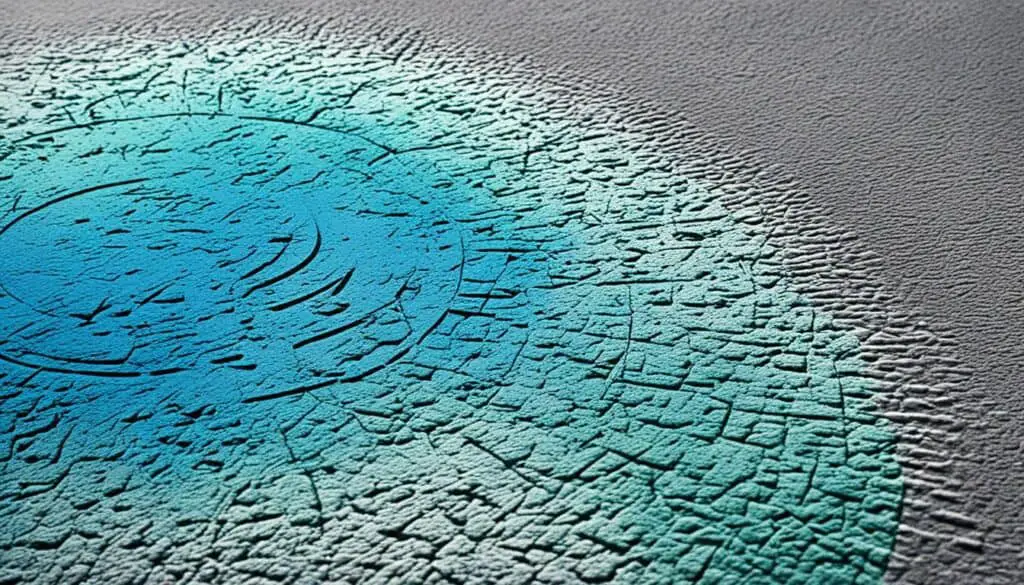
Once you’ve thoroughly cleaned the concrete surface, the next critical step in preparing it for painting is applying an etching solution. This important process not only removes any remaining stains and debris but also prepares the surface for optimal paint adhesion. An effective etching solution will ensure a long-lasting and professional finish.
“Applying an etching solution is crucial for preparing the concrete surface for paint.”
One recommended product for this purpose is the DRYLOK® Concrete and Masonry Liquid Etch & Clean. This solution offers a safer alternative to highly corrosive muriatic acid while providing excellent cleaning and etching capabilities. With just one application, it effectively cleans and brightens the concrete, removing efflorescence, stains, and other impurities.
Removing Efflorescence
Efflorescence, a common issue on concrete surfaces, appears as a white, powdery substance caused by mineral deposits. The etching solution helps remove efflorescence, ensuring a clean and smooth surface for painting.
To use the DRYLOK® Concrete and Masonry Liquid Etch & Clean, simply follow the instructions on the product label. Apply the solution to the concrete using a brush or sprayer, ensuring even coverage. Allow the etching solution to sit on the surface for the recommended amount of time before thoroughly rinsing it off with clean water.
Preparing Concrete for Painting
Etching the concrete is a crucial step in preparing it for paint. By creating a slightly roughened surface, the etching solution enhances the adhesion of the paint, ensuring a long-lasting finish. This process opens up the pores of the concrete, allowing the paint to penetrate and bond effectively.
Properly etching the concrete surface before painting also helps remove any remaining debris, dirt, or contaminants that could prevent the paint from adhering correctly. By thoroughly cleaning and etching the concrete, you create an ideal foundation for the paint, resulting in a more durable and visually appealing surface.
With the concrete properly etched, cleaned, and prepared, you are now ready to move on to the next step: filling cracks and surface defects for a smooth and flawless finish.
| Benefits of Applying an Etching Solution: | Products |
|---|---|
| Removes stains, debris, and efflorescence | DRYLOK® Concrete and Masonry Liquid Etch & Clean |
| Prepares the surface for optimal paint adhesion | |
| Enhances durability and longevity of the painted surface |
Filling Cracks and Surface Defects
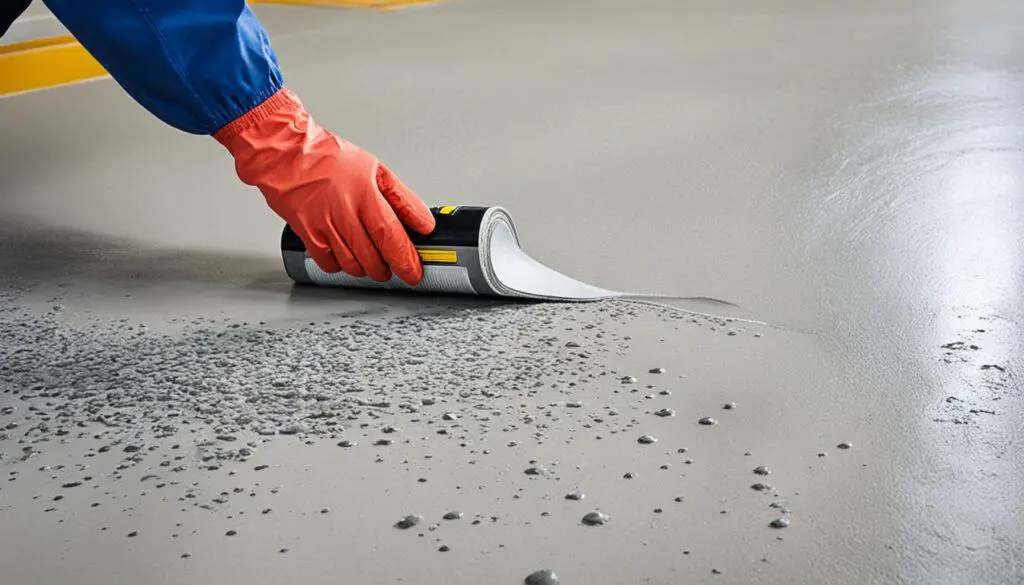
To achieve a smooth surface ready for paint, it’s important to fill any cracks, holes, or surface defects in the concrete. After all, you don’t want these imperfections to compromise the integrity and appearance of your painted floor. But don’t worry, there are effective solutions available for this step.
One option is to use a fast-setting hydraulic cement, such as DRYLOK® Fast Plug. This type of cement is designed specifically for repairing cracks and creating a watertight seal. It can be easily applied to fill cracks and gaps, ensuring a level and solid foundation for your paint.
Another option is to use an acrylic crack filler like DRYLOK® Masonry Crack Filler. This ready-to-use product is ideal for repairing small cracks and surface defects. It fills in the imperfections smoothly and dries quickly, providing a strong and seamless finish.
Once you’ve filled the cracks and surface defects, it’s important to address any protruding pieces. These can be sanded, ground, or chipped smooth to create a level surface.
By using high-quality products like hydraulic cement and acrylic crack filler, you can ensure that your concrete surface is repaired and ready for a flawless paint job. Take the time to fill the cracks and address any surface defects to achieve a stunning final result that will enhance the overall appearance and durability of your painted concrete floor.
| Product | Description | Benefits |
|---|---|---|
| DRYLOK® Fast Plug | A fast-setting hydraulic cement | – Repairs cracks efficiently – Creates a watertight seal – Provides a level surface |
| DRYLOK® Masonry Crack Filler | A ready-to-use acrylic crack filler | – Fills small cracks and surface defects – Dries quickly and smoothly – Creates a seamless finish |
Applying a Concrete Sealer
If you’re not planning to paint the concrete surface, applying a concrete sealer is necessary to seal the area and resist excess moisture. Properly sealing interior concrete surfaces is crucial to prevent water damage and increase the longevity of the floor’s appearance.
DRYLOK® sealers and waterproofers offer a range of high-quality products designed specifically for concrete surfaces. These sealers create a protective barrier that helps to waterproof the concrete, preventing the penetration of water and other liquids that can cause damage over time.
By applying a concrete sealer, you are safeguarding your floor against moisture-related issues such as surface deterioration, cracking, and staining. This not only helps to maintain the aesthetics of your interior concrete, but it also promotes a healthier living environment by preventing the growth of mold and mildew.
Before applying the sealer, it’s essential to clean the concrete surface thoroughly and remove any contaminants or debris. This ensures optimal adhesion and efficacy of the sealer. Make sure to follow the manufacturer’s instructions for application and drying times to achieve the best results.
Once the sealer has set, it’s important to wash the area to remove any trapped moisture or residue. This will ensure a clean surface and create optimal conditions for any future painting or flooring projects.
For added convenience and protection, consider using DRYLOK® sealers and waterproofers for your interior concrete surfaces. Their range of products offers effective solutions for sealing, waterproofing, and maintaining the beauty of your concrete floors.
Choosing the Right Paint for Concrete Floors
When it comes to painting concrete floors, selecting the right paint is crucial for a successful and long-lasting finish. Concrete requires a specialized paint that is formulated to adhere to its unique surface. Consider the following factors when choosing the ideal paint for your concrete floors:
All-in-One Paint and Primer
For a convenient and time-saving option, consider an all-in-one paint and primer designed specifically for concrete floors. DRYLOK® Latex Concrete Floor Paint is a popular choice that eliminates the need for a separate primer coat. This high-quality paint and primer combination provides excellent adhesion, durability, and coverage for a seamless finish.
Epoxy Paint
If you’re looking for a showroom-quality finish and maximum durability, epoxy paint is an excellent option. DRYLOK® E1 Latex 1-Part Epoxy Concrete Floor Paint is specifically formulated to provide a tough and glossy finish that can withstand heavy foot traffic, chemicals, and stains. This epoxy paint offers superior adhesion and durability, making it a popular choice for garage floors, basements, and commercial spaces.
Consider Color, Coverage, and Durability
When choosing paint for your concrete floors, consider your desired color, coverage, and durability. Opt for a paint that offers a wide range of color options to match your aesthetic preferences. Additionally, ensure that the paint provides sufficient coverage for your specific concrete surface. Lastly, prioritize durability to ensure that the paint will withstand regular wear and tear without chipping or peeling.
| Premium Concrete Floor Paints | Features | Price |
|---|---|---|
| DRYLOK® Latex Concrete Floor Paint | All-in-one paint and primer | $$ |
| DRYLOK® E1 Latex 1-Part Epoxy Concrete Floor Paint | Epoxy paint for maximum durability | $$$ |
When it comes to painting concrete floors, choosing the right paint is essential for a successful and long-lasting result. Consider your specific needs and preferences when selecting from the wide range of products available. By choosing a high-quality paint that is specifically formulated for concrete, you can ensure a beautiful and durable finish that will enhance the look of your space.

Applying Two Coats of Paint for a Lasting Finish
Now that you have prepared the concrete surface and chosen the perfect paint, it’s time to apply two coats of paint for a lasting and beautiful finish. Applying multiple coats of paint ensures complete coverage and helps your concrete floor withstand daily wear and tear. Here’s how to achieve a professional result:
- Allow the first coat to dry thoroughly: Before applying the second coat, it’s crucial to give the first coat enough time to dry completely. This drying time for concrete floor paint may vary depending on factors such as humidity and temperature. Refer to the manufacturer’s instructions for specific guidance.
- Sanding between coats: Once the first coat is dry, lightly sand the surface to remove any imperfections or rough spots. This step helps create a smoother finish for the second coat. Use a fine-grit sandpaper and lightly sand the entire surface. After sanding, be sure to thoroughly clean the floor to remove any dust.
- Apply the second coat: To achieve a uniform color for your concrete floor, apply the second coat of paint in the opposite direction of the first coat. This technique helps ensure that the paint is evenly distributed and provides an attractive finish. Take your time and make sure to cover the entire surface, paying attention to any missed spots or uneven areas.
After applying the second coat, allow the concrete floor to dry for several days. This drying time allows the paint to cure properly and ensures a long-lasting finish. Keep in mind that the drying time for concrete floor paint can vary depending on the type of paint and environmental conditions. Avoid placing heavy furniture or subjecting the floor to high traffic until it is fully cured.
Remember, applying two coats of paint not only helps achieve complete coverage but also enhances the durability and longevity of your painted concrete floor. By following these steps and allowing sufficient drying time, you’ll enjoy a beautiful and uniform color that will withstand the test of time.
“Applying multiple coats of paint ensures complete coverage and helps your concrete floor withstand daily wear and tear.”
| Benefits of Applying Two Coats of Paint |
|---|
| Enhanced durability |
| Improved resistance to stains and damage |
| Achieve a uniform and attractive finish |
| Long-lasting color |
The Benefits of Using High-Quality Masonry Preparation Products
When it comes to painting concrete floors, using high-quality masonry preparation products is essential for achieving exceptional results. By investing in top-notch products, such as those offered by the DRYLOK® masonry product line, you can ensure a successful and long-lasting project.
DRYLOK® is known for its commitment to quality and innovation, making it a trusted brand in the industry. Their concrete floor paint, recognized as the best concrete paint for 2021 by family handy man .com, provides outstanding performance and durability.
Fast-Drying and Non-Slip Finishes
One of the notable benefits of using DRYLOK® masonry preparation products is their fast-drying formula. This feature allows you to complete your project efficiently, minimizing downtime and inconvenience.
In addition, DRYLOK® products offer non-slip finishes, ensuring safety and peace of mind, especially in areas that are prone to moisture or foot traffic.
Enhanced Adhesion and Protection
DRYLOK® masonry preparation products are specifically designed to enhance adhesion to concrete surfaces. This means that the paint will adhere better, resulting in a more durable and long-lasting finish.
Furthermore, these products provide an added layer of protection to the concrete, helping to resist stains, moisture, and wear and tear. With DRYLOK®, you can confidently paint your concrete floors, knowing that they will remain in excellent condition for years to come.
Find Where to Buy DRYLOK® Products
Ready to start your concrete floor painting project with high-quality masonry preparation products? Check for local availability to find where to buy DRYLOK® products and get started on achieving a flawlessly painted concrete floor.
The Benefits of Painting Concrete Floors
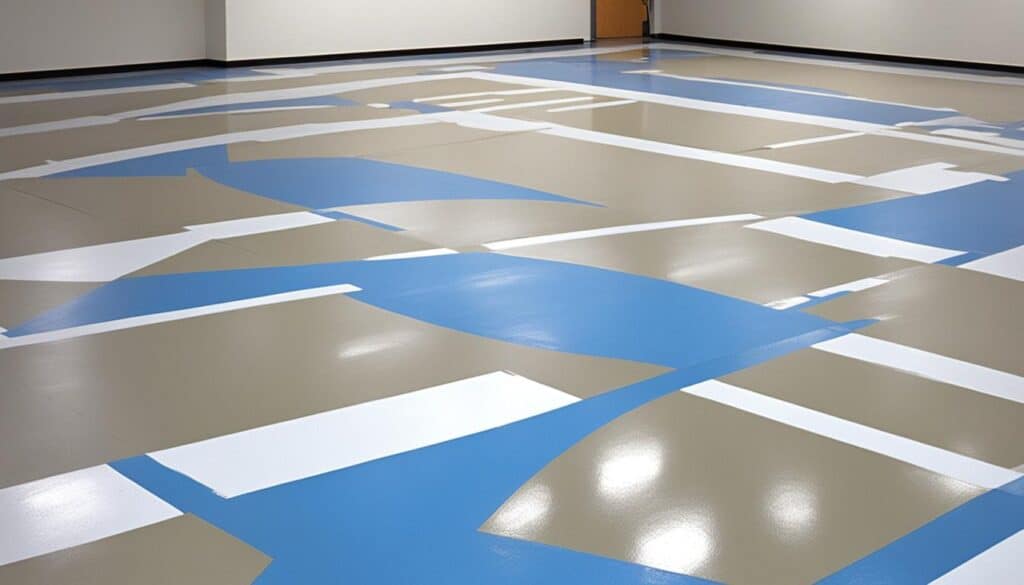
Painting concrete floors offers several advantages that make it a desirable option for transforming the appearance of various spaces. Whether you’re looking to revamp your basement, garage, or patio, painting concrete floors provides a cost-effective flooring solution that can add a pop of color and personality to an otherwise dull surface.
One of the key benefits of painting concrete floors is the ability to completely transform the look and feel of a room. By adding color, you can create a vibrant and inviting space that reflects your personal style. Whether you prefer a bold and colorful statement or a more subtle and neutral palette, painting allows you to customize the concrete surface to your liking.
In addition to enhancing aesthetics, painting concrete floors also offers practical advantages. The application of paint creates a protective layer that can resist stains, damage, and everyday wear and tear. This is particularly beneficial for high-traffic areas or spaces subjected to frequent use, such as garages and basements.
Painting concrete floors is a cost-effective flooring solution compared to other options like tile, carpet, or hardwood. It allows you to achieve a new look without breaking the bank. With proper preparation and the right products, painting concrete floors can be a cost-effective alternative that delivers excellent results.
Not only does painting concrete floors provide numerous advantages, but it also offers a rewarding DIY project. With the right techniques and high-quality products, you can successfully transform your concrete surface into a beautiful, durable, and customized space. It’s a project that allows you to unleash your creativity and add a personal touch to your home.
Overall, painting concrete floors is an excellent way to add color, durability, and personality to your space while staying within your budget. It’s a cost-effective flooring solution that has both aesthetic and practical benefits. So, why settle for a plain concrete surface when you can easily and affordably transform it into something beautiful with a little bit of paint?
Paint vs. Stain: Choosing the Right Option for Concrete Floors
When it comes to enhancing the look and durability of your concrete floors, two popular options are painting and staining. Both methods have their pros and cons, so it’s important to consider your desired outcome before making a decision. Here, we’ll explore the key differences between painting and staining concrete floors to help you choose the right option for your project.
Painting Concrete Floors
Painting concrete floors involves applying a coat of paint to the surface. This method provides a wide range of color options and allows for customization to match your aesthetic preferences. The paint acts as a protective barrier, offering durability and resistance to wear and tear. However, painted floors may require occasional touch-ups to maintain their appearance, especially in high-traffic areas.
Pros of Painting Concrete Floors:
- Wide range of color options for customization
- Provides a protective barrier against damage and stains
- Durable and can withstand heavy foot traffic
Cons of Painting Concrete Floors:
- May require occasional touch-ups to maintain appearance
- Can be susceptible to chipping or peeling if not properly prepared
Staining Concrete Floors
Staining concrete floors involves applying an acid-based stain that penetrates the surface, creating a unique and natural color variation. This method enhances the natural beauty of the concrete, highlighting its texture and patterns. Acid-based stains provide long-lasting coverage and are resistant to fading. However, the porous nature of concrete can result in streaking and unevenness, making it essential to properly prepare the surface for staining.
Pros of Staining Concrete Floors:
- Enhances the natural beauty of the concrete
- Long-lasting and resistant to fading
- Doesn’t require frequent touch-ups
Cons of Staining Concrete Floors:
- Can result in streaking and unevenness
- Requires proper surface preparation for best results
Ultimately, the choice between painting and staining concrete floors depends on your priorities. If you’re looking for a wide range of color options and easy customization, painting may be the better choice. On the other hand, if you want to enhance the natural beauty of the concrete and achieve a unique look, staining may be the way to go. Consider your desired aesthetic, maintenance requirements, and long-term durability before making a decision.
Why Proper Surface Preparation is Essential for Painting Concrete Floors
Proper surface preparation is crucial when painting concrete floors. By taking the necessary steps to prepare the surface, you can ensure a long-lasting and professional-looking finish. There are three key aspects of surface preparation that cannot be overlooked: cleaning, sealing, and removing old paint.
Cleaning Before Painting
Before you start painting, it’s essential to clean the concrete surface thoroughly. This step removes any debris, stains, or dirt that could hinder the adhesion of the paint. Use a pressure washer or a suitable cleaning solution to wash the floor and ensure it is free from any contaminants. This will provide a clean canvas for the paint to adhere to and result in a more even and durable finish.
Sealing the Concrete
Sealing the concrete surface is another crucial step in the preparation process. Applying a concrete sealer helps create a uniform surface and prevents the paint from being absorbed unevenly. The sealer acts as a barrier and enhances the adhesion of the paint, ensuring a more consistent and long-lasting finish. It also provides additional protection against moisture, stains, and other potential damage.
Removing Old Paint
If the concrete floor has been previously painted, it’s important to remove the old paint before applying a new coat. Old paint that is peeling or flaking can compromise the adhesion of the new paint and lead to a subpar finish. Use a paint stripper or a suitable chemical remover to strip off the old paint layers. This will create a smooth and clean surface for the new paint to adhere to, resulting in a more professional-looking final result.
| Benefits of Proper Surface Preparation for Painting Concrete Floors: |
|---|
| Improved adhesion: Clean surfaces allow paint to adhere better. |
| Even paint application: Sealed surfaces prevent uneven absorption of paint. |
| Long-lasting finish: Removing old paint ensures a durable and professional-looking result. |
By investing time and effort into properly preparing the surface, you can achieve a beautifully painted concrete floor that will withstand the test of time. Remember to clean the surface thoroughly, seal it to create a uniform base, and remove any old paint for the best results.
A Step-by-Step Guide to Painting Concrete Floors
Painting concrete floors can be a straightforward process when following a step-by-step guide. By properly preparing the surface and using the right supplies, you can achieve a beautiful and durable finish. Here’s a breakdown of the essential steps:
1. Moisture Test
Before starting any painting project, it’s crucial to conduct a moisture test on the concrete floor. This test determines if the surface is dry enough for painting. Simply tape a plastic sheet onto the floor and wait for 24 hours. If condensation or moisture is present on the underside of the plastic, further drying is required.
2. Thorough Cleaning
Begin by thoroughly cleaning the concrete floor to remove any dirt, dust, or debris that could interfere with the paint’s adhesion. Sweep or vacuum the surface to remove loose particles. Then, use a mild detergent and warm water to scrub the floor, paying special attention to any stains or spills. Rinse the floor thoroughly and allow it to dry completely before proceeding.
3. Sanding and Vacuuming
To ensure a smooth and even paint application, it’s important to sand the concrete floor. Use a floor sander or a hand-held sander with a fine-grit sandpaper to smooth out any rough areas or imperfections. After sanding, vacuum the floor to remove any dust or debris. This step will help create a clean surface for optimal paint adhesion.
4. Repairing Cracks and Holes
If there are any cracks or holes in the concrete floor, it’s essential to repair them before painting. Use a concrete patching compound to fill in the cracks and smooth out the surface. Follow the manufacturer’s instructions for application and drying time. Once the patches are dry, sand them down to create a level surface.
5. Priming the Floor
Before applying the paint, it’s important to prime the concrete floor with a masonry primer. This step ensures better adhesion and durability of the paint. Choose a primer specifically designed for use on concrete surfaces. Apply the primer according to the manufacturer’s instructions and allow it to dry thoroughly before proceeding.
6. Applying the Paint
Now it’s time to apply the paint to your concrete floor. Choose a high-quality concrete floor paint that is suitable for your specific project. Mix the paint thoroughly before using. Use a brush or roller to apply the paint evenly on the floor, working in small sections. Apply two coats of paint, allowing each coat to dry completely before applying the next. Make sure to follow the paint manufacturer’s instructions for drying time.
7. Applying a Masonry Sealer
For added protection and durability, consider applying a masonry sealer to the painted concrete floor. A sealer helps to protect the paint from stains, water damage, and daily wear and tear. Follow the manufacturer’s instructions for proper application and drying time.
Following these step-by-step instructions will help ensure a successful painting project for your concrete floors. With proper preparation and the right supplies, you can achieve a long-lasting and aesthetically pleasing finish.
| Necessary Supplies for Painting Concrete Floors | Moisture Test for Concrete | Sanding and Vacuuming Concrete |
|---|---|---|
| Concrete patching compound | Tape and plastic sheet | Floor sander or hand-held sander |
| Mild detergent | Water | Fine-grit sandpaper |
| Masonry primer | Vacuum cleaner | |
| Concrete floor paint | ||
| Masonry sealer |
By following this step-by-step guide and using the necessary supplies, you can successfully paint and transform your concrete floors. With proper preparation and attention to detail, your painted concrete floors will not only look great but also stand the test of time.
Conclusion
Transforming your space with painted concrete floors not only enhances its appearance but also adds durability to the surface. By following a step-by-step guide and taking the time to properly prepare the concrete, you can achieve a long-lasting and professional finish.
Proper surface preparation is key to a successful paint job. This includes thoroughly cleaning the concrete, sealing any cracks or defects, and choosing the right paint for your specific needs. High-quality products, such as those offered by DRYLOK®, can ensure optimal results and a beautiful outcome.
With painted concrete floors, you can enjoy a refreshed and vibrant space that can withstand everyday wear and tear. Whether you’re transforming a basement, garage, or patio, this cost-effective solution adds color and personality to an otherwise dull surface. So don’t hesitate to embark on this rewarding DIY project and enjoy the benefits of painted concrete floors.
FAQ
Why is cleaning important before painting concrete?
Cleaning the concrete surface removes debris, stains, and old paint that can interfere with paint adhesion and result in an uneven finish.
What is the importance of applying an etching solution?
Applying an etching solution removes remaining stains, debris, and efflorescence from the concrete surface, ensuring optimal adhesion of the paint.
How do I fill cracks and surface defects in concrete?
You can fill cracks and surface defects in concrete by using hydraulic cement or ready-to-use acrylic crack fillers, ensuring a watertight and level surface.
Should I apply a concrete sealer before painting?
Applying a concrete sealer before painting is essential to seal the surface and resist moisture, enhancing the longevity of the paint job.
How do I choose the right paint for concrete floors?
Choose a paint specifically formulated for concrete floors, considering factors such as color, coverage, and durability. All-in-one paint and primer options or epoxy paints are recommended.
How many coats of paint should I apply to a concrete floor?
Apply two coats of paint, allowing each coat to dry thoroughly, to achieve complete coverage and a lasting finish on your concrete floor.
Why is using high-quality masonry preparation products important?
Using high-quality masonry preparation products ensures the best results when painting concrete floors, providing fast-drying and non-slip finishes for a successful project.
What are the benefits of painting concrete floors?
Painting concrete floors is a cost-effective way to transform the appearance of a space, add color and personality, and provide a protective layer against stains, damage, and wear and tear.
Should I choose paint or stain for concrete floors?
The choice between paint and stain for concrete floors depends on the desired look and durability. Paint offers a more even and richly colored finish, while stain provides longer-lasting coverage but may result in streaking or unevenness.
Why is proper surface preparation essential for painting concrete floors?
Proper surface preparation, including cleaning, sealing, and repairing, ensures optimal adhesion of the paint and prevents issues like peeling, chipping, or an uneven finish.
Can you provide a step-by-step guide to painting concrete floors?
Yes, a step-by-step guide to painting concrete floors includes conducting a moisture test, cleaning the floor thoroughly, repairing any cracks or holes, priming the floor, applying two coats of paint, and sealing the surface for added protection.

