Plywood is a versatile material used in construction and furniture-making, but have you ever wondered how to paint plywood to achieve a smooth and durable finish? Whether you’re a DIY enthusiast or a professional, this article will provide you with expert tips and techniques for painting plywood. From choosing the right plywood to preparing the surface, priming, painting techniques, and finishing, we’ve got you covered. Get ready to unlock the full potential of painting plywood and create stunning finished projects.
Key Takeaways:
- Choosing the right plywood is crucial for a successful paint job.
- Proper surface preparation ensures better adhesion and a smoother finish.
- Priming before painting enhances paint durability and adhesion.
- Consider the type of paint finish and its suitability for your plywood project.
- Using the right tools and materials is essential for achieving professional results.
Choosing the Right Plywood
Before painting plywood, it is crucial to select the appropriate type and grade of plywood. Different types of plywood vary in terms of strength and durability, so it is essential to consider these factors for a successful paint job. The plywood grade determines the quality and appearance of the plywood, while the thickness affects its suitability for different applications. Additionally, inspect the plywood for surface imperfections such as knots or cracks, as these can impact the final paint finish. By choosing the right plywood, you lay the foundation for achieving a smooth and durable painted surface.
Types of Plywood
| Type | Description |
|---|---|
| Softwood Plywood | Manufactured from softwoods like pine or cedar, commonly used for general construction projects. |
| Hardwood Plywood | Made from hardwoods like oak or birch, known for strength and durability, suitable for furniture or cabinetry. |
| Marine Plywood | Specifically designed for water-resistant applications, ideal for outdoor projects or areas with high moisture. |
Plywood Grades
| Grade | Description |
|---|---|
| A | Smooth, clear appearance, little to no knots or imperfections, high-quality finish |
| B | May have some knots and minor imperfections, suitable for painting or staining |
| C | Visible knots and imperfections, often used for structural purposes |
Plywood Thickness
- 1/4 inch: Suitable for cabinet backing or projects requiring lightweight plywood
- 1/2 inch: Commonly used for shelves, furniture, or wall panels
- 3/4 inch: Recommended for built-in furniture, cabinets, or heavy-duty applications
Inspect the plywood for surface imperfections such as knots or cracks, as these can affect the paint finish.
Choosing the right plywood is crucial to ensure a smooth and durable paint job. By considering factors such as the type, grade, and thickness of plywood, as well as inspecting for surface imperfections, you set the stage for a successful painting project. Take the time to select high-quality plywood suitable for your specific application, and you’ll be on your way to achieving a professional and long-lasting finish.
Preparing the Plywood Surface
Properly preparing the surface of the plywood is essential to achieve a smooth and even paint finish. Follow these steps to ensure the best results:
Cleaning Plywood
Before painting, it is important to clean the plywood to remove any dirt, dust, or debris. Use a mild detergent and warm water to gently scrub the surface. Rinse thoroughly and allow the plywood to dry completely before proceeding to the next step.
Sanding Plywood
Next, sand the plywood surface using fine-grit sandpaper. This helps to smooth out any roughness or unevenness and creates a better adhesion surface for the paint. Sand in the direction of the wood grain, using long, even strokes. After sanding, wipe away any sanding residue with a clean cloth.
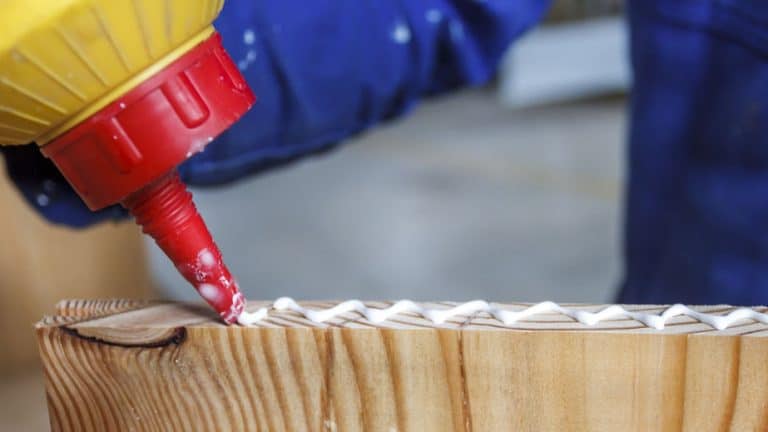
Filling Gaps in Plywood
If there are any gaps, holes, or imperfections in the plywood, use wood putty to fill them. Apply the putty to the damaged areas and smooth it over with a putty knife. Allow the putty to dry thoroughly, following the manufacturer’s instructions. Once dry, sand the putty using fine-grit sandpaper to create a smooth and seamless surface.
Surface Imperfections
Inspect the plywood surface for any remaining imperfections, such as knots or scratches. If necessary, sand these areas again and reapply wood putty as needed. Ensuring a smooth and flawless plywood surface is crucial for a professional-looking paint finish.
By thoroughly cleaning, sanding, and filling gaps in the plywood, you create an ideal canvas for the paint application. The preparation process enhances the adhesion of the paint and helps to achieve a smooth and durable finish.
| Preparation Steps | Description |
|---|---|
| Clean the plywood | Remove dirt, dust, and debris using mild detergent and warm water. |
| Sand the plywood | Smooth out roughness and unevenness using fine-grit sandpaper. |
| Fill gaps in plywood | Use wood putty to fill any gaps, holes, or imperfections. |
| Surface imperfections | Inspect and address any remaining imperfections such as knots or scratches. |
Priming the Plywood
Before you can start painting plywood, it’s crucial to prime the surface. Priming is a vital step that ensures better adhesion and durability of the paint, resulting in a smoother and more professional finish. In this section, we will discuss the importance of priming plywood, how to choose the right primer, and different application techniques.
Why Priming Plywood is Essential
Priming plywood serves multiple purposes:
- Sealing the plywood surface: Applying a primer helps seal the porous nature of plywood, preventing moisture penetration and potential damage.
- Improving adhesion: Primers create a bond between the plywood and the paint, ensuring better adhesion and reducing the chances of peeling or chipping.
- Preventing stains and bleed-through: Primers help to block any stains or imperfections on the plywood surface from bleeding through the paint, allowing for a clean and consistent finish.
- Enhancing paint durability: Priming creates a smooth base for the paint, improving its durability and resistance to wear and tear.
Choosing the Right Primer for Plywood
When selecting a primer for plywood, consider the following factors:
- Type of primer: Choose a primer specifically designed for use on wood surfaces, such as an oil-based or latex-based primer.
- Compatibility with paint: Ensure that the primer is compatible with the type of paint you plan to use on the plywood.
- Surface type: If the plywood has knots, stains, or other imperfections, opt for a stain-blocking primer to prevent them from bleeding through the paint.
Primer Application Techniques
There are several techniques you can use to apply primer to plywood:
- Brush: Use a high-quality brush to apply the primer in even strokes, following the grain of the plywood. This technique allows for precise application and better control over the primer coverage.
- Roller: A roller is an efficient method for covering larger plywood surfaces. Use a roller with a medium to high nap for better coverage and even application.
- Spray Gun: If you have experience using a spray gun, it can provide fast and even coverage on plywood surfaces. Ensure proper ventilation and follow safety precautions when using a spray gun.
Whichever application technique you choose, make sure to apply the primer evenly and avoid over-application, as this can lead to drips or an uneven finish. Allow the primer to dry completely before moving on to the painting process.
Priming your plywood sets the foundation for a successful paint job. It helps to seal the surface, improve paint adhesion, and enhance the overall durability of the finished project. So, don’t skip this important step when painting plywood!
| Advantages of Priming Plywood | Choosing the Right Primer |
|---|---|
| Seals the surface | Select a primer designed for wood surfaces |
| Improves adhesion | Check compatibility with your paint |
| Prevents stains and bleed-through | Consider surface imperfections |
| Enhances paint durability | Opt for a stain-blocking primer if needed |
Choosing the Right Paint
When it comes to choosing paint for your plywood project, there are a few factors to consider. The type of finish you desire and the application of the plywood will play a significant role in the paint selection process. Different types of paint finishes offer varying levels of durability and aesthetic appeal.
Here are some key points to keep in mind when choosing paint for plywood:
- Consider the type of finish: Matte, gloss, satin, and semi-gloss are common paint finishes. Matte finishes offer a low sheen and are ideal for achieving a more subtle look. Gloss finishes provide a high shine and are more durable, making them suitable for high-traffic areas or surfaces that require easy cleaning. Satin and semi-gloss finishes fall between matte and gloss, offering a balance of durability and sheen.
- Assess your durability requirements: Depending on the project, you might need a paint that can withstand various conditions. If you’re painting interior plywood, you may prioritize a paint that resists scuffing, staining, and fading. However, for exterior plywood, it’s crucial to choose a paint that can withstand exposure to sunlight, moisture, and other weather elements.
- Think about the application: Is the plywood going to be used indoors or outdoors? This consideration will affect the type of paint you choose. Interior plywood paint may not need the same level of durability and weather resistance as exterior plywood paint.
By taking into account the desired finish, durability requirements, and application of the plywood, you can make an informed decision when choosing the right paint for your project.
Types of Paint Finishes and Their Characteristics
| Paint Finish | Characteristics |
|---|---|
| Matte | Low sheen, hides surface imperfections, non-reflective |
| Gloss | High shine, durable, easy to clean |
| Satin | Slight sheen, durable, more stain-resistant than matte |
| Semi-gloss | Subtle shine, durable, easy to clean |

Remember, the paint you choose for your plywood project will not only impact its appearance but also its longevity. Take the time to select a paint finish that aligns with your preferences and meets the specific requirements of your project. With the right paint, you can achieve a beautiful and long-lasting finish on your plywood surfaces.
Tools and Materials Needed
To paint plywood, you will need various tools and materials. Here is a list of essential items that will help you achieve a smooth and professional finish:
- Paintbrush: Use a high-quality paintbrush for applying paint to the plywood surface. A brush with synthetic bristles or a blend of synthetic and natural bristles works well for most painting projects.
- Paint Roller: A paint roller is ideal for covering large areas quickly and evenly. Choose a roller that is appropriate for the type of paint you will be using and the texture of the plywood.
- Spray Gun: If you prefer a more even and efficient application, a spray gun can be used to coat the plywood surface. This is especially useful for larger projects or when working with intricate details.
- Paint Tray: A paint tray is essential for holding and distributing paint as you work. Look for a sturdy and easy-to-clean tray that can accommodate your paintbrush or roller.
- Drop Cloth: Protect your work area by laying down a drop cloth or plastic sheeting. This will prevent paint spills and drips from damaging your floor or furniture.
- Painter’s Tape: Use painter’s tape to mask off areas that you do not want to paint, such as edges or trim. This will create clean lines and ensure a professional-looking finish.
- Sandpaper: Sanding the plywood surface before painting helps create a smooth and even base. Choose sandpaper with a grit that is appropriate for the level of surface roughness you need to address.
- Wood Putty: Fill any gaps, holes, or imperfections in the plywood with wood putty. This will create a seamless surface for painting and improve the overall appearance of the finished project.
In addition to these tools, it is important to have protective equipment such as gloves, goggles, and a respirator when using certain paints or spray guns. Depending on the complexity of your project, you may also consider using additional tools such as a paint sprayer, paint edger, or paint shield to achieve a more professional finish.


Painting Techniques
The technique you use to paint plywood depends on the size and shape of the surface and the type of paint you are using. There are different methods that can be used to achieve a smooth and professional finish on plywood. Whether you prefer brush painting, roller painting, or spray painting, each technique has its advantages and considerations.
Brush Painting Plywood
Brush painting is a common and versatile technique for painting plywood. It allows for more control and precision when applying the paint. To brush paint plywood:
- Choose a high-quality paintbrush suitable for the type of paint you are using.
- Dip the brush into the paint, ensuring the bristles are evenly coated but not overloaded.
- Start painting with long, even strokes, following the grain of the plywood if visible.
- Avoid going over the same spot repeatedly to prevent drips or unevenness.
- Work in small sections, blending each stroke with the previous one for a seamless finish.
- Allow the first coat to dry completely before applying additional coats if needed.
Roller Painting Plywood
Roller painting is another popular method for painting plywood, especially for larger surfaces. It provides faster coverage and can create a smooth finish. To roller paint plywood:
- Choose a high-quality roller cover suitable for the type of paint you are using.
- Pour the paint into a paint tray and dip the roller into the paint, rolling it back and forth to evenly distribute the paint.
- Start rolling in one corner of the plywood, working in small sections.
- Use long, even strokes and apply light pressure to ensure an even coat of paint.
- Avoid rolling over the same area multiple times to prevent unevenness or roller marks.
- Allow the first coat to dry completely before applying additional coats if necessary.
Spray Painting Plywood
Spray painting plywood is a fast and efficient method that provides even coverage and a professional finish. It is best suited for large or intricate surfaces. To spray paint plywood:
- Choose a high-quality paint sprayer suitable for the type of paint you are using.
- Set up a well-ventilated area or use a spray booth to minimize overspray.
- Hold the sprayer at a consistent distance from the plywood surface, usually 6-12 inches.
- Move the sprayer in slow, even passes, overlapping each stroke slightly.
- Apply light and even coats, allowing each coat to dry before applying the next.
- Take care to protect surrounding surfaces from overspray, using drop cloths or masking tape.
Choosing the right painting technique for your plywood project will depend on factors such as the size of the surface, the desired finish, and your personal preference. Experiment with different techniques to find the one that suits your needs and delivers the best results.
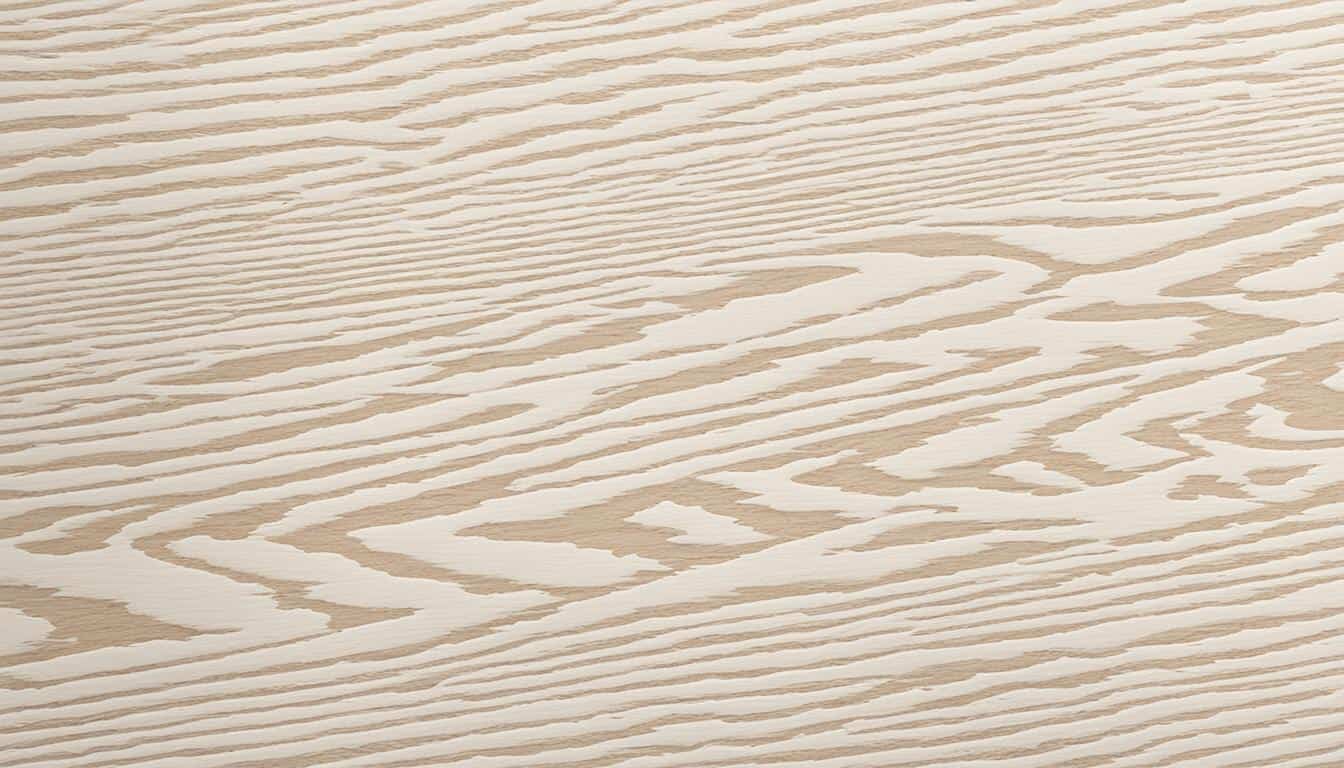
Dealing with Grain and Knots
Plywood grain and knots can have an impact on the overall appearance of the painted surface. However, there are techniques you can employ to minimize their visibility and achieve a smoother finish.
If you want to hide or diminish the visibility of the grain on plywood, one option is to fill the grain with a grain filler. Apply the filler to the plywood surface and use a putty knife to smooth it out. Once the filler has dried, sand the surface to achieve a level finish.
Another technique is to apply multiple coats of primer. Primer helps to create a smooth base for the paint and can help minimize the appearance of the grain. Apply each coat of primer in thin, even layers, allowing adequate drying time between coats.
When it comes to dealing with knots, there are specific knot sealing techniques you can utilize. Shellac-based primers are effective in sealing knots and preventing bleed-through. Alternatively, you can use a knot sealer product specifically designed for this purpose. Apply the sealer to the knots before applying the primer and paint.
By employing these techniques, you can create a more uniform and professional-looking painted surface, reducing the visibility of the plywood grain and knots.
Note: The image above illustrates the process of hiding grain on plywood.
Creating Decorative Finishes
Painting plywood opens up a world of creative possibilities, allowing you to add decorative finishes that bring interest and style to your project. Whether you’re looking to add a touch of elegance, a pop of color, or a rustic charm, there are numerous techniques you can explore to achieve the desired effect.
Stenciling Plywood
Stenciling is a popular technique that allows you to create intricate designs on plywood surfaces. By using pre-cut stencils or creating your own, you can easily add geometric patterns, floral motifs, or any other design that fits your vision. Simply secure the stencil to the plywood surface, apply paint using a brush or sponge, and carefully remove the stencil to reveal a beautiful pattern.
Pattern Options for Plywood
If you’re looking to give your plywood a unique and eye-catching look, consider experimenting with pattern options. Distressing techniques, such as sanding or using a wire brush, can give the plywood a weathered appearance, perfect for achieving a rustic or vintage style. Alternatively, you can try aging techniques using diluted paint or glaze to create an antique effect. These pattern options add character and depth to your painted plywood.
Paint Effects on Plywood
Paint effects can completely transform the look of plywood, allowing you to achieve a contemporary or artistic style. Ombre painting, where colors blend seamlessly from light to dark or vice versa, creates a stunning gradient effect on the plywood surface. Color blocking, on the other hand, involves using bold and contrasting colors to create visually striking geometric shapes. These paint effects bring a modern touch to your plywood projects and make them stand out.
Whether you choose to stencil, experiment with patterns, or play with paint effects, these decorative finishes will elevate the aesthetic appeal of your painted plywood, making your projects truly unique and eye-catching.

Curing and Finishing
Once you have painted the plywood, it is crucial to ensure proper curing and finishing to achieve a long-lasting and well-protected paint job. Follow these steps to ensure the best results:
- Allow Sufficient Drying Time: The drying time for painted plywood can vary depending on factors such as the type of paint used and the environmental conditions. It is essential to give the paint enough time to dry thoroughly before handling or applying additional coats. This will help prevent smudges or damage to the paint.
- Applying Additional Coats: Applying additional coats can enhance the durability and appearance of the painted plywood. Before applying a new coat, make sure the previous coat is completely dry. Follow the manufacturer’s instructions regarding the recommended waiting time between coats.
- Protecting the Painted Surface: To protect the painted plywood and ensure its longevity, consider applying a sealant. A plywood sealant such as polyacrylic can provide an additional layer of protection against scratches, moisture, and UV rays. Follow the manufacturer’s instructions for proper application.
Recommended Drying Times for Different Types of Paint:
| Type of Paint | Drying Time |
|---|---|
| Latex Paint | 1-2 hours (Dry to touch), 24 hours (Fully cured) |
| Oil-based Paint | 8-24 hours (Dry to touch), 7-10 days (Fully cured) |
Note: Drying times may vary depending on factors such as temperature, humidity, and the thickness of the paint layers. Always refer to the manufacturer’s instructions for specific drying and curing times.
Properly curing and finishing your painted plywood will ensure a beautiful and durable result that will stand the test of time. Take the necessary steps to allow the paint to dry, apply additional coats if desired, and protect the surface with a sealant. By following these guidelines, your painted plywood will maintain its quality and appearance for years to come.
Maintenance and Care
To maintain the beauty and durability of your painted plywood, it is essential to follow proper maintenance and care practices. By taking these steps, you can ensure that your painted plywood remains in excellent condition for years to come.
Maintaining Painted Plywood
When it comes to maintaining your painted plywood, it’s important to avoid using harsh chemicals or abrasive cleaners that can damage the paint. Instead, opt for a mild detergent and warm water to clean the surface. Gently scrub the painted plywood with a soft sponge or cloth to remove any dirt or grime. This gentle cleaning method will help preserve the integrity of the paint without causing any harm to the surface.
Touch-Ups on Painted Plywood
Despite your best efforts, minor damages or scratches may occur on your painted plywood over time. Fortunately, these imperfections can easily be remedied with some touch-ups. To touch up the paint, use a small brush and matching paint to carefully fill in the damaged areas. Take your time and apply thin layers of paint until the touch-up blends seamlessly with the rest of the surface. This simple step can restore the appearance of your painted plywood and keep it looking its best.
Long-Term Care for Painted Plywood
Long-term care is crucial for preserving the appearance and durability of your painted plywood. Regular cleaning is an important part of this care routine, as it helps remove dirt, dust, and other debris that can accumulate on the surface. Additionally, consider applying a sealant to protect the paint and increase its longevity. A sealant, such as a polyacrylic, can provide an extra layer of defense against wear and tear.
Conclusion
Painting plywood is a transformative process that can improve both the appearance and durability of this versatile material. By following the expert tips and techniques outlined in this article, you can achieve professional results with your plywood painting projects. Whether you’re a seasoned DIY enthusiast or just starting out, these guidelines will help you unlock the full potential of painting plywood.
From selecting the right plywood and properly preparing the surface to priming, painting, and finishing with a sealant, each step is crucial for achieving a smooth and durable finish. Taking the time to choose high-quality materials and employing the right techniques will ensure that your plywood painting project stands the test of time.
“Painting plywood is not just about adding color; it’s about creating a polished and professional look. Embrace the process and enjoy the satisfaction of seeing your plywood transform into a stunning finished piece. With the right approach, you can achieve remarkable results and bring your creative vision to life.”
Whether you’re painting plywood for a furniture project, cabinetry, or any other application, paying attention to the details will make a significant difference in the final outcome. Remember to consider factors such as paint selection, painting techniques, and maintenance to ensure that your painted plywood remains beautiful and durable for years to come.
By following these tips and techniques, you can confidently embark on your plywood painting project, knowing that you have the knowledge and skills to achieve professional results. Let your creativity shine through as you transform ordinary plywood into extraordinary works of art.
Final Thoughts on Painting Plywood
Painting plywood offers endless possibilities for creativity and customization. Whether you’re striving for a sleek and modern finish, a rustic and distressed look, or anything in between, the right painting techniques can help you achieve your desired aesthetic.
Remember to follow the step-by-step process outlined in this article, starting with the selection of the right plywood and continuing through proper surface preparation, priming, painting, and finishing. Each aspect of the painting process plays a crucial role in achieving professional-level results.
With attention to detail, patience, and dedication, you can transform plywood into a beautiful canvas for your artistic vision. Whether you’re embarking on a small DIY project or a larger-scale endeavor, the techniques and tips shared here will guide you towards success.
Achieving Professional Results with Plywood Painting
Professional-looking results are within reach when painting plywood. By following the techniques and tips presented in this article, you can achieve a smooth and durable finish that showcases your craftsmanship and creativity.
Remember, the key to achieving professional results is proper preparation, including selecting the right plywood, thoroughly cleaning and sanding the surface, and applying the appropriate primer. Additionally, choosing high-quality paints and tools and employing the right techniques will ensure a flawless result.
Whether you’re painting plywood for a furniture project, interior décor, or any other application, a well-executed paint job will elevate the overall aesthetic and longevity of the piece. Take your time, embrace the process, and enjoy the satisfaction of seeing your plywood transform into a professional-grade masterpiece.
| Benefits of Painting Plywood | Steps for Achieving Professional Results |
|---|---|
| Enhances appearance | Choose high-quality plywood |
| Improves durability | Thoroughly clean and sand the surface |
| Allows for creative expression | Apply the appropriate primer |
| Elevates the value of the piece | Select high-quality paints and tools |
| Protects the plywood from damage | Employ the right painting techniques |
| Take your time and enjoy the process |
By following these steps and unleashing your creativity, you can successfully paint plywood and achieve professional-grade results. Whether you’re a DIY enthusiast or a professional woodworker, painting plywood opens up a world of possibilities for creating beautiful and functional pieces.
Resources
If you are in need of resources for painting plywood, there are various options available. Consider utilizing the following:
- Local Plywood Suppliers and Home Improvement Stores: Visit your local plywood suppliers or home improvement stores for a wide selection of plywood and paint options. They often have knowledgeable staff who can provide guidance and recommendations based on your specific project requirements.
- Online Retailers: Explore online retailers that specialize in plywood and painting supplies. They offer a range of products and tools specifically designed for painting plywood. Online shopping allows you to conveniently compare prices, read customer reviews, and find the best deals.
- DIY Communities and Forums: Engage with online communities and forums dedicated to DIY projects and woodworking. These platforms provide a wealth of information, tips, and recommendations from experienced DIY enthusiasts. You can ask questions, share your own experiences, and learn from others who have already tackled similar painting projects.
By utilizing these resources, you can easily find the best plywood, paint, and tools for your specific painting project, whether it’s a small DIY endeavor or a larger professional undertaking.
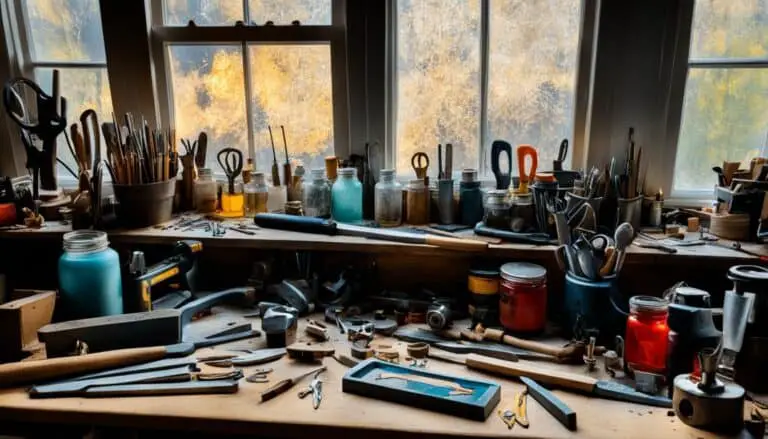
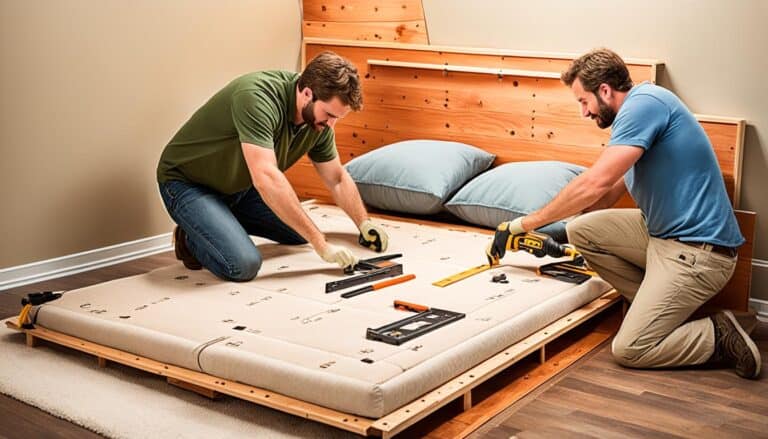
Image: Visualization of various tools and materials for painting plywood.
About the Author
Anika is a woodworking enthusiast and DIY expert with a passion for creating and sharing projects. With her extensive background in woodworking, she has acquired a wealth of skills and expertise in various DIY projects, home improvement, and home decor.
Anika’s goal is to inspire and empower beginners to unlock their creative potential and experience the joy of making something with their own hands. She believes that anyone can become skilled in woodworking and DIY projects with the right guidance and resources.
Through her articles and tutorials, Anika shares her knowledge and tips to help others succeed in their woodworking and DIY endeavors. She strives to provide practical advice, step-by-step instructions, and innovative ideas that can be easily implemented by readers.
FAQ
What type of plywood should I choose for painting?
Choose a plywood type and grade that is suitable for your project and offers the desired strength and durability. Inspect the plywood for surface imperfections before painting.
How do I prepare the plywood surface for painting?
Clean the plywood to remove dirt and debris, sand the surface to smooth out roughness, and fill gaps or imperfections with wood putty. Ensure the surface is smooth before painting.
Do I need to prime plywood before painting?
Yes, priming the plywood is essential for better paint adhesion and durability. Choose a primer suitable for plywood and apply it evenly before painting.
What type of paint should I use for plywood?
Consider the desired finish and application of the plywood. Choose a paint finish that complements your project’s style and meets your durability requirements. Select the appropriate type of paint for indoor or outdoor use.
What tools and materials do I need for painting plywood?
You will need a paintbrush, paint roller, or spray gun, a paint tray, drop cloth, painter’s tape, sandpaper, wood putty, and protective equipment such as gloves, goggles, and a respirator, if necessary.
What painting technique should I use for plywood?
The technique depends on the size and shape of the plywood and the type of paint used. Brushing and rolling are common methods, while spraying provides faster and more even coverage.
How can I hide the plywood grain and knots?
You can fill the plywood grain with a grain filler or apply multiple coats of primer. To seal knots, use a shellac-based primer or a knot sealer product.
Can I create decorative finishes on painted plywood?
Yes, you can use techniques such as stenciling, distressing, or applying paint effects to add interest and style to your painted plywood.
How long should I let the painted plywood dry before handling?
The drying time depends on the type of paint and environmental conditions. Allow sufficient time for drying before handling or applying additional coats.
How do I maintain and care for painted plywood?
Avoid harsh chemicals or abrasive cleaners and clean the surface with mild detergent and warm water. Use matching paint for touch-ups and consider regular cleaning and sealing to maintain the painted surface.
Where can I find resources for painting plywood?
Visit local plywood suppliers or home improvement stores for a wide selection of plywood and paint options. Online retailers and DIY communities can also provide valuable resources and recommendations.
Who is the author and what is their expertise?
The author, Anika, is a woodworking enthusiast and DIY expert with a background in woodworking, home improvement, and home decor. She shares her knowledge and tips to empower beginners and inspire creativity.