Are you tired of the outdated look of your tile floors? Do you want to give your home a fresh new look without breaking the bank? Look no further than painting your tile floors. Yes, you read that right – painting your tile floors can be a game-changer for your home’s aesthetics. But is it really possible? Can a simple coat of paint transform your tile floors into something beautiful and modern? Let’s find out.
Painting tile floors is a cost-effective and simple DIY project that can breathe new life into your space. By following the right steps and using the correct products, you can achieve stunning and durable results regardless of the type of tile you have – ceramic, porcelain, or other varieties. Say goodbye to the monotony of plain floors and welcome a fresh, vibrant, and personalized touch with painted tile floors.
Key Takeaways:
- Painting tile floors can be a simple and cost-effective way to refresh your home’s look.
- Painting is possible for different types of tile, including ceramic and porcelain.
- Proper surface preparation, repairing, and choosing the right paint are crucial for the success of your project.
- Following the correct painting technique and sealing the painted floors can enhance their durability.
- Maintaining your painted tile floors is essential for their long-lasting appearance.
Can You Paint Tile Floors?
Yes, you can paint tile floors. Whether you have ceramic or porcelain tile, it is possible to achieve great results by painting them. By following the right preparation and painting techniques, you can give your tile floors a fresh new look without the need for expensive replacement.
If you have ceramic tile floors, painting them can be a cost-effective solution to update the appearance of your space. Ceramic tiles are typically glazed and have a smooth surface, which can make it challenging for paint to adhere well. However, with proper surface preparation and the right products, you can achieve a beautiful and durable finish.
Porcelain tile floors, on the other hand, can be easier to paint due to their higher density and lower porosity. This makes them more suitable for paint adhesion. Whether your porcelain tiles have a glossy or matte finish, they can be successfully painted to transform the look of your floors.
Benefits of Painting Tile Floors
- Cost-effective alternative to replacing the entire floor
- Endless color options to match your preferred aesthetic
- Ability to update the look of your space without extensive renovations
- Allows for creativity and personalization with patterns and designs
- Provides a durable and long-lasting finish with proper preparation and sealing
Before you begin your tile floor painting project, it’s important to understand the proper techniques, supplies, and steps involved to achieve the best results. The next section will guide you through the necessary supplies needed for painting tile floors.
Supplies for Painting Tile Floors
Before you begin painting your tile floors, it’s important to gather all the necessary supplies. Having the proper supplies will ensure that you have everything you need to achieve the best results. Here is a list of the essential supplies for painting tile floors:
| Supplies | Description |
|---|---|
| Sandpaper or Electric Sander | To prepare the surface of the tiles by creating a rough texture for better paint adhesion. |
| Stripper and Cleaner | To remove any dirt or residue from the tile floor before painting. |
| Grout or Caulk | To repair any damaged areas or fill in gaps in the grout lines. |
| Bonding Primer | To ensure better paint adhesion to the tile surface and improve durability. |
| Mini Rollers and Brushes | To apply the paint evenly and accurately on the tile surface. |
| Appropriate Paint | Choose a paint specifically designed for tile floors, which provides durability and resistance to foot traffic. |
By having these supplies on hand, you’ll be well-equipped to start your tile painting project with confidence. Remember to follow the proper preparation and painting techniques outlined in this guide for the best results.

Surface Preparation for Painting Tile Floors
Proper surface preparation is essential to ensure a successful paint job on your tile floors. By taking the time to prepare the surface adequately, you can achieve better paint adhesion and a longer-lasting finish. In this section, we will guide you through the necessary steps of surface preparation for painting tile floors, including sanding and cleaning.
Sanding Tile Floors
Sanding the tile surface is an important step in preparing it for painting. This process creates a rough texture that allows the paint to adhere better to the tile. You have two options for sanding: manual sanding with sandpaper or using an electric sander for larger areas. Whichever method you choose, make sure to sand the entire surface evenly to achieve a uniform texture.
Tip: Use 220-grit sandpaper for the best results. Start with a gentle sanding motion and gradually increase pressure if needed.
Cleaning Tile Floors
After sanding the tile floors, it’s crucial to clean them thoroughly to remove any dust, dirt, or grime. Cleaning the surface ensures that the paint will adhere properly and gives you a clean slate for your new finish. You can use a stripper and cleaner specifically designed for tile floors to achieve the best results.
Tip: Follow the manufacturer’s instructions when using a stripper and cleaner. Apply the product to the floors, scrub lightly with a brush or sponge, and rinse with clean water.
Once the tile floors are sanded and cleaned, you are ready to move on to the next steps of repairing and prepping the floors. Proper surface preparation sets the foundation for a successful painting project.
| Surface Preparation Steps | Benefits |
|---|---|
| Sanding the tile surface | Enhances paint adhesion |
| Cleaning the floors | Removes dust, dirt, and grime |
By following these surface preparation steps, you can ensure that your tile floors are ready for painting. The time and effort spent on prep work will result in a professional-looking finish and a long-lasting transformation for your space.
Repairing and Prepping the Tile Floors
Before you start the painting process, it’s crucial to ensure that your tile floors are in good condition. This means taking the time to repair any damaged areas and properly prepare the surface. By addressing these issues, you can ensure a smooth and successful painting project. Here are the steps to repairing and prepping your tile floors:
- Inspect for Damage: Carefully examine your tile floors for any cracked grout, missing tiles, or gaps that need to be filled.
- Grout Repair: If you notice any cracked grout, it’s important to repair it before painting. Use a grout saw to remove the damaged grout, then mix and apply new grout to fill in the gaps. Allow the grout to dry thoroughly before proceeding.
- Caulk Repair: Check for any gaps between the tiles or between the tiles and walls. These gaps can be filled with caulk to ensure a smooth and seamless appearance. Use a caulk gun to apply the caulk and smooth it with a caulk smoothing tool or your finger.
- Clean the Surface: Before applying any paint or primer, thoroughly clean the tile floors to remove dirt, dust, and any residue. Use a mild detergent and water solution and scrub the floors with a scrub brush or sponge. Rinse the floors with clean water and allow them to dry completely.
By repairing any damage and prepping the tile floors properly, you’ll create a solid foundation for the paint to adhere to. This will result in a longer-lasting and more professional-looking finish. With your tile floors in prime condition, you’re now ready to move on to the next step: choosing the right paint and primer.
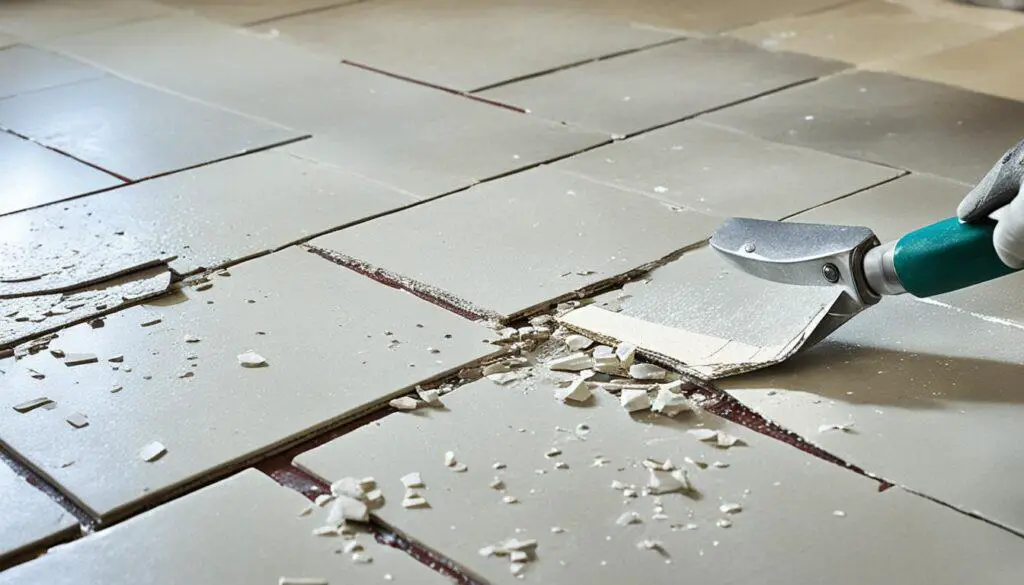
Note: The image above showcases beautifully repaired and prepped tile floors, ready for painting.
Choosing the Right Paint and Primer for Tile Floors
When it comes to painting tile floors, selecting the appropriate paint and primer is crucial for achieving a durable and beautiful finish. By using materials specifically designed for tile floors, you can ensure long-lasting results that can withstand daily foot traffic. Additionally, choosing a bonding primer will facilitate proper adhesion of the paint to the tile surface.
Look for paint products that are specifically formulated for tile floors. These paints are specially designed to withstand the rigors of everyday use and provide excellent durability. They are resistant to chipping, peeling, and fading, ensuring that your painted tile floors maintain their fresh and vibrant appearance for an extended period.
Equally important is selecting a high-quality bonding primer. This primer creates a strong bond between the paint and the tile surface, ensuring that the paint adheres properly and doesn’t chip or peel over time. A bonding primer also helps to enhance the durability of the painted tile floor, making it more resistant to wear and tear.
When choosing your paint and primer, look for trusted brands that are known for their durability and quality. Consult customer reviews and seek recommendations from professionals or experienced DIY enthusiasts to ensure you make the right choice for your project.
Painting the Tile Floors
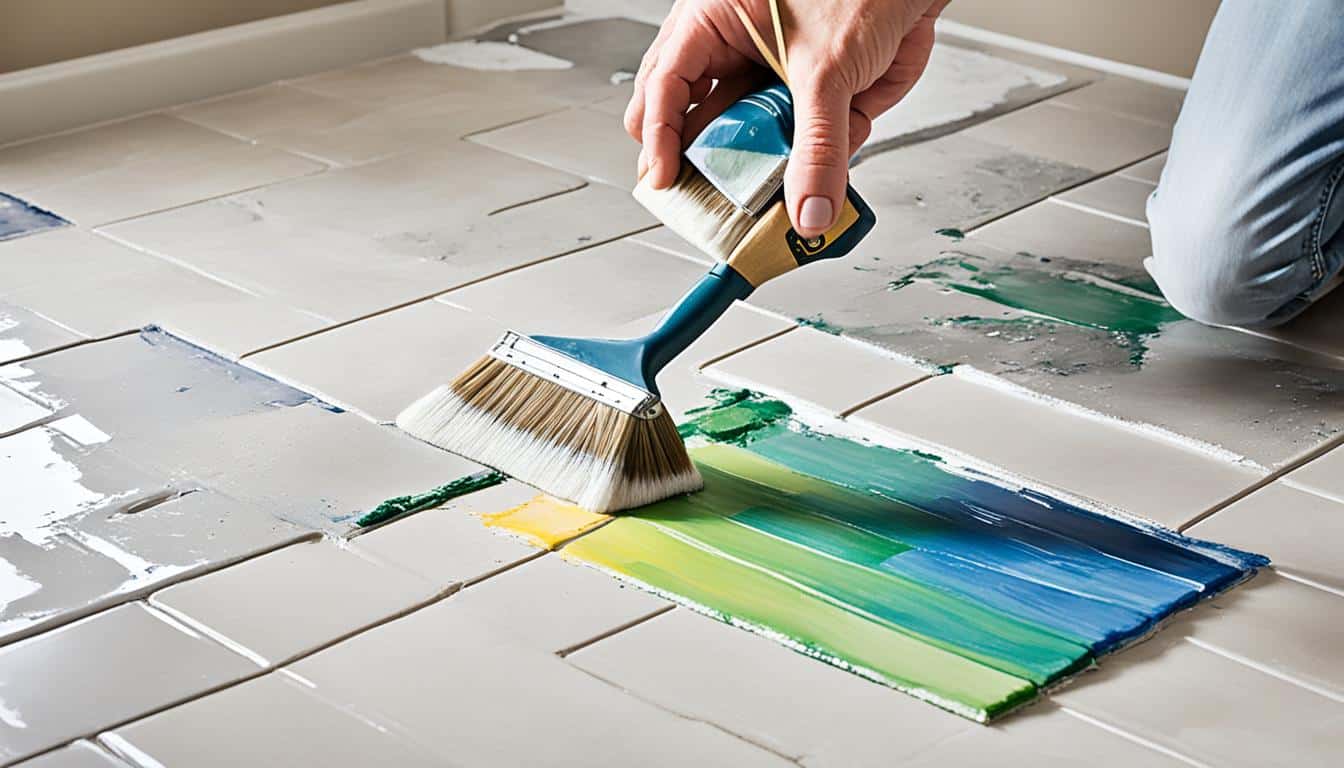
Now it’s time to paint your tile floors. Applying paint to your tile floors can completely transform the look of your space. By following the right techniques, you can achieve a beautiful and durable finish that will enhance the overall aesthetic of your home.
Begin by applying the primer to the tile floors. Use a brush to carefully paint the grout lines and edges, ensuring thorough coverage. This will help the paint adhere better and provide a smooth base for the topcoat. For the rest of the tile surface, use a roller to apply the primer evenly. Make sure to work in small sections, overlapping each stroke for consistent coverage.
Once the primer is dry, it’s time to apply the paint. Using a brush, carefully paint along the grout lines and edges for precision. For larger areas, use a roller to apply the paint evenly. Similar to the primer application, work in small sections and be sure to overlap each stroke to avoid streaks or uneven color.
Remember to follow the instructions on the paint can regarding drying times and the number of coats needed. It’s important to allow each coat to dry completely before applying the next one. This will ensure a smooth and durable finish.
Take your time during the painting process and ensure even coverage for the best results. If you need to do touch-ups or repairs, wait until the paint is completely dry before making any adjustments.
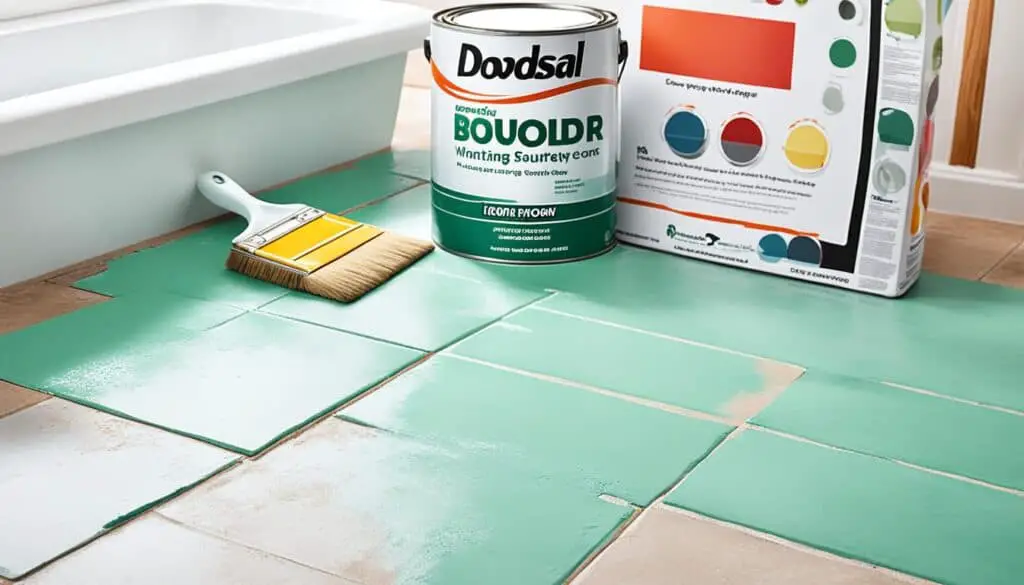
- Start by applying the primer with a brush for grout lines and edges.
- Use a roller for the rest of the tile surface, ensuring even coverage.
- Once the primer is dry, apply the paint in the same manner – with a brush for precision and a roller for larger areas.
- Follow the instructions on the paint can for drying times and coat recommendations.
- Take your time and ensure even coverage for a beautiful and lasting result.
Sealing the Painted Tile Floors
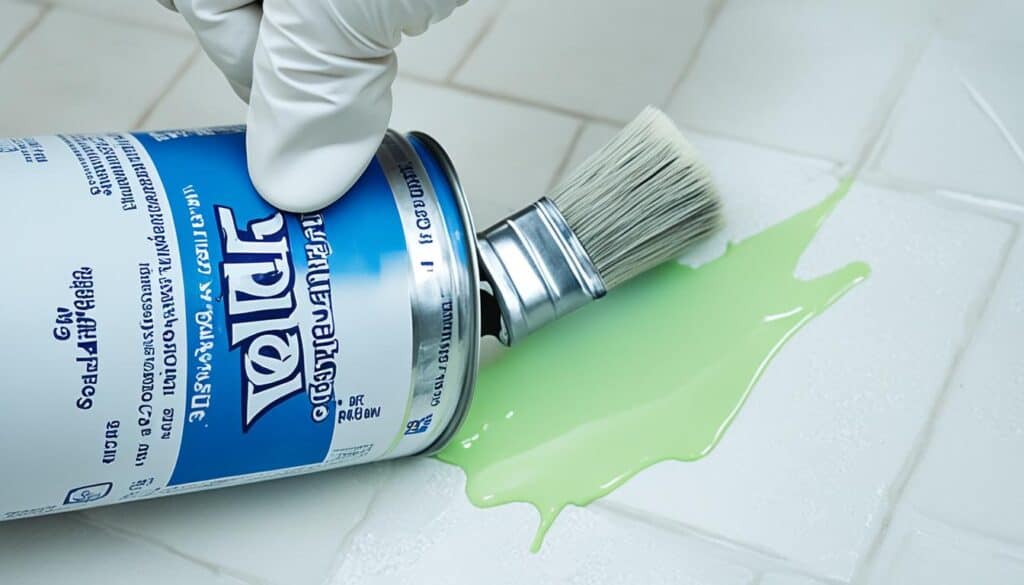
Once the paint on your tile floors has dried, taking the extra step to seal them can provide added protection and durability. Sealing your painted tile floors with a polyurethane topcoat creates a protective layer over the paint, safeguarding it from scratches and wear. By extending the lifespan of your painted tile floors, a topcoat ensures that your renovation investment will last for years to come.
However, it’s important to consider the future maintenance of your floors before applying a topcoat. If you anticipate the need for touch-ups or repairs in the future, keep in mind that applying a topcoat can make it more challenging to seamlessly blend in new paint. With that in mind, carefully evaluate the condition of your floors and the potential for future adjustments before making a decision about sealing.
Take a look at the visual representation below for a better understanding:
| Sealing the Painted Tile Floors |
|---|
 |
Cleaning and Maintenance of Painted Tile Floors
To keep your painted tile floors looking their best, it’s important to properly clean and maintain them. Follow these tips to ensure the longevity and beauty of your painted tile floors:
Mild Soap and Water
For regular cleaning, use a mild soap and water solution. This will effectively remove dirt and grime without damaging the painted surface. Avoid using harsh chemicals or abrasive cleaners, as they can strip away the paint and cause discoloration.
Gentle Cleaning Techniques
When cleaning your painted tile floors, be gentle to avoid any damage. Use a soft cloth or mop to gently scrub the surface. Avoid using abrasive tools or brushes that can scratch the paint. Remember, the goal is to clean the floors without compromising the integrity of the paint.
Avoid Dragging Heavy Furniture
To prevent scratches and damage to your painted tile floors, avoid dragging heavy furniture across the surface. Lift and place furniture carefully to protect the paint from any unnecessary wear and tear. You can also use furniture pads or sliders to reduce friction and prevent scratches.
Protective Mats
Place protective mats or rugs in high-traffic areas or entryways to minimize dirt and debris from being tracked onto the painted tile floors. This will help preserve the cleanliness and appearance of the painted surface.
Regular Inspections
Regularly inspect your painted tile floors for any signs of damage or wear. Address any issues promptly to prevent further damage. This may include touching up any chipped or peeling paint or addressing areas with excessive wear.
Periodic Maintenance
In addition to regular cleaning, consider applying a protective topcoat or sealer to your painted tile floors. This can provide an extra layer of protection against scratches and stains, extending the life of the paint. Consult with your paint manufacturer for the recommended product and application instructions.
By following these cleaning and maintenance practices, you can ensure that your painted tile floors stay beautiful and vibrant for years to come.
Before and After: Transformation of Tile Floors
Take a moment to appreciate the transformation of your tile floors. The before and after photos will showcase the difference that painting can make in rejuvenating a space. The refreshed tile floors will breathe new life into the room, creating a more modern and updated look. It’s amazing how a simple DIY project can have such a significant impact on the overall aesthetic of your home.
Tips and Ideas for Painting Tile Floors
Enhance your painting tile floors project with these additional tips and ideas. Get creative and transform your tile floors into stunning statement pieces in your home.
Consider using stencils or patterns to create unique designs on your tile floors. Whether you want a classic geometric pattern or a more intricate floral motif, stencils can help you achieve the desired look with precision.
Another idea is to play with different color combinations. Instead of sticking to a single color, experiment with complementary or contrasting hues to add depth and visual interest to your space. Create a bold and energetic atmosphere with vibrant colors, or opt for a soothing and serene ambiance with soft pastel shades.
Looking for inspiration? Browse online platforms or flip through home decor magazines to gather ideas for your own painted tile floors. You’ll find a wealth of images showcasing various styles and design concepts that can spark your creativity.
“Painting tile floors offers an opportunity to bring unique character and personality to your home. By incorporating stencils, patterns, and creative color combinations, you can turn your floors into stunning works of art.”
To give you a visual representation of the possibilities, here’s an example of a painted floor tile inspiration:
| Tile Color | Stencil Design | Color Palette |
|---|---|---|
| White | Moroccan-inspired pattern | Earth tones: beige, terracotta, and olive green |
| Gray | Geometric chevron pattern | Monochromatic shades of gray |
| Blue | Nautical theme with anchors and waves | Coastal colors: navy blue, sky blue, and seafoam green |
With these tips and ideas, you can let your imagination run wild and create painted tile floors that reflect your personal style and add a unique touch to your home.
Testimonials and Success Stories
Many homeowners have successfully painted their tile floors and have shared their experiences through testimonials and success stories. They have achieved amazing results and have been pleased with the durability and appearance of their painted tile floors. Take some time to read these stories to gain inspiration and confidence in your own painting project.
| Homeowner | Location | Testimonial |
|---|---|---|
| Emily Thompson | Chicago, IL | “I never thought painting my tile floors would make such a big difference! The process was easy, and the results exceeded my expectations. The paint has held up well even in high traffic areas, and my floors look brand new!” |
| David Garcia | Miami, FL | “I was skeptical about painting my tile floors at first, but I’m so glad I decided to do it. The transformation is incredible. The paint has held up beautifully, and I love the new look of my floors. It’s a cost-effective way to update your home!” |
| Sarah Johnson | Seattle, WA | “Painting my tile floors was a game-changer. I was tired of the outdated look, and a complete replacement was out of my budget. The paint gave my floors a modern and clean appearance, and it was surprisingly easy to do. I highly recommend it!” |
Michelle Collins – Los Angeles, CA
“Painting my tile floors was the best decision I made for my home renovation. The process was straightforward, and the results are stunning. The durability of the paint is impressive, and my floors still look flawless after months of use. I couldn’t be happier with the outcome!”
These testimonials and success stories demonstrate the amazing transformations that can be achieved by painting tile floors. They showcase the durability, beauty, and cost-effectiveness of this DIY project. Gain inspiration and confidence from these experiences as you embark on your own tile floor painting journey.
Conclusion
Painting tile floors can be a rewarding and budget-friendly way to refresh your home. By following the proper steps and using the right products, you can achieve a stunning and durable finish that will transform the look of your space. Take the time to properly prepare and repair your tile floors, choose the right paint and primer, and follow the recommended painting techniques. With a little time and effort, you can enjoy the beauty of painted tile floors for years to come.
Not only does painting your tile floors save you money compared to replacing them, but it also allows you to personalize your space with a fresh new look. Whether you want to update your bathroom or give your kitchen a contemporary touch, painted tile floors can make a significant impact on the overall aesthetic of your home.
Remember to select a high-quality paint specifically designed for tile floors and use a bonding primer for optimal adhesion. Proper surface preparation and repairing any damaged areas are essential for a flawless finish. The choice of colors, patterns, and designs is limitless, allowing you to get creative and make a statement with your painted tile floors.
So why wait? Start your painting tile floors project today and enjoy the benefits of a transformed space without breaking the bank. With the right techniques and products, you can achieve beautiful and long-lasting results that will bring new life to your home.
FAQ
Can you paint tile floors?
Yes, you can paint tile floors. Whether you have ceramic or porcelain tile, it is possible to achieve great results by painting them.
What supplies do I need for painting tile floors?
Some of the supplies you will need include sandpaper or an electric sander, a stripper and cleaner, grout or caulk, a bonding primer, mini rollers and brushes, and the appropriate paint for tile floors.
How do I prepare the surface before painting tile floors?
Proper surface preparation includes sanding the tile surface to create a rough texture and thoroughly cleaning the floors to remove dust, dirt, or grime.
What repairs and prepping should I do before painting tile floors?
It’s important to repair any damaged areas on your tile floors, such as cracked grout or gaps, before painting.
What paint and primer should I use for tile floors?
Choose a paint specifically designed for tile floors, as well as a bonding primer for better adhesion.
How do I paint the tile floors?
Use a brush for grout lines and edges, and a roller for the rest of the tile surface. Apply the primer first, followed by the paint, ensuring even coverage.
Should I seal the painted tile floors?
You may choose to seal the painted tile floors with a polyurethane topcoat for added protection and durability.
How do I clean and maintain painted tile floors?
Use mild soap and water for regular cleaning, avoiding harsh chemicals or abrasive cleaners. Be gentle when cleaning to avoid any damage to the painted surface.
How can painting tile floors transform a space?
The transformation of painted tile floors can create a more modern and updated look in a room.
What are some tips and ideas for painting tile floors?
Consider using stencils or patterns for unique designs and experimenting with color combinations for added visual interest.
Are there any testimonials or success stories of painted tile floors?
Many homeowners have successfully painted their tile floors and have shared their experiences, achieving amazing results in durability and appearance.
Is painting tile floors a budget-friendly option?
Yes, painting tile floors can be a rewarding and cost-effective way to refresh your home.
What is the conclusion of painting tile floors?
Painting tile floors can provide a stunning and durable finish that can transform the look of a space with proper preparation, choosing the right products, and following recommended painting techniques.

