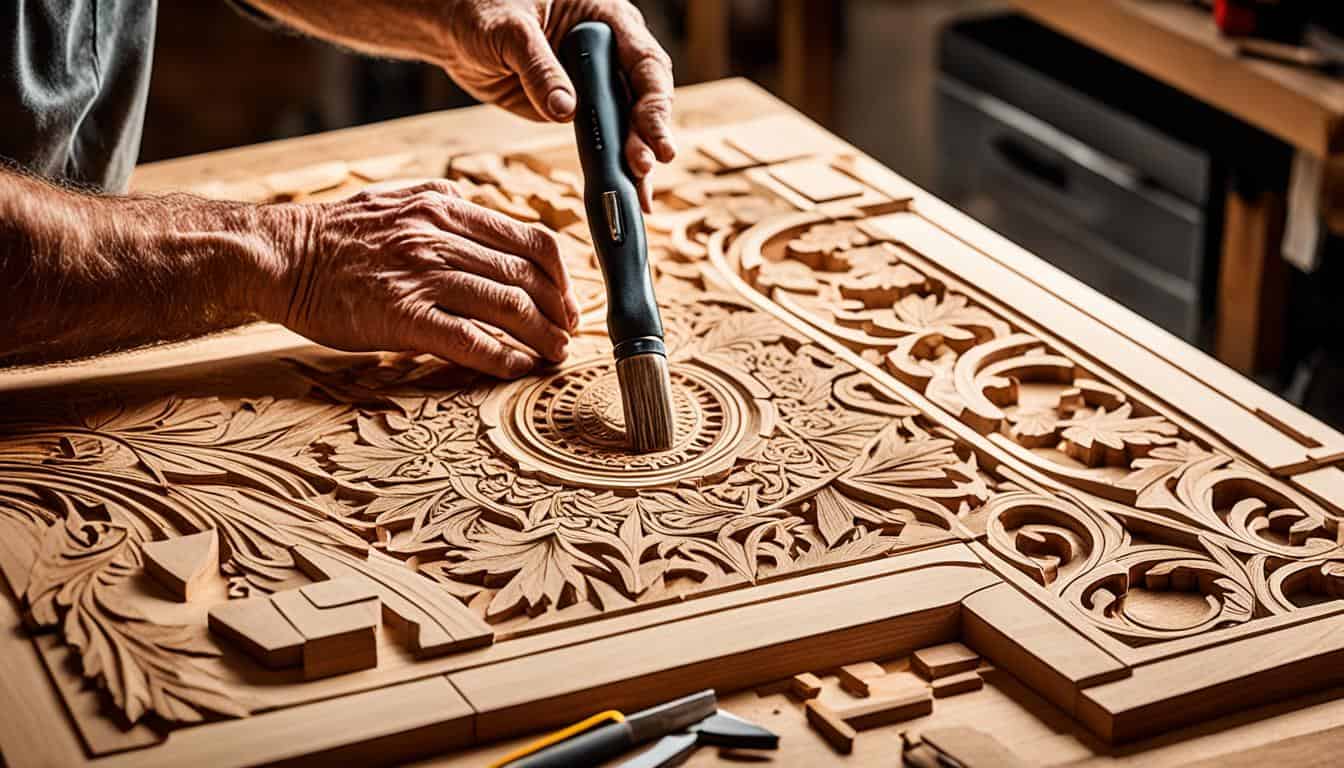
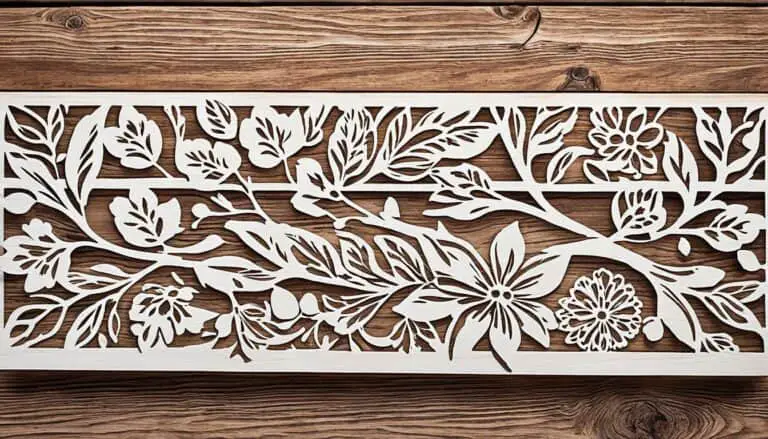
Wood engraving has been captivating artists and craftsmen for centuries with its ability to transform a simple piece of wood into a work of art. From custom wood engravings to personalized wood carvings, this age-old technique offers a wide range of possibilities for creating handcrafted wood designs.
But what are the essential tips and techniques that can help you master this intricate art form? How can you elevate your woodworking skills and create intricate wood etchings that stand out?
If you’ve ever been curious about wood engraving or want to challenge the belief that it’s a difficult craft to master, then this guide is for you. We will explore the basics of wood engraving, from understanding the materials and tools needed to the techniques that can take your fine woodwork designs to the next level. Get ready to unleash your creativity and unlock the full potential of wood engraving.
Key Takeaways:
- Wood engraving is an ancient art form that allows you to create personalized and intricate wood designs.
- Understanding the materials and tools needed is essential to master wood engraving.
- From relief and intaglio engraving to white line and dot and line techniques, there are various methods you can explore to create stunning wood engravings.
- Choosing the right wood and preparing it properly can greatly enhance the quality of your engravings.
- Sealing the wood before engraving and adding color after engraving can add uniqueness and vibrancy to your designs.
How Does Laser Wood Engraving Work?
Laser wood engraving is a fascinating technique that leverages the power of laser technology to create precise and intricate designs on wooden surfaces. This process utilizes a laser engraving machine, specialized software to create digital designs, and a laser beam to etch the wood.
Using a laser engraving machine, a digital design is first created in specialized software, allowing for maximum precision and control over the final result. The design is then translated into a format that the machine can interpret.
The laser beam emitted by the machine works by burning and vaporizing the surface layers of the wood. It follows the exact path defined by the digital design, resulting in highly accurate and detailed engravings. This precise method allows for the creation of intricate patterns, fine lines, and even complex artwork.
Laser wood engraving is a versatile technique that offers endless creative possibilities. Whether you’re looking to engrave logos, text, or intricate illustrations, this process delivers exceptional results with unrivaled precision.
How Fast is Laser Engraving on Wood?
Laser engraving on wood offers a quick and efficient method for creating intricate designs and patterns. The speed of the engraving process can vary depending on several factors:
- Laser engraving speed: The speed at which the laser machine operates can significantly impact the engraving time. Higher laser engraving speeds can complete the process more quickly.
- Laser power output: The power output of the laser engraver also plays a role in determining speed. Machines with higher wattage can engrave at a faster rate.
- Complexity of design: Engraving more complex or highly detailed designs may require additional time. The intricacy of the pattern affects how quickly the laser can complete the engraving.
- Type of wood: The type of wood being engraved can influence the speed of the process. Softer woods, such as pine or basswood, engrave faster due to their lower density. Harder woods, such as oak or mahogany, may take longer to engrave.
It’s important to note that the desired depth of the engraving can also impact the overall time required. Deeper engravings take more time to complete than shallower ones. However, for less complex designs and softer wood types, laser engraving on wood remains a quick and efficient process.
To give you an idea of the engraving speed for different wood types and design complexities, refer to the table below:
| Wood Type | Design Complexity | Engraving Speed |
|---|---|---|
| Pine | Simple design | Fast |
| Cherry | Moderate complexity | Medium |
| Oak | Highly detailed design | Slow |
| Birch | Simple design | Fast |
As you can see, engraving speed can vary based on the combination of laser power, design complexity, and wood type. Understanding these factors can help you plan and estimate the time required for your laser engraving projects.
What is the Best Wood for Laser Engraving?
The choice of wood plays a significant role in the quality and outcome of laser engraving. Some woods are better suited for this process due to their characteristics and ability to produce clear and detailed engravings. When selecting wood for laser engraving, consider factors such as smoothness, minimal grain contrast, and overall engraving quality.
Here are some of the best woods for laser engraving:
- Basswood: Known for its light color, fine and even grain, basswood is an excellent choice for laser engraving. It is easy to work with and produces precise engravings.
- Birch: Birch wood offers a smooth texture, minimal grain contrast, and a light color that enhances engraving details. It is commonly used in high-quality laser engraving projects.
- Cherry: Cherry wood possesses a fine grain and consistent texture, making it an excellent choice for detailed laser engravings. Its reddish-brown color adds a touch of warmth to the finished product.
- Maple: Maple wood is known for its light color and smooth grain, making it ideal for laser engraving. It offers a clean canvas for intricate designs and produces crisp engravings.
- Alder: Alder wood has a light color and uniform grain, making it suitable for laser engraving. Its smooth texture allows for precise detailing and clear engraving results.06
- Walnut: Walnut wood offers a rich, dark color that creates a striking contrast when laser engraved. Its fine grain and smooth texture contribute to high-quality engravings.
- Plywood: Plywood, composed of thin layers of wood glued together, is a versatile material for laser engraving. It provides a smooth surface and consistent engraving quality.
- Poplar: Poplar wood features a light color and uniform grain, making it an excellent choice for laser engraving. It produces clean and detailed engravings with minimal grain contrast.
The above woods possess characteristics such as a smooth and even grain, minimal resin content, fine grain, light color, smooth texture, and consistent texture, ideal for laser engraving. Each wood type responds uniquely to the engraving process, influenced by factors such as grain pattern, hardness, and natural color.
When creating laser engravings, it is essential to choose the best wood that suits your specific needs and desired outcome. Experimenting with different woods will allow you to discover the unique qualities and engraving results they offer.
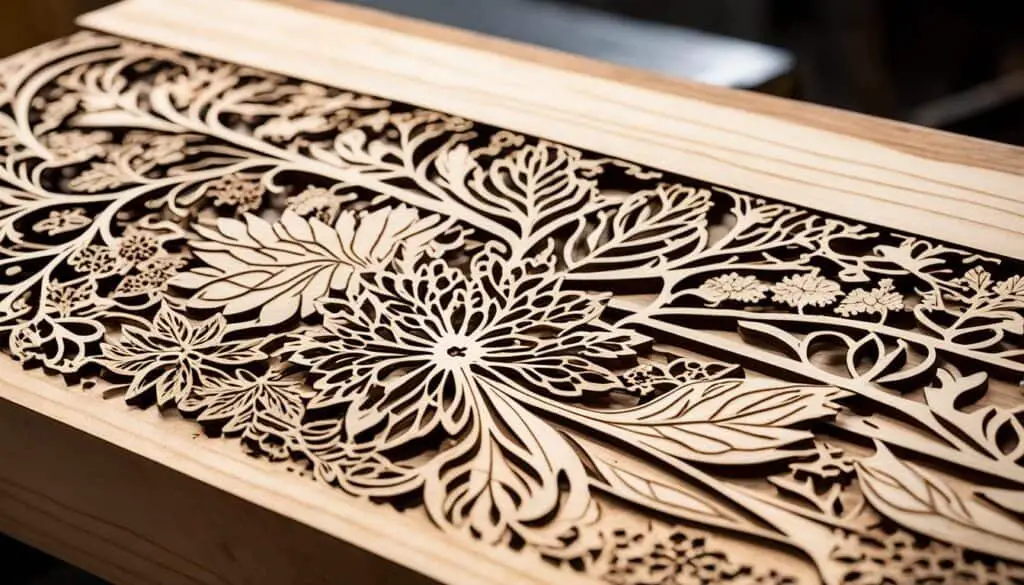
Best Woods for Laser Engraving
| Wood Type | Characteristics |
|---|---|
| Basswood | Light color, fine and even grain |
| Birch | Smooth texture, minimal grain contrast |
| Cherry | Fine grain, consistent texture |
| Maple | Light color, smooth grain |
| Alder | Light color, uniform grain |
| Walnut | Rich, dark color, fine grain |
| Plywood | Smooth surface, consistent engraving quality |
| Poplar | Light color, uniform grain |
How to Seal the Wood Before Laser Engraving?
Sealing the wood before laser engraving is crucial to protect and enhance the quality and durability of the final product. Follow these steps to ensure a clean and professional finish:
- Clean and Prepare the Wood Surface: Start by thoroughly cleaning the wood surface to remove any dirt, dust, or debris. This can be done using a soft cloth or a brush. Next, sand the surface gently to create a smooth and even texture. Sanding helps the sealant adhere better to the wood and prevents any uneven spots or rough areas.
- Choose the Right Sealant: Select a sealant that is suitable for the type of wood you are working with and the desired outcome. There are various types of sealants available, including polyurethane, lacquer, shellac, and varnish. Consider factors such as the wood’s porosity, color, and intended use when choosing the sealant.
- Apply the Sealant: Apply a thin and even layer of sealant to the wood surface using a clean brush or a lint-free cloth. Ensure that the entire surface is covered, including the edges. Be careful not to apply the sealant too thickly, as this can lead to uneven drying and potential issues during laser engraving.
- Allow Sufficient Drying Time: Follow the manufacturer’s instructions for the recommended drying time of the sealant. It is important to allow the sealant to dry completely before proceeding to the next step. This ensures that the wood is fully protected and ready for laser engraving.
- Sand Again if Necessary: After the initial drying, check the wood surface for any imperfections or rough spots. If needed, lightly sand the surface again to achieve a perfectly smooth finish. This step ensures optimal laser engraving results and prevents any interruptions caused by uneven surfaces.
- Clean the Surface: Before starting the laser engraving process, make sure to clean the sealed wood surface one more time. Use a gentle cleaner or a damp cloth to remove any dust or residues that may have accumulated during the sealing process. A clean surface is essential for accurate and clean laser engraving.
By following these steps to seal the wood before laser engraving, you can protect the wood, enhance the engraving quality, and achieve outstanding results in your woodworking projects.
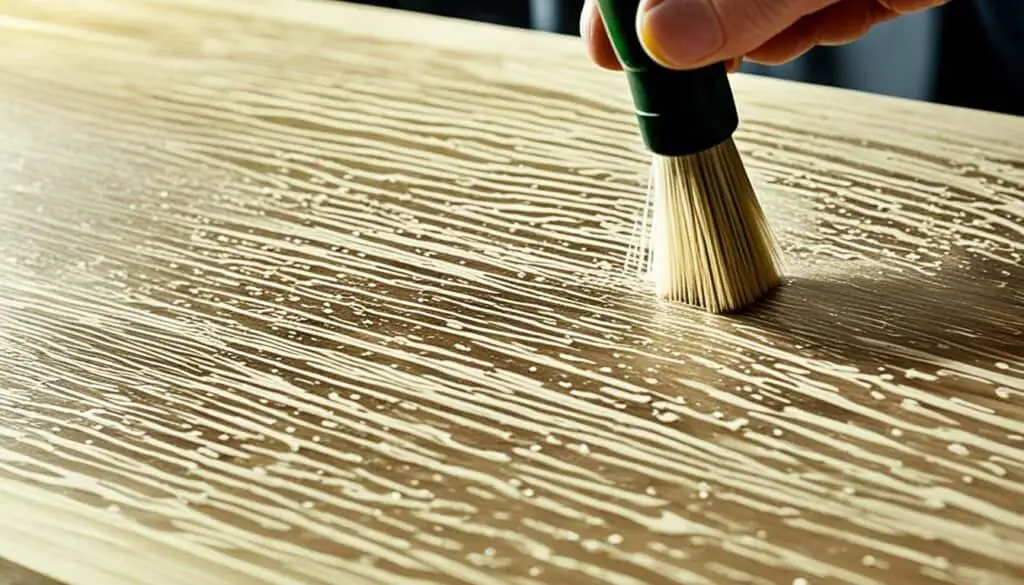
How to Color Laser Engraving on Wood?
Coloring laser-engraved wood can add vibrancy and uniqueness to the design. To color laser engraving on wood, you need suitable paints or dyes, a clean and prepared wood surface, a small brush for application, and a cloth for removing excess color. The process involves applying the paint or dye to the engraved areas, wiping off any color that spills onto non-engraved areas, and allowing the color to dry completely. Different paints or dyes have varying drying times, so it’s important to follow the product’s instructions.
Before applying color to the laser engraving, it is crucial to prepare the wood surface. Start by ensuring the surface is clean and free from any dust or debris. This can be done by gently wiping it with a soft cloth or using compressed air to blow away any particles. Additionally, if the wood surface is rough or uneven, it may be beneficial to lightly sand it to create a smoother canvas for the color application.
Once the wood surface is prepared, you can begin applying the color to the engraved areas. Select suitable paints or dyes that are compatible with wood and can provide the desired effect. It’s important to choose colors that complement the overall design and enhance its visual appeal.
Using a small brush, carefully apply the paint or dye to the engraved areas, ensuring even coverage. Take your time and pay attention to detail, as precision is key to achieving a professional-looking result. If any color spills onto non-engraved areas, use a clean cloth to remove the excess color immediately, preventing unwanted smudges or blotches.
Once the color is applied, it’s crucial to allow it to dry completely. The drying time can vary depending on the type of paint or dye used. Some may dry quickly, while others may require additional time. It’s recommended to follow the manufacturer’s instructions to ensure the color sets properly and maintains its vibrancy.
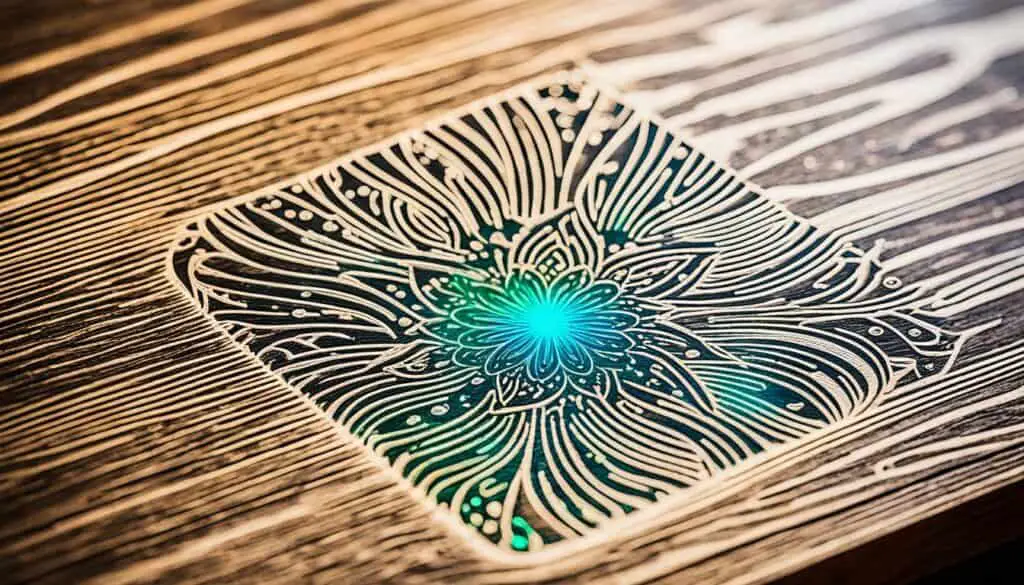
Coloring laser engraving on wood allows you to personalize your creations and bring them to life with vivid hues. Whether you choose to paint with bold colors or opt for subtle shades, the process of coloring adds depth and dimension to the engraved design. It’s an opportunity to showcase your creativity and create one-of-a-kind pieces that leave a lasting impression.
Acid Etching
Acid etching is an intriguing wood engraving technique that utilizes acid to erode the wood and create captivating patterns or illustrations on the surface. The process begins with drawing the desired pattern directly onto the wood using a chisel. Next, the area is covered with an acid solution, allowing it to etch away at the wood fibers.
What makes acid etching unique is its ability to achieve fine and precise detailing, resulting in intricate designs with unique textures. The acid selectively erodes the wood, leaving behind a visually striking contrast between the etched and untouched areas.
However, it’s crucial to approach acid etching with caution. This technique involves working with hazardous chemicals, which require proper precautions to protect yourself and the environment.
“Acid etching enables you to create distinctive effects and textures in wood, but it’s important to follow safety guidelines and use the right protective gear.”
Done correctly, acid etching can produce stunning results, allowing you to transform plain wooden surfaces into works of art. It offers the opportunity to explore various techniques and experiment with different acid types and concentrations to achieve desired effects. Additionally, acid etching is a versatile method that can be combined with other wood engraving techniques to create truly unique and visually appealing pieces.
When venturing into acid etching, always remember to prioritize safety and take the necessary precautions. Proper ventilation, wearing protective clothing and equipment, and handling chemicals with care are essential to ensure a safe and successful acid etching process.
Engraving with Pyrography
Pyrography is an intricate wood engraving technique that utilizes the art of burning wood to create stunning patterns and images. It involves using a specialized tool known as a pyrographer, which features a heated tip that can be accurately controlled. By holding the pyrographer like a pen and directing the hot tip onto the wood surface, the engraver can meticulously burn the wood fibers to form lines and intricate patterns.
Pyrography offers a unique way to create decorative designs on wood, allowing for a high level of precision and detail. The controlled burning of the wood enables the engraver to create varying shading effects by adjusting the temperature of the pyrographer’s tip. With a range of temperatures available, different tones and depths can be achieved to add depth and dimension to the engraved patterns.
To successfully practice pyrography, skill and control are essential. The engraver must have a steady hand and the ability to manipulate the pyrography tool with precision. By combining artistic creativity with technical skill, the pyrographer can transform a plain piece of wood into a work of art with intricate and unique designs.
Pyrography Tips:
- Use high-quality wood with a smooth surface for optimal results.
- Experiment with different pyrography tips to create various line thicknesses and textures.
- Practice on scrap wood before attempting complex designs on finished pieces.
- Apply light and even pressure when burning the wood to achieve consistent results.
- Take breaks during long pyrography sessions to maintain focus and avoid fatigue.
“Pyrography allows you to add a unique touch to your woodworking projects. With precision and control, you can create stunning patterns and shading effects that will impress everyone who sees your work.” – Woodworking Enthusiast
Pyrography Safety Precautions:
- Work in a well-ventilated area to avoid inhaling fumes and smoke.
- Use heat-resistant gloves to protect your hands from burns.
- Avoid placing flammable materials near your pyrography workspace.
- Keep a fire extinguisher nearby in case of an accidental fire.
- Allow your pyrography tool to cool down completely before storing it.
Pyrography offers a unique and rewarding way to create intricate patterns and designs on wood. With the right tools, precision, and artistic vision, you can elevate your woodworking skills and create one-of-a-kind masterpieces that showcase your creativity and dedication.
Kolrosing
Kolrosing is a traditional woodcutting technique that originated in Norway and Sweden. It is widely used for decorating wooden objects with intricate patterns. This technique involves making fine incisions in the wood to create regular and precise designs. These incisions are then filled with a dark powder, traditionally made from coal dust or pine bark sawdust.
Kolrosing can be compared to marquetry, but it differs in the way the patterns are carved directly into the wood. This technique requires a high level of skill and precision to achieve detailed and visually appealing results. It is a time-consuming process that requires patience and meticulous attention to detail.
Traditional Kolrosing Process:
- Prepare the wood surface: Begin by selecting a suitable piece of wood and preparing the surface by sanding it smooth and clean.
- Create fine incisions: Use a sharp knife or specialized kolrosing tool to make fine and shallow incisions in the wood, following the desired pattern or design.
- Fill the incisions: Carefully fill the incisions with a dark powder, ensuring even coverage throughout the pattern.
- Remove excess powder: Gently brush off any excess powder from the surface, leaving only the filled incisions visible.
- Seal the wood: To protect the finished kolrosing design, apply a suitable wood sealer or finish to the surface.
Kolrosing is a highly regarded form of traditional decoration that showcases the skill and precision of the craftsman. The intricate patterns created through this technique add a unique and visually appealing touch to wooden objects. Whether it’s decorating wooden utensils, furniture, or decorative items, kolrosing offers a timeless and elegant way to enhance the beauty of wood.
Conclusion
Wood engraving is an art form that combines creativity and woodworking skills to create personalized, intricate designs on wooden surfaces. Whether you’re a beginner or an experienced woodworker, there are tips and techniques you can try to achieve stunning results.
From relief and intaglio engraving to white line, crosshatch, and dot and line techniques, the possibilities in wood engraving are endless. Each technique offers its own unique style and challenges, allowing you to explore your creativity and push the boundaries of your woodworking skills.
To excel in wood engraving, it’s important to have the right materials and tools, as well as proper preparation. Choosing the best wood for laser engraving, sealing the wood before engraving, and even adding color to your engravings can enhance the quality and durability of your finished pieces.
So, embrace the art of wood engraving, let your creativity shine, and enjoy the process of transforming a simple piece of wood into a work of art. With practice and dedication, you can elevate your craftsmanship and create stunning, personalized wood designs that will impress and inspire others.
FAQ
What is wood engraving?
Wood engraving is an art form that involves creating intricate designs and patterns on wooden surfaces.
What is laser wood engraving?
Laser wood engraving is a process that uses a laser engraving machine to create precise and detailed designs on the surface of wood.
How does laser wood engraving work?
Laser wood engraving involves creating a digital design in specialized software, which is then translated into a format that the laser machine can interpret. The laser beam burns and vaporizes the surface layers of the wood, leaving an etched mark.
How fast is laser engraving on wood?
The speed of laser engraving on wood can vary based on factors such as the type of laser engraver, the complexity of the design, and the type of wood used.
What is the best wood for laser engraving?
Some of the best woods for laser engraving are basswood, birch, cherry, maple, alder, walnut, plywood, and poplar.
How to seal the wood before laser engraving?
To seal the wood before laser engraving, you need to choose the right sealant for the type of wood, prepare the wood surface by cleaning and sanding it, apply a thin and even layer of sealant, allow it to dry completely, and clean the surface before engraving.
How to color laser engraving on wood?
To color laser engraving on wood, you need suitable paints or dyes, a clean and prepared wood surface, a small brush for application, and a cloth for removing excess color. The process involves applying the paint or dye to the engraved areas, wiping off any color that spills onto non-engraved areas, and allowing the color to dry completely.
What is acid etching?
Acid etching is a wood engraving technique that uses acid to erode the wood and create patterns or illustrations on the surface.
What is pyrography?
Pyrography is a wood engraving technique that involves burning the surface of wood to create patterns and images using a specialized tool called a pyrographer.
What is kolrosing?
Kolrosing is a woodcutting technique that involves making fine incisions in the wood to form regular patterns, which are then filled with a dark powder. It is a traditional decoration technique originating from Norway and Sweden.
How can I elevate my wood engraving craftsmanship?
To elevate your wood engraving craftsmanship, you can explore different techniques such as relief and intaglio engraving, white line, crosshatch, and dot and line techniques. You can also experiment with different materials, tools, and preparation methods to achieve stunning results.


